Honda Pilot (2022 year). Manual in english - page 38
 

  Index      Manuals     Honda Pilot (2022 year). Manual in english


Search            copyright infringement  


Content      ..     36      37      38      39     ..


Honda Pilot (2022 year). Manual in english - page 38


606

uu

Cleaning

u

Exterior Care

Main

tenan

ce

Exterior Care

Dust off the vehicle body after you drive.
Regularly inspect your vehicle for scratches on painted surfaces. A scratch on a 
painted surface can result in body rust. If you find a scratch, promptly repair it.

Wash the vehicle regularly. Wash more frequently when driving in the following 
conditions:

If driving on roads with road salt.

If driving in coastal areas.

If tar, soot, bird droppings, insects, or tree sap are stuck to painted surfaces.

Fold in the door mirrors.

For models equipped with automatic intermittent wipers, turn the wipers off.

Make sure to follow the instructions indicated on the automated car wash.

Keep sufficient distance between the cleaning nozzle and the vehicle body.

Take particular care around the windows. Standing too close may cause water to 
enter the vehicle interior.

Do not spray high pressure water directly into the engine compartment. Instead, 
use low pressure water and a mild detergent. 

Washing the Vehicle

Using an Automated Car Wash

Using High Pressure Cleaners

1

Washing the Vehicle

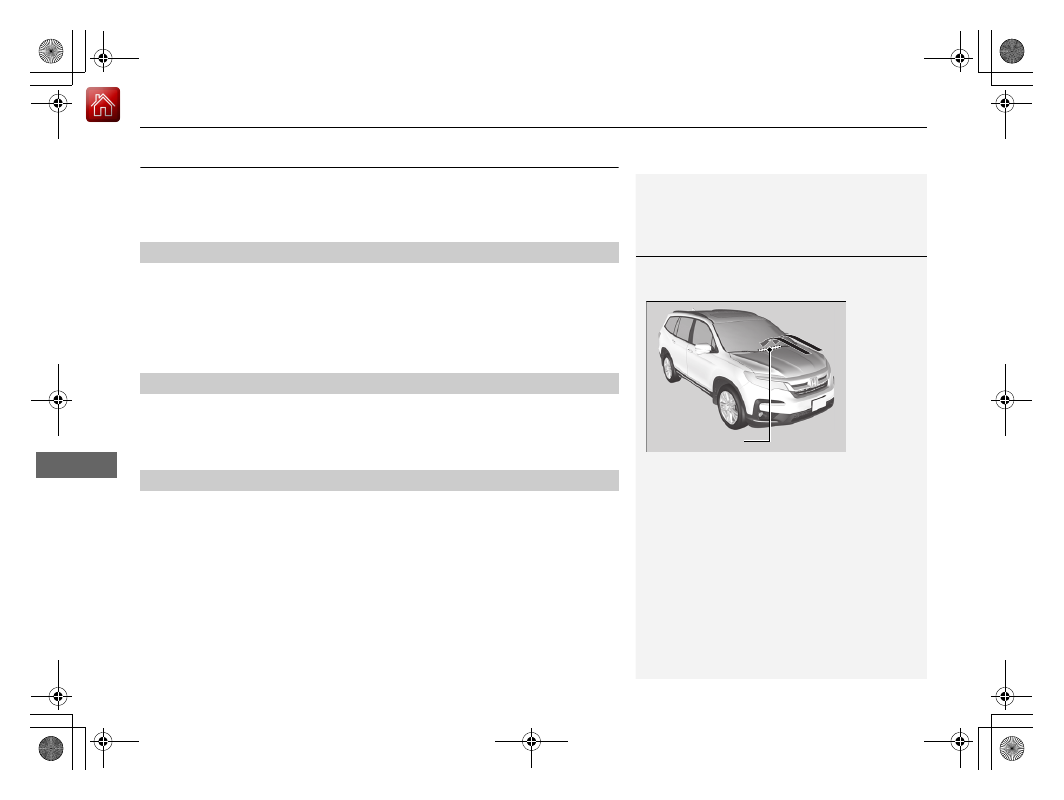
Do not spray water into the air intake vents. It can 
cause a malfunction.

Do not spray water onto the capless unit when the 
fuel fill door is open. It can cause damage to the fuel 
system or engine.

When using an automated car wash that pulls the 
vehicle through with a conveyor, make sure the 
transmission in 

(

N

 position.

2

If you want to keep the transmission in 

(

N


position [car wash mode]

 P. 466

Air Intake Vents

Continued

607

uu

Cleaning

u

Exterior Care

Main

tenan

ce

A good coat of automotive body wax helps protect your vehicle’s paint from the 
elements. Wax will wear off over time and expose your vehicle’s paint to the 
elements, so reapply as necessary.

If you get gasoline, oil, engine coolant, or battery fluid on resin coated parts, they 
may be stained or the coating may peel. Promptly wipe it away using a soft cloth and 
clean water.

Wipe using a glass cleaner.

Aluminum is susceptible to deterioration caused by salt and other road 
contaminants. When necessary, as early as possible use a sponge and mild detergent 
to wipe away these contaminants. Do not use a stiff brush or harsh chemicals 
(including some commercial wheel cleaners). These can damage the protective finish 
on aluminum alloy wheels, resulting in corrosion. Depending on the type of finish, 
the wheels also may lose their luster or appear burnished. To avoid water stains, 
wipe the wheels dry with a cloth while they are still wet.

Applying Wax

Maintaining the Bumpers and Other Resin Coated Parts

Cleaning the Window

Maintaining Aluminum Wheels

1

Applying Wax

NOTICE

Chemical solvents and strong cleaners can damage 
the paint, metal, and plastic on your vehicle. Wipe 
away spills immediately.

1

Maintaining the Bumpers and Other Resin Coated Parts

Ask a dealer about the correct coating material when 
you want to repair the painted surface of the parts 
made of resin.

608

uu

Cleaning

u

Exterior Care

Main

tenan

ce

The inside lenses of exterior lights (headlights, brake lights, etc.) may fog temporarily 
if you have driven in the rain, or after the vehicle has been run through a car wash. 
Dew condensation also may build up inside the lenses when there is a significant 
enough difference between the ambient and inside lens temperatures (similar to 
vehicle windows fogging up in rainy conditions). These conditions are natural 
processes, not structural design problems in the exterior lights.
Lens design characteristics may result in moisture developing on the light lens frame 
surfaces. This also is not a malfunction.
However, if you see large amounts of water accumulation, or large water drops 
building up inside the lenses, have your vehicle inspected by a dealer.

Fogged Exterior Light Lenses

609

Main

tenan

ce

Accessories and Modifications

Accessories

When installing accessories, check the following:

Do not install accessories on the windshield. They can obstruct your view and 
delay your reaction to driving conditions.

Do not install any accessories over areas marked SRS Airbag, on the sides or backs 
of the front seats, on front or side pillars, or near the side windows.
Accessories installed in these areas may interfere with proper operation of the 
vehicle’s airbags or may be propelled into you or another occupant if the airbags 
deploy.

Be sure electronic accessories do not overload electrical circuits or interfere with 
proper operation of your vehicle.

2

Fuses

 P. 633

Before installing any electronic accessory, have the installer contact a dealer for 
assistance. If possible, have a dealer inspect the final installation.

1

Accessories and Modifications

Honda Genuine accessories are recommended to 
ensure proper operation on your vehicle.

3

WARNING

Improper accessories or modifications can 
affect your vehicle’s handling, stability, and 
performance, and cause a crash in which 
you can be seriously hurt or killed.

Follow all instructions in this owner’s 
manual regarding accessories and 
modifications.

610

uu

Accessories and Modifications

u

Modifications

Main

tenan

ce

Modifications

Do not modify your vehicle in a manner that may affect its handling, stability, or 
reliability, or install non-genuine Honda parts or accessories that may have a similar 
effect.

Even minor modifications to vehicle systems can affect overall vehicle performance. 
Always make sure all equipment is properly installed and maintained, and do not 
make any modification to your vehicle or its systems that might cause your vehicle 
to no longer meet federal, state, province, territory, and local regulations.

The on-board diagnostic port (OBD-II/SAE J1962 connector) installed on this vehicle 
is intended to be used with automobile system diagnostic devices or with other 
devices that Honda has approved. Use of any other type of device may adversely 
affect the vehicle's electronic systems or allow them to be compromised, possibly 
resulting in a system malfunction, drained battery, or other unexpected problems. 

Do not modify or attempt to repair any of the electrical components.

611

Handling the Unexpected

This chapter explains how to handle unexpected troubles.

Tools

Types of Tools .................................. 612

If a Tire Goes Flat

Changing a Flat Tire ......................... 613

Engine Does Not Start

Checking the Engine ........................ 621

If the Keyless Remote Battery is Weak .. 622

Emergency Engine Stop ................... 623

If the Battery Is Dead

....................... 624

Overheating

How to Handle Overheating............. 627

Indicator, Coming On/Blinking

If the Low Oil Pressure Warning Appears ...629

If the Charging System Indicator Comes 

On ................................................. 629

If the Malfunction Indicator Lamp Comes 

On or Blinks ................................... 630

If the Brake System Indicator (Red) Comes 

On ................................................. 631

If the Electric Power Steering (EPS) System 

Indicator Comes On ....................... 631

If the Low Tire Pressure/Tire Pressure 

Monitoring System (TPMS) Indicator 
Comes On or Blinks........................ 632

If the Transmission System Indicator Blinks 

along with the Warning Message .......632

Fuses

Fuse Locations ................................. 633
Inspecting and Changing Fuses........ 637

Emergency Towing

........................... 638

If You Cannot Unlock the Fuel Fill Door

..639

Refueling

Refueling From a Portable Fuel 

Container ................................... 640

If You Cannot Open the Tailgate

.... 641

612

Han

d

lin
g the U

n

expected

Tools

Types of Tools

1

Types of Tools

The tools are stored in the cargo area.

Wheel Nut Wrench/
Jack Handle

Jack

Jack Handle Bar

Funnel

613

Continued

Han

d

lin
g the U

n

expected

If a Tire Goes Flat

Changing a Flat Tire

If a tire goes flat while driving, grasp the steering wheel firmly, and brake gradually 
to reduce speed. Then, stop in a safe place. Replace the flat tire with a compact 
spare tire. Go to a dealer as soon as possible to have the full-size tire repaired or 
replaced.

1.

Park the vehicle on a firm, level, non-slippery surface and apply the parking brake.

2.

Put the transmission into 

(

P

.

3.

Turn on the hazard warning lights and set the power mode to VEHICLE OFF 
(LOCK).

1

Changing a Flat Tire

Follow compact spare precautions:
Periodically check the tire pressure of the compact 
spare. It should be set to the specified pressure. 
Specified Pressure: 60 psi (420 kPa, 4.2 kgf/cm

2

)

When driving with the compact spare tire, keep the 
vehicle speed under 50 mph (80 km/h). Replace with 
a full-size tire as soon as possible.

The compact spare tire and wheel in your vehicle are 
specifically for this model. Do not use them with 
another vehicle. Do not use another type of compact 
spare tire or wheel with your vehicle.

Do not mount tire chains on a compact spare tire. 
If a chain-mounted front tire goes flat, remove one of 
the full-size rear tires and replace it with the compact 
spare tire. Remove the flat front tire and replace it 
with the full-size tire that was removed from the rear. 
Mount the tire chains on the front tire.

Do not use a puncture-repairing agent on a flat tire, 
as it can damage the tire pressure sensor.

uu

If a Tire Goes Flat

u

Changing a Flat Tire

614

Han

d

lin
g the U

n

expected

1.

Push the rear edge of the handle on the 
floor lid and open the lid.

2.

Pull and remove the cover. Take the wheel 
nut wrench and jack-handle bar out of the 
rear side compartment.

3.

Loosen the strap, then take the jack out.

Getting Ready to Replace the Flat Tire

1

Changing a Flat Tire

NOTICE

Do not use the jack if it doesn’t work properly. Call 
your dealer or a professional towing service.

Handle

Cover

Wheel Nut Wrench

Jack 
Handle Bar

Strap

Jack

Continued

615

uu

If a Tire Goes Flat

u

Changing a Flat Tire

Han

d

lin
g the U

n

expected

4.

Remove the cover and the rubber plug on 
the cargo area lining to access the shaft 
for the spare tire hoist.

5.

Put the wheel nut wrench with the jack 
handle bar on the hoist shaft.
Turn the wrench to the left to lower the 
spare tire to the ground.

6.

Keep turning the wheel nut wrench to 
create slack in the cable.

7.

Remove the bracket from the spare tire.

1

Getting Ready to Replace the Flat Tire

The wheel nut wrench supplied with your vehicle is 
specially adapted to fit the hoist shaft. Do not use any 
other tool.

Cover

Rubber Plug

Jack 
Handle Bar

Wheel Nut Wrench

Bracket

616

uu

If a Tire Goes Flat

u

Changing a Flat Tire

Han

d

lin
g the U

n

expected

8.

Place a wheel block or rock in front and 
rear of the wheel diagonal to the flat tire.

9.

Place the compact spare tire (wheel side 
up) under the vehicle body, near the tire 
that needs to be replaced.

10.

Loosen each wheel nut about one turn 
using the wheel nut wrench.

Wheel 
Blocks

The tire to be replaced.

Continued

617

uu

If a Tire Goes Flat

u

Changing a Flat Tire

Han

d

lin
g the U

n

expected

1.

Place the jack under the jacking point 
closest to the tire to be changed.

2.

Turn the end bracket clockwise as shown in 
the image until the top of the jack contacts 
the jacking point.

u

Make sure that the jacking point tab is 
resting in the jack notch.

3.

Raise the vehicle, using the jack handle bar 
and the jack handle, until the tire is off the 
ground.

How to Set Up the Jack

1

How to Set Up the Jack

Do not use the jack with people or luggage in the 
vehicle.

Use the jack provided in your vehicle.
Other jacks may not support the weight (“load”) or 
may not fit the jacking point.

The following instructions must be followed to use 
the jack safely:

Do not use while the engine is running.

Use only where the ground is firm and level.

Use only at the jacking points.

Do not get in the vehicle while using the jack.

Do not put anything on top of or underneath the 
jack.

3

WARNING

The vehicle can easily roll off the jack, 
seriously injuring anyone underneath.

Follow the directions for changing a tire 
exactly, and never get under the vehicle 
when it is supported only by the jack.

Jacking 
Points

Jack Handle Bar

Wheel Nut Wrench as Jack Handle

uu

If a Tire Goes Flat

u

Changing a Flat Tire

618

Han

d

lin
g the U

n

expected

1.

Remove the wheel nuts and flat tire.

2.

Wipe the mounting surfaces of the wheel 
with a clean cloth.

3.

Mount the compact spare tire.

4.

Screw the wheel nuts until they touch the 
lips around the mounting holes, then stop 
rotating.

5.

Lower the vehicle and remove the jack. 
Tighten the wheel nuts in the order 
indicated in the image. Go around, 
tightening the nuts, two to three times in 
this order.

Wheel nut torque:

94 lbf∙ft (127 N∙m, 13 kgf∙m)

Replacing the Flat Tire

1

Replacing the Flat Tire

Do not over tighten the wheel nuts by applying extra 
torque using your foot or a pipe.

Continued

619

uu

If a Tire Goes Flat

u

Changing a Flat Tire

Han

d

lin
g the U

n

expected

1.

Remove the center cap and place the flat 
tire face up under the hoist.

2.

Insert the hoist bracket into the center hole 
of the flat tire.

3.

Slowly turn the wheel nut wrench clockwise 
to take up the hoist cable slack.
Make sure the bracket is seated in the 
center hole of the flat tire.

4.

Turn the wheel nut wrench with the jack 
handle bar clockwise until the flat tire rests 
against the underbody of the vehicle and 
you hear the hoist click.

5.

Securely put the jack and wheel nut wrench 
back in the tool case. Store the case in the 
cargo area.

Storing the Flat Tire

1

Storing the Flat Tire

3

WARNING

Loose items can fly around the interior in a 
crash and can seriously injure the 
occupants.
Store the jack and tools securely before 
driving.

Center Cap

Wheel Nut Wrench

Jack Handle 
Bar

uu

If a Tire Goes Flat

u

Changing a Flat Tire

620

Han

d

lin
g the U

n

expected

If you replace a flat tire with the spare tire, the low tire pressure/TPMS indicator 
comes on while you are driving. After driving for a few miles (kilometers), the 
indicator will start blinking for a short time and then stay on. 

Tire Pressure 

Monitor Problem

 appears on the driver information interface, but this is normal.

If you replace the tire with a specified regular tire, the warning message on the 
driver information interface and the low tire pressure/TPMS indicator will go off after 
a few miles (kilometers).

TPMS with Tire Fill Assist and the Compact Spare Tire

1

TPMS with Tire Fill Assist and the Compact Spare Tire

The system cannot monitor the pressure of the spare 
tire. Manually check the spare tire pressure to be sure 
that it is correct.

Use the TPMS specific wheels. Each is equipped with 
a tire pressure sensor mounted inside the tire behind 
the valve stem.

621

Han

d

lin
g the U

n

expected

Engine Does Not Start

Checking the Engine

If the engine does not start, check the starter.

Starter condition

Checklist

Starter doesn’t turn or turns 
over slowly.

The battery may be dead. Check 
each of the items on the right and 
respond accordingly.

Check for a message on the driver information interface.

If the 

To Start, Hold Remote Near Start Button

 message appears

2

If the Keyless Remote Battery is Weak

 P. 622

u

Make sure the keyless remote is in its operating range.

2

ENGINE START/STOP Button Operating Range

 P. 158

Check the brightness of the interior lights.

Turn on the interior lights and check the brightness.

If the interior lights are dim or do not come on at all

2

Battery

 P. 597

If the interior lights come on normally 

2

 Fuses

 P. 633

The starter turns over normally 
but the engine doesn’t start.

There may be a problem with a 
fuse. Check each of the items on 
the right and respond accordingly.

Review the engine start procedure.

Follow its instructions, and try to start the engine again. 

2

 Starting the Engine

 P. 454

Check the immobilizer system indicator.

When the immobilizer system indicator is blinking, the engine cannot be started.

2

Immobilizer System

 P. 150

Check the fuel level.

There should be enough fuel in the tank. 

2

 Fuel Gauge

 P. 108

Check the fuses.

Check all fuses, or have the vehicle checked by a dealer.

2

Inspecting and Changing Fuses

 P. 637

If the problem continues:

2

Emergency Towing

 P. 638

1

Checking the Engine

If you must start the vehicle immediately, use an 
assisting vehicle or booster battery to jump start it.

2

If the Battery Is Dead

 P. 624


Content      ..     36      37      38      39     ..