Honda Passport (2002 year). Instruction - part 10
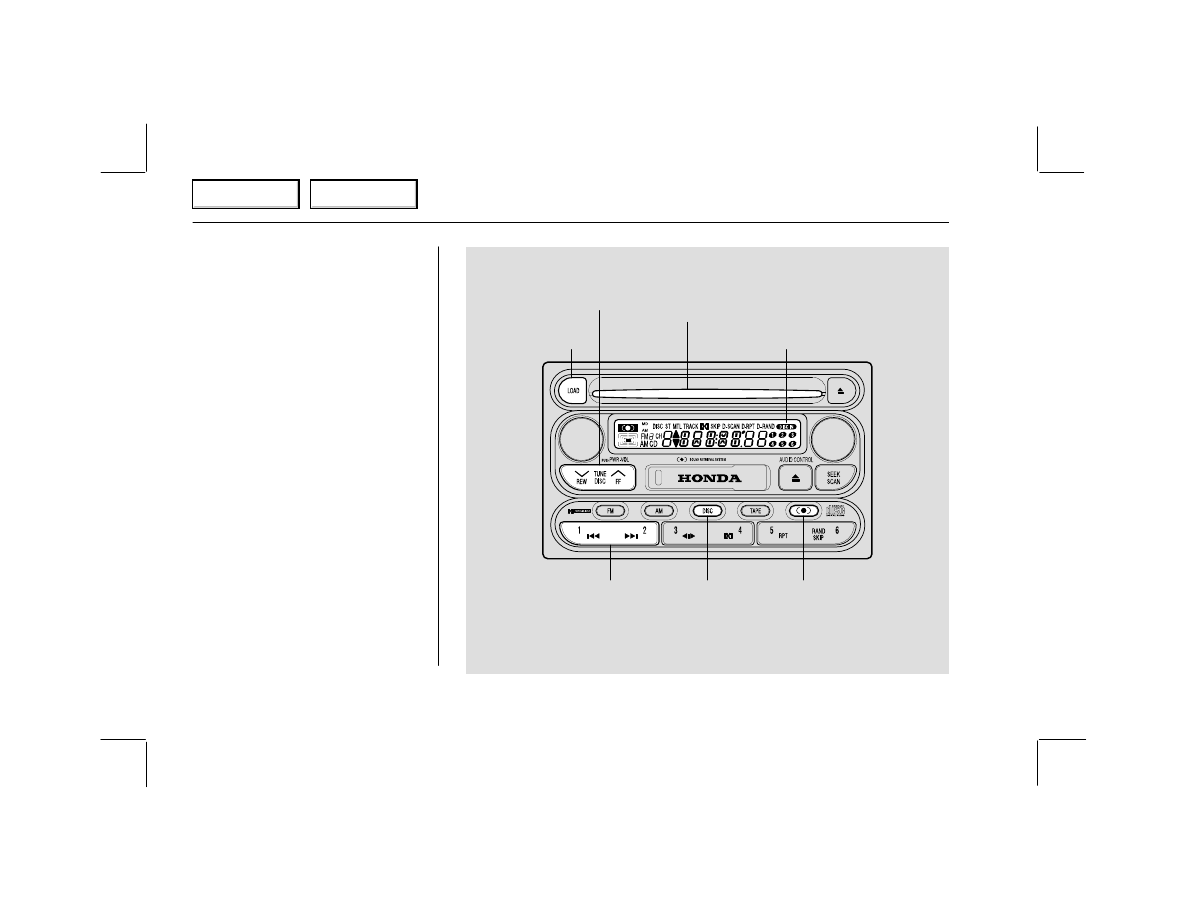
LOAD
BUTTON
CD SLOT
DISC
SELECTOR
TRACK
SELECTOR
CD BUTTON
SOUND
RETRIEVAL
SYSTEM
DISC
INDICATORS
142
Comfort and Convenience Features
Operating the CD Changer
To operate the CD changer, the
ignition switch must be in
ACCESSORY or ON.
Loading CDs in the Changer
To load a CD in the changer, press
the LOAD button. The numbered
light for the first empty slot in the
changer will begin flashing in the
upper right corner of the display.
When you see LOAD in the
display, insert the CD part way
into the slot, the drive will pull it
in the rest of the way. The
numbered light will stop flashing,
and remain lit as a reminder that a
CD is loaded in that position. The
system will begin playing the first
track on that CD.
Main Menu
Table of Contents