Honda HR-V (2019 year). Instruction - part 35
544
uu
Replacing Light Bulbs
u
Rear License Plate Light Bulbs
Main
tenan
ce
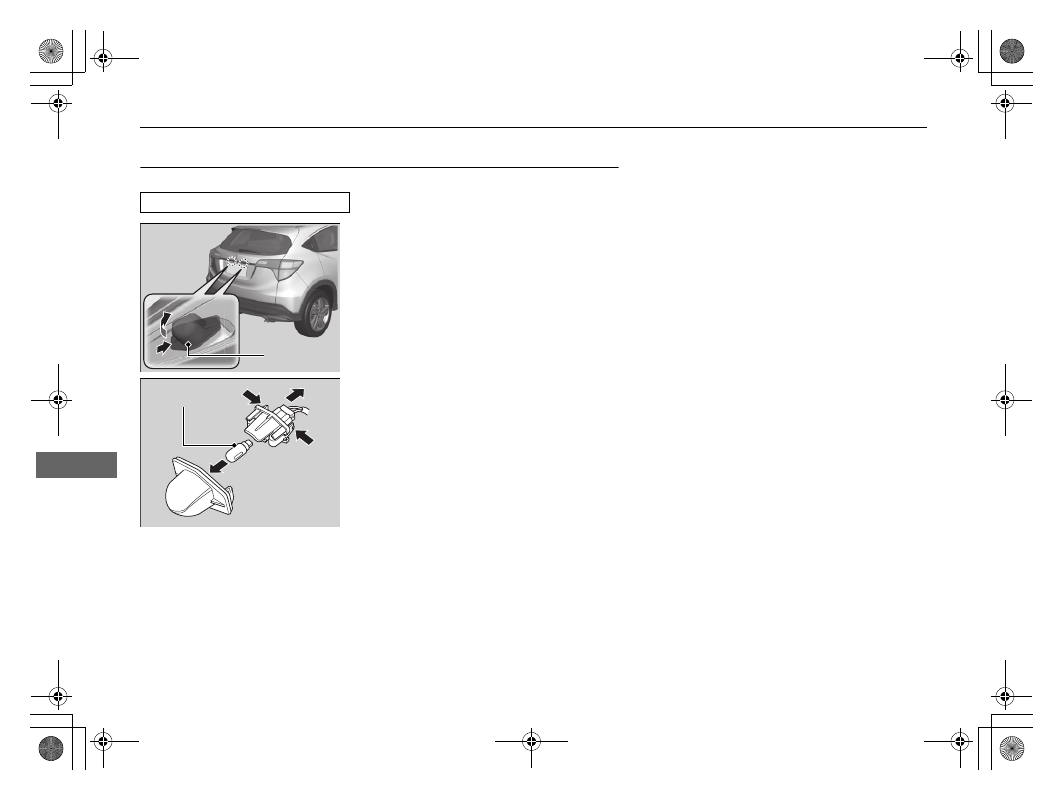
Rear License Plate Light Bulbs
When replacing, use the following bulbs.
1. Push the lens on the left and pull out the
lens and the socket attached to it.
2. Remove the license plate light assembly by
squeezing the tabs on both sides of the
socket.
3. Remove the old bulb and insert a new bulb.
Rear License Plate Light: 5 W
Lens
Bulb