Honda Ridgeline. Manual - part 344
01
SJC8A00J16126721591KBAT02
01
02
SJC8A00J16166221401KDAT00
Special Tools Required
20-14
20-14
Doors
Front Door Side Sill Seal
Replacement
Rear Door Panel Removal/
Installation
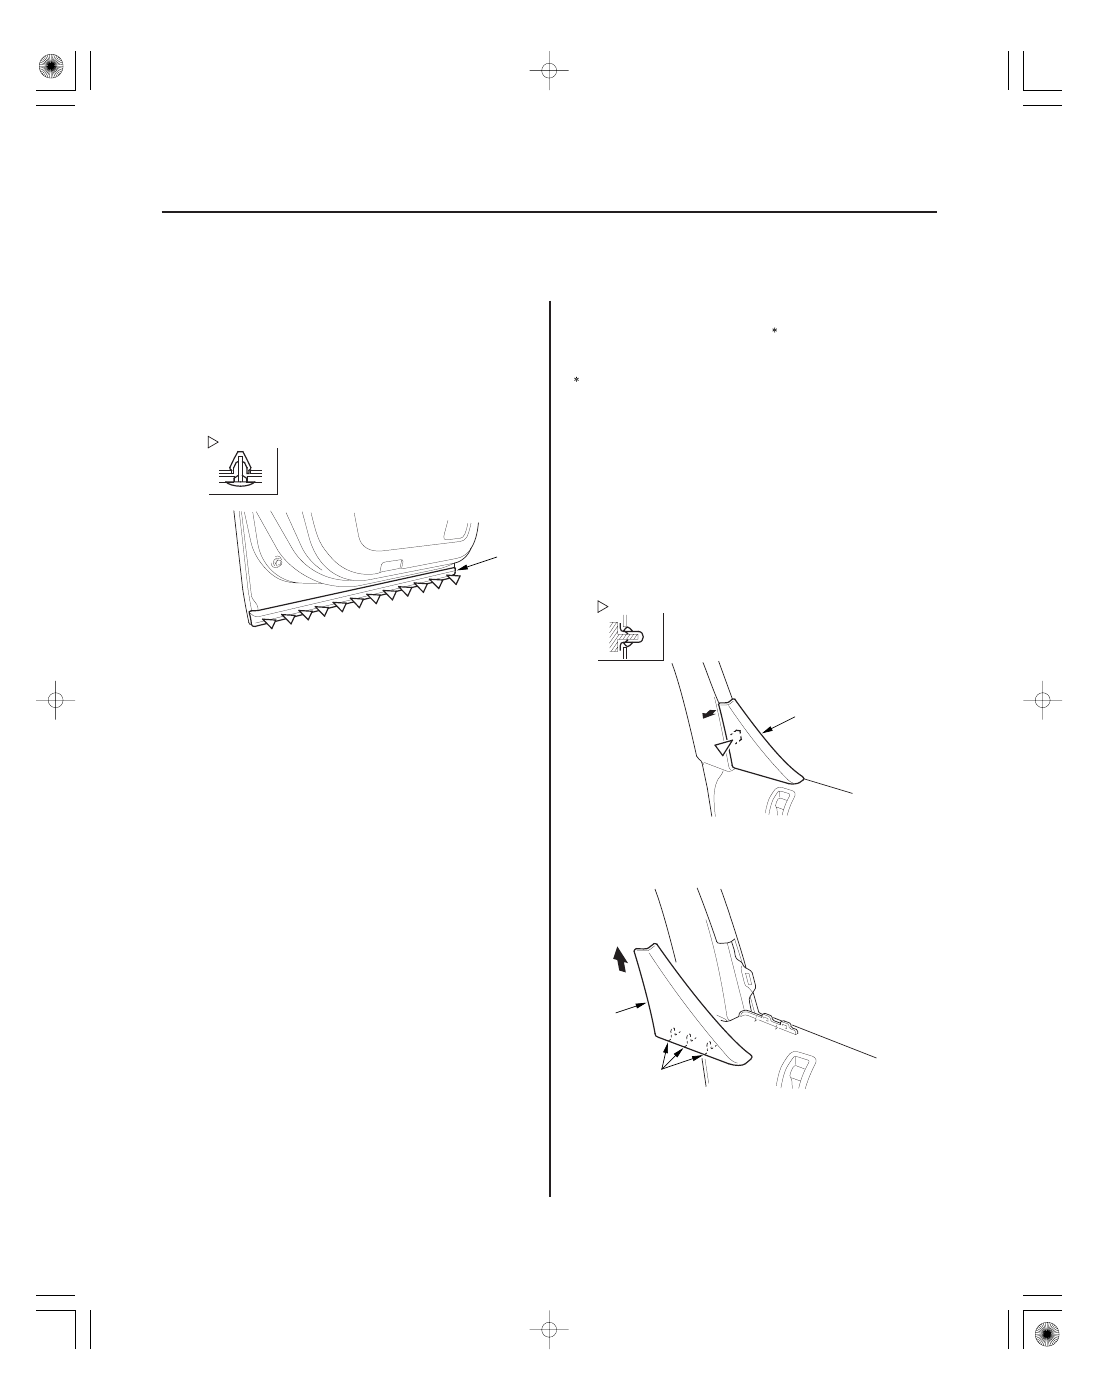
Fastener Locations
: Clip, 12
A
Fastener Location
: Clip, 1
A
A
B
NOTE:
• Take care not to scratch the door.
• Use a clip remover to remove the clips.
1. Detach the clips, then remove the door side sill seal
(A).
2. Install the side sill seal in the reverse order of
removal, and note these items:
• Check if the clips are damaged or stress-
whitened, and if necessary, replace them with
new ones.
• Push the clips into place securely.
• KTC trim tool set SOJATP2014
• Trim pad remover, Snap-on A 177A or equivalent,
commercially available
Available through the American Honda Tool and
Equipment Program; call 888-424-6857
NOTE:
• Use the appropriate tool from the KTC trim tool set to
avoid damage when prying components.
• Take care not to scratch the door and related parts.
1. Lower the glass fully.
2. Pull back the upper portion of the door quarter
inner trim (A) to detach the clip.
3. Release the hooks (A), then remove the door
quarter inner trim (B) to detach the clip.