Harley Davidson Panhead. Service manual (1948-1957 Rigid) - page 10


  Index      Harley Davidson     Harley Davidson Panhead. Service manual (1948-1957 Rigid)


Search            copyright infringement  


Content      ..     8      9      10      11     ..


Harley Davidson Panhead. Service manual (1948-1957 Rigid) - page 10


CARBURETOR CONVERSION
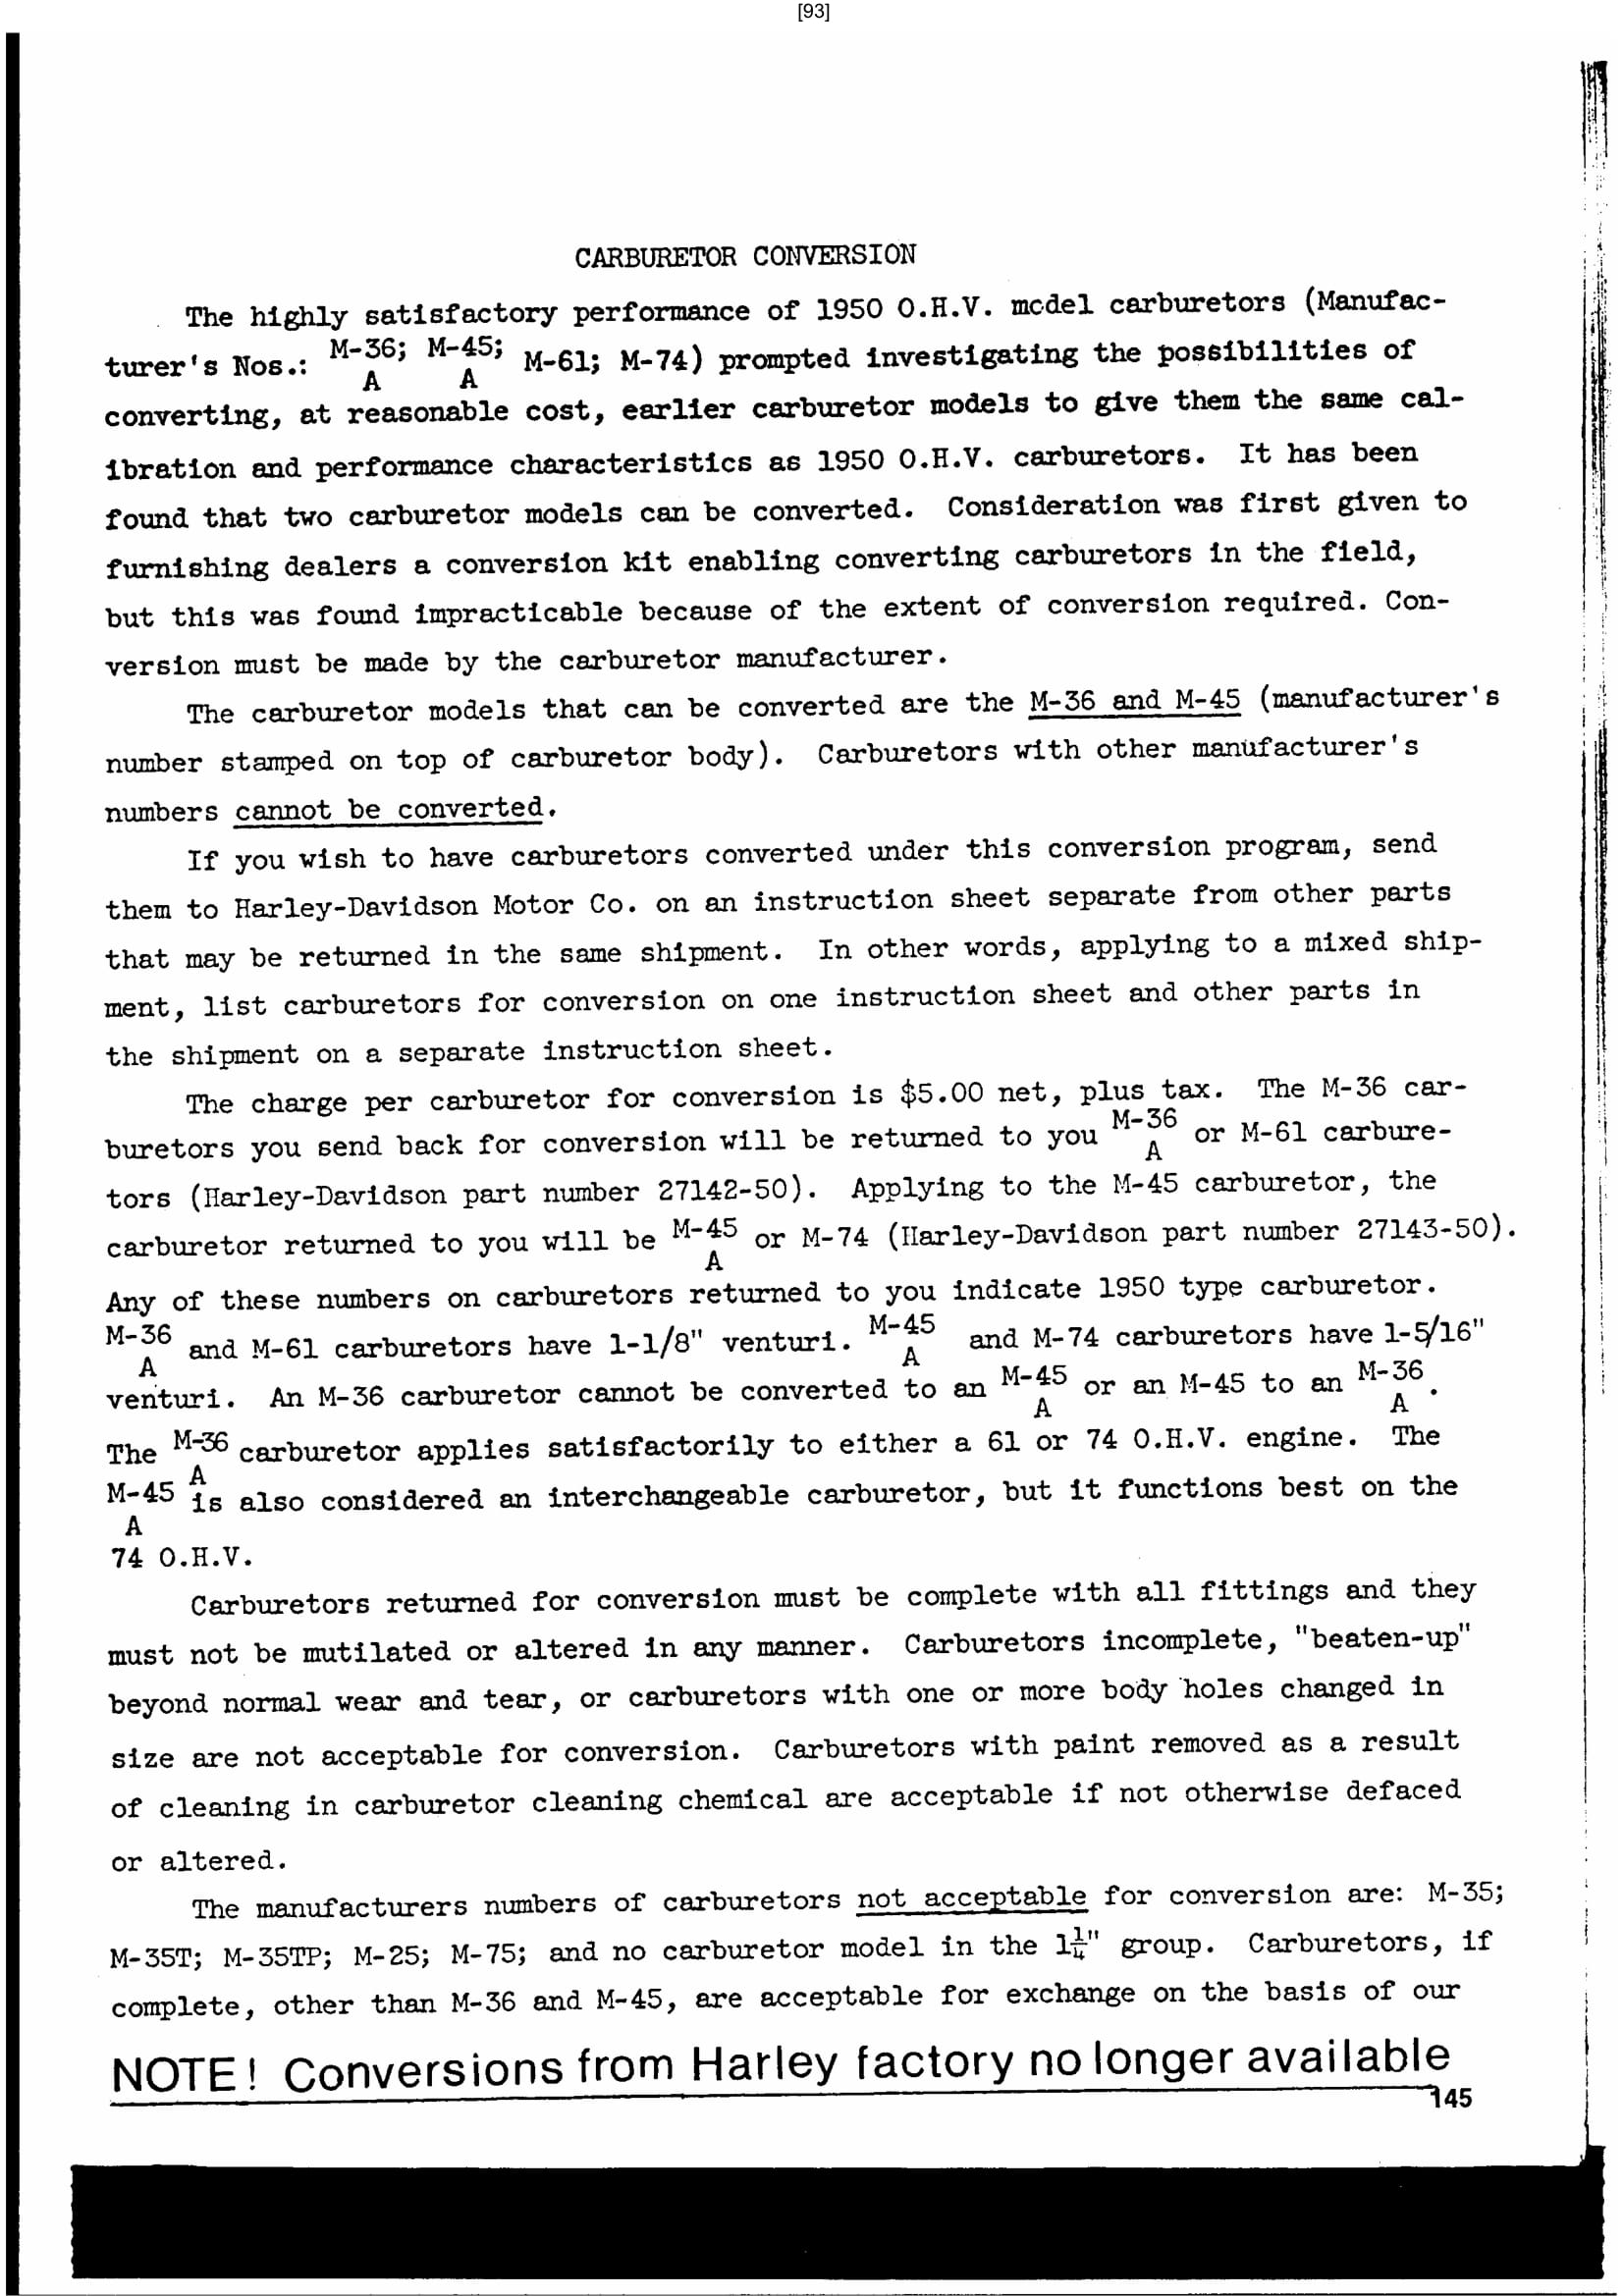


If above adjustments do not correct trouble, disassemble and repair as described in repair sections. See ’’Locating Operating Troubles,” for

aids to diagnosing trouble. It is not necessary to remove transmission from chassis to disassemble clutch, starter, main drive gear oil seal or clutch release mechanism. However, extensive repairs are often easier and more quickly made if transmission unit is removed to bench as described in following section, "Stripping Motorcycle for Transmission Repair." The transmission can be removed as a unit (including clutch), or each component individually.


STRIPPING MOTORCYCLE FOR TRANSMISSION REPAIR


1. Remove clutch control rod from clutch release lever by loosening lock nut at pedal (foot control clutch) or at booster connection (hand control clutch) and turning rod out until length has been increased enough to slide flat portion out of slot in clutch release lever.

2. Remove left footboard and studs.

3. Remove outer chain guard.

4. If motorcycle is equipped with compensating sprocket, use Compensating Sprocket Shaft Nut Wrench, Part No. 94557-55, to remove compensating sprocket shaft nut. If not equipped with compensating sprocket, use Crank Pin Nut Wrench, Part No. 94545-26, to remove sprocket nut. It will be necessary to strike wrench handle with mallet to loosen nut. Free sprocket from shaft taper by striking flat surface near outer edge a light but sharp rap with
soft metal mallet. Do not strike sprocket teeth or sprocket shaft threads. Sprocket and primary chain are then free to be removed.

5. Remove cotter pin, nut, flat washer and spring from each of the two inner chain guard rear mounting bolts. Bend back the ears of screw lock away from the three cap screws around the engine sprocket shaft that secure the front end of inner chain guard to engine crankcase, and remove cap screws and lock. Remove oil drain pipe from inner chain guard.

6. Disconnect shifter rod from transmission lever by removing nut and bolt.

7. Disconnect speedometer drive cable and housing from transmission. Disconnect neutral indicator switch wire clip.

8. Remove rear chain connecting link and chain.

9. Remove bolt which secures transmission to support bracket on right side of frame.

10. Remove two bolts and two cap screws which secure transmission mounting plate to chassis.

11. Remove complete transmission with mounting plate, clutch and inner chain guard from left side of chassis.

NOTE

It is not necessary to remove transmission from chassis to adjust or repair the clutch or starter mechanism.


CLUTCH

GENERAL

The clutch or clutch control mechanism needs attention when the clutch slips under load, or drags in released position. For causes of slipping clutch see "Locating Operating Troubles," Section 1C, items 93, 94 and 95. If clutch drags or fails to release, see items 96, 97, 98, 99 and 100. If clutch chatters when being engaged, see 101 and 102. Before disassembling clutch when repair is indicated, readjust gear shifter control and clutch spring tension. It is not necessary to remove transmission from chassis to adjust or repair clutch.


Content      ..     8      9      10      11     ..