Ford Galaxy / Ford S-MAX. Manual - part 624
 

  Index      Ford     Ford Galaxy / Ford S-MAX - service repair manual 2006 year


Search            


Content   ..  622  623  624  625   ..


Ford Galaxy / Ford S-MAX. Manual - part 624


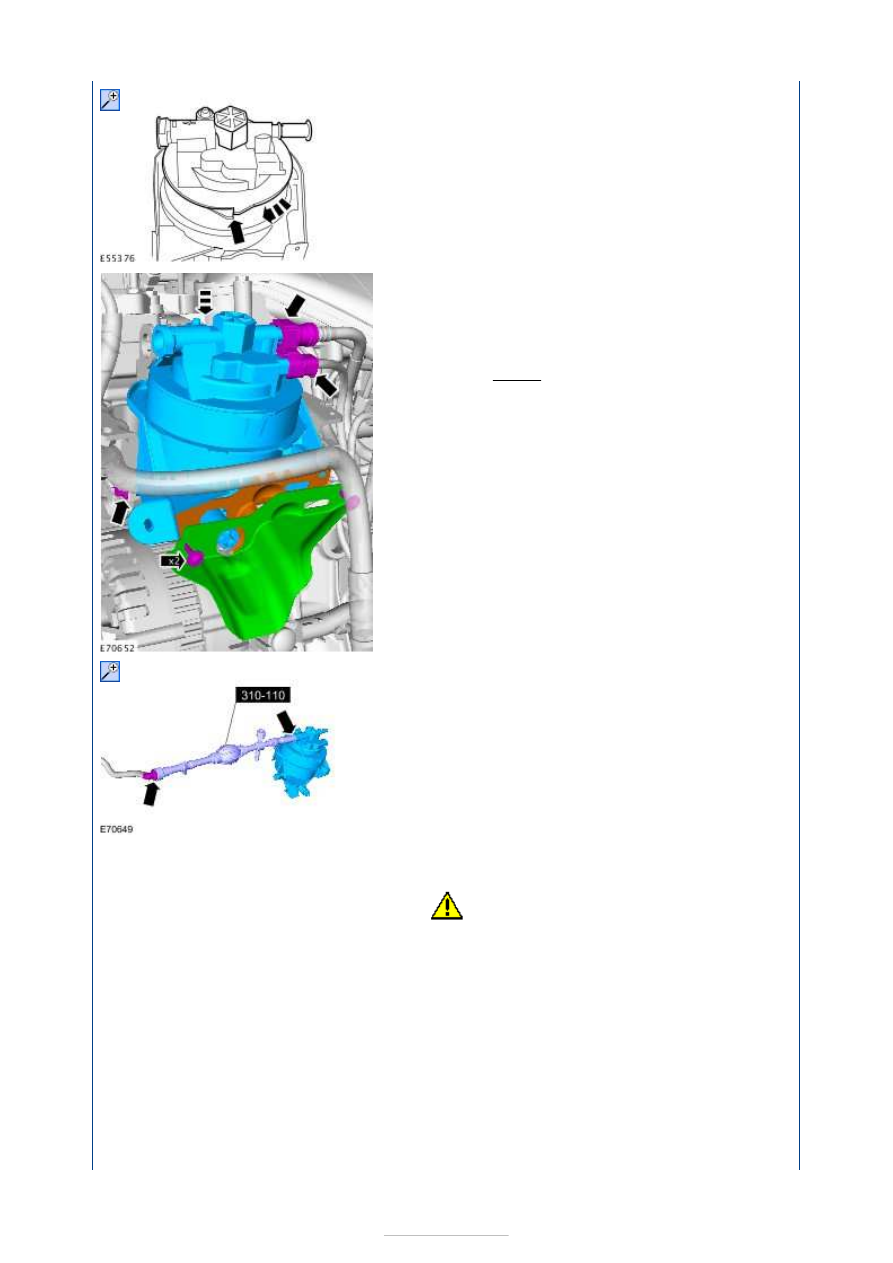
4. Discard the blanking caps. 

Refer to: 

Quick Release Coupling

 (310-00 Fuel 

System - General Information, General 
Procedures). 
Torque: 

10 Nm 

5. Special Tool(s): 

310-110A


6. Operate the hand pressure pump at least 30 

times. 

7.

CAUTION: The starter motor operation 

must not exceed 10 seconds at a time. After 
10 seconds turn the ignition switch to 
position 0 and allow the starter motor to cool 
for 30 seconds before operating the starter 
motor again. 

Start the engine and allow to idle until it reaches 
normal operating temperature 

8. Stop the engine. 

9. Special Tool(s): 

310-110A


10. Refer to: 

Quick Release Coupling

 (310-00 Fuel 

System - General Information, General 
Procedures). 

11. Remove the lint-free material. 

12. Torque: 9 Nm 

13.  


Fuel Tank and Lines - 2.0L Duratorq-TDCi 
(85kW/115PS) - DW/2.0L Duratorq-TDCi 
(100kW/136PS) - DW/2.0L Duratorq-
TDCi (103kW/140PS) - DW, Emission 
Requirements: Stage IV - Fuel Level 
Sensor

S-MAX/Galaxy 2006.5 (02/2006-)


Print


Removal and Installation 

Special Tool(s) 

Removal 

NOTE: Removal steps in this procedure may contain installation details. 

Installation 

310-069 
Wrench, Fuel Tank Sender Unit 

1. Refer to: 

Diesel Fuel System Health and Safety 

Precautions

 (100-00 General Information, 

Description and Operation). 

2. Remove the fuel tank. 

Refer to: 

Fuel Tank

 (310-01B Fuel Tank and 

Lines - 1.8L Duratorq-TDCi (74kW/100PS) - 
Lynx/1.8L Duratorq-TDCi (92kW/125PS) - Lynx, 
Removal and Installation). 

3. Refer to: 

Quick Release Coupling

 (310-00 Fuel 

System - General Information, General 
Procedures). 

4. Special Tool(s): 

310-069


Torque: 

85 Nm 

5.

CAUTION: Take extra care not to 

damage the fuel tank level sensor float and 
arm.  


1.

CAUTION: Take extra care not to 

damage the fuel tank level sensor float and 
arm.  
NOTE: Make sure that the seal is correctly 
located. 
NOTE: Make sure that the installation marks 
are aligned. 

2. To install, reverse the removal procedure. 


Content   ..  622  623  624  625   ..