Ford Galaxy / Ford S-MAX. Manual - part 233
 

  Index      Ford     Ford Galaxy / Ford S-MAX - service repair manual 2006 year


Search            


Content   ..  231  232  233  234   ..


Ford Galaxy / Ford S-MAX. Manual - part 233


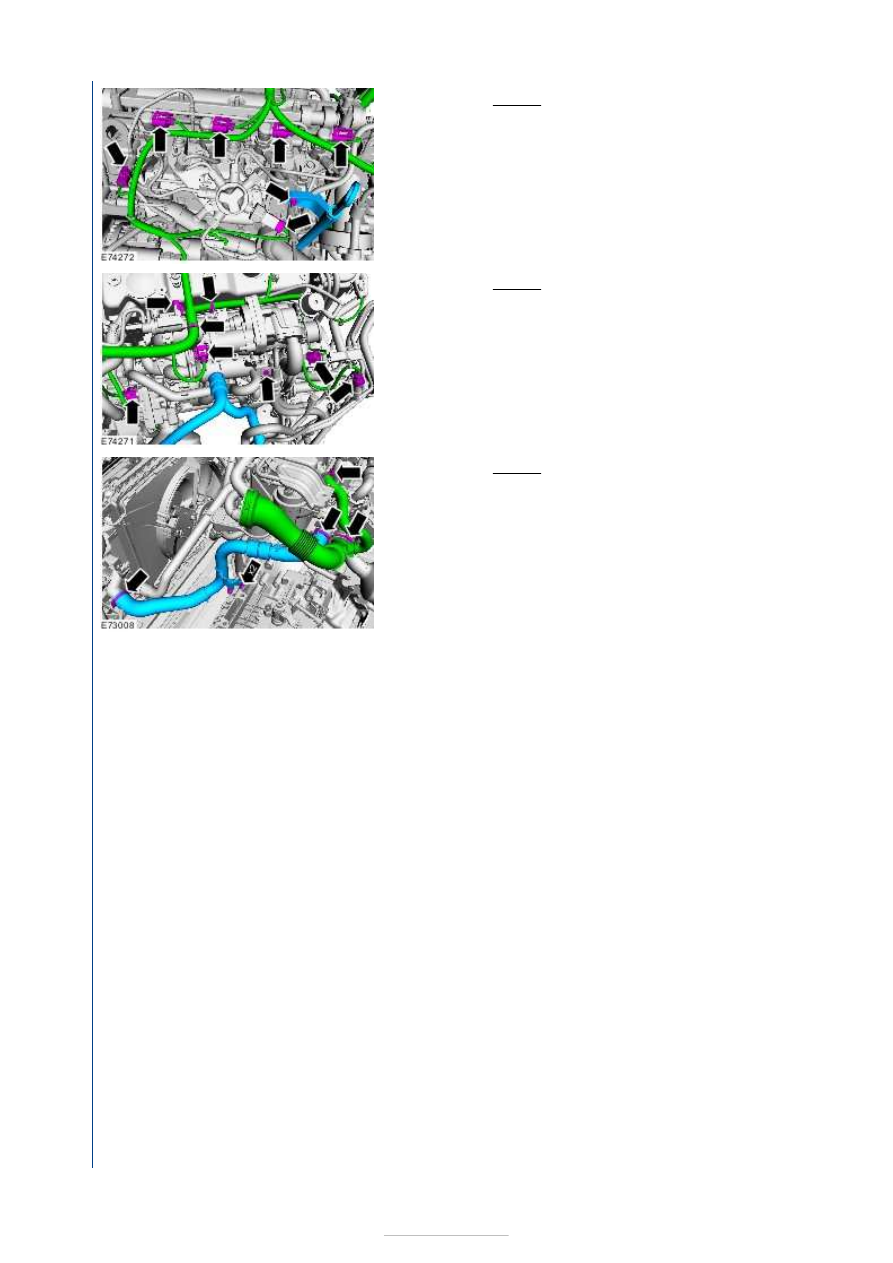
39. Torque: 10 Nm 

40. Torque: 23 Nm 

41. Torque: 24 Nm 

42. Install the Air Cleaner. 

Refer to: 

Air Cleaner

 (303-12D Intake Air Distribution 

and Filtering - 1.8L Duratorq-TDCi (74kW/100PS) - 
Lynx/1.8L Duratorq-TDCi (92kW/125PS) - Lynx, 
Removal and Installation). 

43. Connect the battery ground cable. 

Refer to: 

Battery Disconnect and Connect

 (414-01 

Battery, Mounting and Cables, General Procedures). 

44. Refer to: 

Door Window Motor Initialization

 (501-11 

Glass, Frames and Mechanisms, General Procedures).

45. Change the engine oil and the oil filter. 

Material: 

Engine Oil - 5W-30 (WSS-M2C912-A1)


46. Bleed the cooling system. 

Refer to: 

Cooling System Draining, Filling and Bleeding

(303-03D Engine Cooling - 1.8L Duratorq-TDCi 
(74kW/100PS) - Lynx/1.8L Duratorq-TDCi 
(92kW/125PS) - Lynx, General Procedures). 

47.  


48.  

49.  


Engine - 1.8L Duratorq-TDCi 
(74kW/100PS) - Lynx/1.8L Duratorq-
TDCi (92kW/125PS) - Lynx - Oil Pan

S-MAX/Galaxy 2006.5 (02/2006-)


Print


Removal and Installation 

Special Tool(s) 

Materials 

Removal 

205-047 
Slide Hammer 

303-633 
Adapter for 205-047 

Name

Specification

Engine Oil - 5W-30 WSS-M2C912-A1

Silicone Sealant LB WSE-M4G323-A4 / 2U7J-M4G323-AA

1. Refer to: 

Lifting

 (100-02 Jacking and Lifting, 

Description and Operation). 

2.  

3.

NOTE: The seal is to be reused unless 
damaged. 

Drain the engine oil into a suitable container. 

4.

CAUTION: Take extra care not to 

damage the mating faces. 

Special Tool(s): 

303-633

205-047


Installation 

1.

NOTE: Make sure that the mating faces are 
clean and free of foreign material. 

2.

CAUTION: Make sure that no excess 

sealant residue is evident. 
NOTE: The component must be installed 
within 5 minutes of applying the sealant. 

Apply a 2.5 mm diameter bead of sealant to the 
edge of the Oil Pan. 

Material: 

Silicone Sealant LB (WSE-M4G323-A4 / 

2U7J-M4G323-AA)


3. Tighten the Oil Pan retaining nuts and bolts in 

the sequence shown.  

Torque: 

1-18  

6.5 Nm 
14 Nm 

19 36 Nm 

Stage 1: 
Stage 2: 

4.  

5. Fill the engine with engine oil. 


Content   ..  231  232  233  234   ..