Ford Ranger EV (2001 year). Manual - part 180
 

  Index      Ford     Ford Ranger EV - service repair manual 2001 year


Search            


Content   ..  178  179  180  181   ..


Ford Ranger EV (2001 year). Manual - part 180


414-03B-116

414-03B-116

High Voltage/Traction Battery — Nickel Metal Hydride

REMOVAL AND INSTALLATION (Continued)

7. Remove the HVJ.

Use the Battery Terminal Cap Opener to
open the battery module caps.

Remove and discard the two nuts.

Installation

1. To install, reverse the removal procedure.

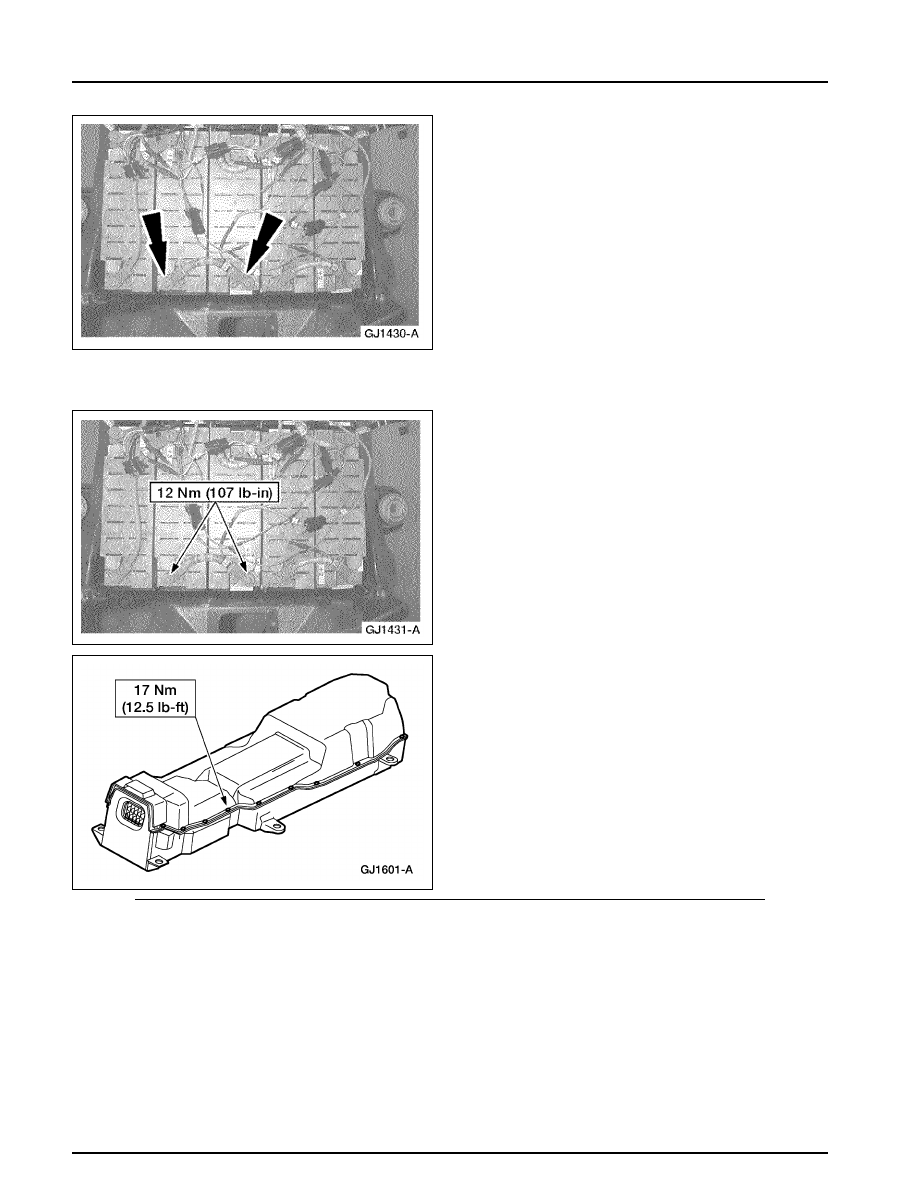
Refill the HVJ caps with Nyogel after
tightening the nuts.

Apply Locktite 242 to the 22 traction
battery cover bolts.

Traction Battery

Removal

1. Disconnect the traction battery auxiliary load

high-voltage connector. Refer to 

 Section

100-05

.

414-03B-117

414-03B-117

High Voltage/Traction Battery — Nickel Metal Hydride

REMOVAL AND INSTALLATION (Continued)

2. Disconnect the traction battery high-voltage

two-pin connector. Refer to 

 Section 100-05

.

3.

WARNING: The nominal voltage of

the traction battery is 300 volts. The buffer
zone must be set up and insulated rubber
gloves and a face shield must be worn.
Failure to follow these precautions may
result in severe personal injury or death. 
Observe the EV-specific precautions. Refer to 

Section 100-00

.

1 Set up the buffer zone.
2 Test and wear the insulated rubber gloves.
3 Wear the face shield.

4. Secure the two-pin high-voltage cable to the

rear axle to hold it out of the way.

5. Disconnect the 76-pin electrical connector.

1 Loosen the bolt.
2 Disconnect the electrical connector.

414-03B-118

414-03B-118

High Voltage/Traction Battery — Nickel Metal Hydride

REMOVAL AND INSTALLATION (Continued)

6. Position the 76-pin electrical connector over the

control arm.

7. Position the lift table under the battery pack

assembly.

The narrow end of the pallet faces the front
of the vehicle.

8. Completely lower the lift table and then lower

the vehicle until the battery pack is within 25.5
cm (10 in) of the lift table. Verify that the
safety locks on the lift are engaged.

9. Adjust the lift table so it is parallel with the

battery pack.

Turn the adjustment screw at the front of
the lift table to vary the angle of the lift
table.

10. NOTE: A second person is necessary to

position and guide the lift table. 
Align the lift table with the battery pack.

414-03B-119

414-03B-119

High Voltage/Traction Battery — Nickel Metal Hydride

REMOVAL AND INSTALLATION (Continued)

11. NOTE: The lift table operates using a minimum

of 80 psi and a maximum of 120 psi of
compressed air. 
Slowly raise the lift table until it contacts the
bottom of the battery pack.

Push the lever up.

12.

CAUTION: Do not adjust either

regulator for more than 60 psi. 
NOTE: 
The lift table is designed to only lift
the battery pack assembly. It will not lift the
entire vehicle. 
Continue to lift the battery pack until the lift
table system pressure equalizes and both gauges
reach 60 psi.

13. NOTE: There are three mounting bolts on both

the left and right sides of the traction battery. 
Remove the six mounting bolts from the battery
pack.

14. Lower the lift table slowly until it rests on the

pallet stops and system pressure is completely
released (0 psi).

15. Raise the vehicle.


Content   ..  178  179  180  181   ..