Ford Falcon. Manual - part 242
307-01-71 Automatic
Transmission 307-01-71
DISASSEMBLY AND ASSEMBLY OF SUBASSEMBLIES (Continued)
6. To remove the clutch piston from the clutch
3. Remove the 4 Torx head screws from the cover
cylinder, apply air pressure to the port between
plate (Torx bit No. 30).
the iron sealing rings on the bearing journals of
4. Lift the cover plate from the cover. Remove the
the cylinder.
ball check valves and spring from the pump cover.
7. Remove the reverse sun gear from the cylinder.
5. The retaining pins for the 3 valves are loose in the
cover, remove the pins. This may be done by
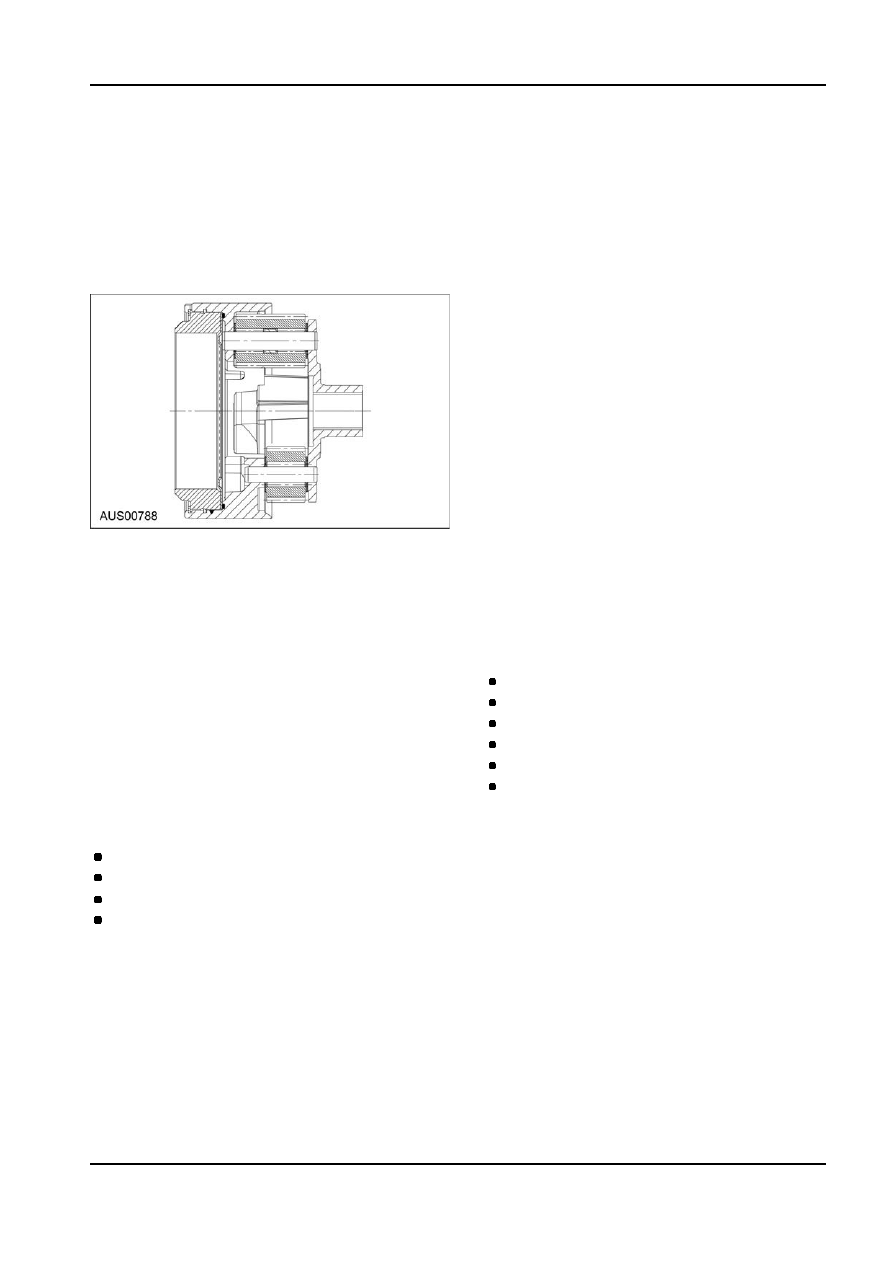
Planet Carrier & Centre Support
pushing the sealing plugs in slightly and allowing
the pins to fall out or by withdrawing the pins with
Disassembly
a magnet. Remove the 3 sealing plugs.
6. Remove the 3 valves.
7. Remove the ‘O’ ring seal from the periphery of the
pump cover.
8. Remove the pump gears from the pump body.
9. Remove the ‘O’ ring seal from the pump body.
10. Remove the lip seal from the front of the pump
body.
NOTE: Do not remove the seal unless
replacement is required.
Valve Body
Disassembly
1. Separate the planet carrier and centre support
1. Remove the detent spring and retainer plate using
from the output shaft. Remove the thrust bearings
a T40 Torx bit.
from the output shaft and the planet carrier.
2. Slide the manual valve out of the lower valve
2. Separate the centre support from the planet
body.
carrier by rotating it anti-clockwise.
3. Take note of the angular relationship of the
3. Lift the one way clutch from the planet carrier.
solenoid terminals to the valve body. Remove the
4. Remove the circlip retaining the one way clutch
solenoid and valve assembly as follows:
outer race in the planet carrier and remove the
No. 1 solenoid.
race.
No. 2 solenoid.
5. Remove the one way clutch retainer and o-ring
No. 3 solenoid.
from the planet carrier.
No. 4 solenoid.
Pump
No. 5 solenoid.
No. 6 solenoid.
Disassembly
4. Place the valve body assembly on the bench with
NOTE: The following valves are housed in the pump
the upper body uppermost. Remove the 24
cover:
clamping screws with a No. 30 Torx bit. Separate
No. 7 solenoid.
the upper and lower valve bodies by lifting the
upper body and the separator plate together. Turn
Converter clutch control valve.
the upper body over the place on the bench with
Converter clutch regulator valve.
the separator plate uppermost.
Primary regulator valve.
5. Lift the separator plate and gaskets from the
1. Remove the wiring loom retainer plate and
upper valve body, remove the 3 nylon (white) and
remove the No. 7 solenoid with a T30 Torx bit.
3 PIA (olive) check balls exposed in the valve
body. Remove the keeper plate from the reverse
2. Remove the 5 washer head bolts from the cover
lockout valve, spring and plug will drop out when
plate using a multipoint 8 mm socket. Separate
the upper valve body is tipped on its end.
the pump assembly from the pump cover
assembly.
6. Remove the 1 filter and the one large nylon check
NOTE: The pump assembly should be supported
ball from the lower valve body.
as the bolts are removed. If the pump assembly
7. Remove the keeper plates and pins from the 1-2,
does not come away freely from the pump cover
2-3, 3- 4, bar and car valves. The plates are loose
do not strike the converter support tube to free the
in the valve body and will drop out when the valve
pump assembly.
body is turned over. Pins can be removed with a
magnet.
G73120 en