Ford Falcon. Manual - part 39
204-04-9
Wheels and Tyres
204-04-9
REMOVAL AND INSTALLATION
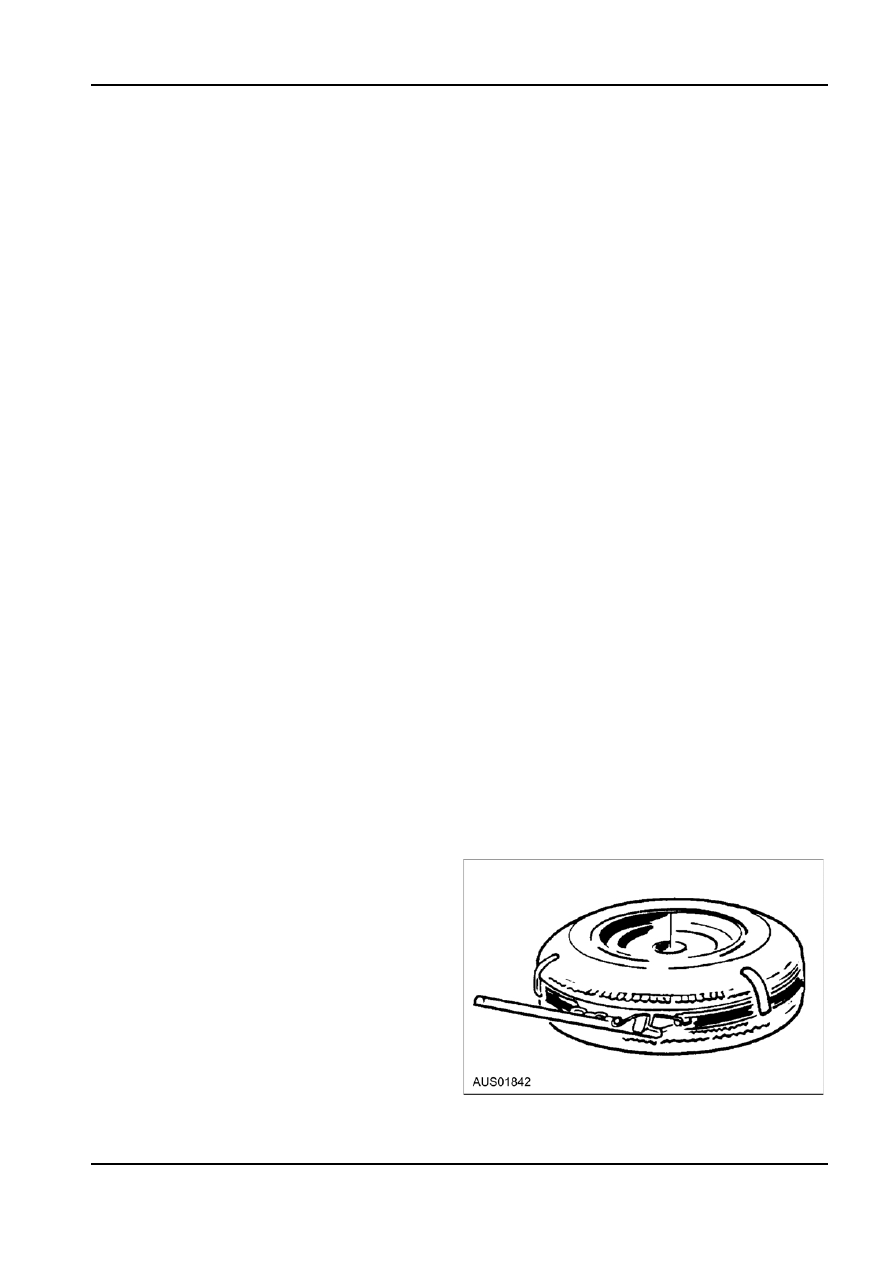
3. Stand the wheel and tyre upright with the tyre
Wheel
inner bead in the drop centre well at the
bottom of the wheel. Insert the tyre iron
Removal
between the bead and the edge of the wheel
1. Remove the wheel cover by inserting the small
rim, and pry the wheel out of the tyre.
end of a wheel nut removal tool inside the outer
Installation
edge of the cover and progressively prying off the
cover (steel wheels only).
1. If a used tyre is being installed remove all dirt
from the tyre. If a tyre is being mounted to the
2. Loosen the wheel nuts one turn.
original wheel, check the tyre bead seat on the
3. Raise the vehicle until the tyre clears the floor.
rim for imperfections and rectify same before
4. Remove the wheel nuts and the centre cap
installing the tyre. If a new tyre or wheel is being
(where fitted).
installed coat a new valve with lubricant and
Installation
position the valve to the wheel. Use a valve
replacing tool to seat the valve in the rim.
1. Clean all dirt from the hub.
2. Apply lubricant to the sealing surface on both tyre
2. Position the wheel on the hub. Install the wheel
beads and wheel. With the outer side of the wheel
centre cap (where fitted) on the wheel bolts.
up, install the beads one at a time over the wheel
3. Install the wheel nuts and tighten them alternately
rim, by using a rubber mallet or a tyre mounting
in order to draw the wheel evenly against the hub.
machine.
4. Lower the vehicle to the floor, and tighten the
3. Remove the valve core and give the tyre a few
nuts.
quick bursts of air to seal the beads.
5. Position the wheel cover recess for the valve,
4. If the beads do not seal, hold the beads against
symmetrically around the valve and using a
the rim by positioning a tyre mounting band over
rubber mallet gently knock the cover onto the
the tyre. If a mounting band is not available, tie a
wheel, hitting on the outer edge. (Steel wheels
tourniquet of heavy cord around the
only.)
circumference of the tyre. Tighten the cord with a
tyre iron. Centre the tyre on the wheel with a
Tyre
rubber mallet. Repeat item 3. Remove the
mounting band.
Removal
5. Install the valve core then inflate the tyre to 275
NOTE: When fitting a new tubeless tyre, a new
kPa pressure to seat the beads against the rim
snap-in valve should also be fitted. The valve is made
flanges.
to last the life of the tyre, but beyond that time fatigue
of the valve body rubber is likely to impair the air-seal 6. Check to see that the bead positioning rings (rings
at the rim hole.
on the side walls near the rim) are evenly visible
just above the rim flanges all the way around the
NOTE: The tyre can be demounted or mounted on a
tyre. If the rings are not even, deflate the tyre
machine. A machine should always be used on
completely and inflate it again.
aluminium alloy wheels.
7. When the rings are properly positioned, deflate
NOTE: Be sure that outer side of the wheel is
the tyre to the recommended pressure.
positioned upward. It is acceptable to use tyre irons
8. Dynamically balance the wheel and tyre
on steel wheels using the following procedure.
assembly.
1. Remove the valve cap and core, and deflate the
tyre completely.
2. With the bead loosening tool, break loose the tyre
beads from the wheel.
3. Remove the wheel weights (if fitted).
1. With the outer side of the wheel upward,
insert two tyre irons about 200 mm apart
between the tyre outer bead and the wheel
rim. Use only tyre irons with rounded edges or
irons designed for demounting tubeless tyres.
2. Lever the tyre bead over the wheel rim with
one iron and hold it in this position. Pry the
rest of the bead over the rim with the other
iron. Take small "bites" with the iron around
NOTE: Ensure correct rotational direction when fitting
the tyre in order to avoid damaging the
a directional tyre to a rim.
sealing surface of the tyre bead.
G43326 en