Ford Focus RS (2011 year). Instruction - part 32
Rear Quarter Window Glass — 3-Door/5-Door(42 514 0)
General Equipment
Hot air gun
Direct glazing cutter for bonded glass
Direct glazing adhesive kit
Direct glazing adhesive oven
Glazing suction cups
Removal
All vehicles
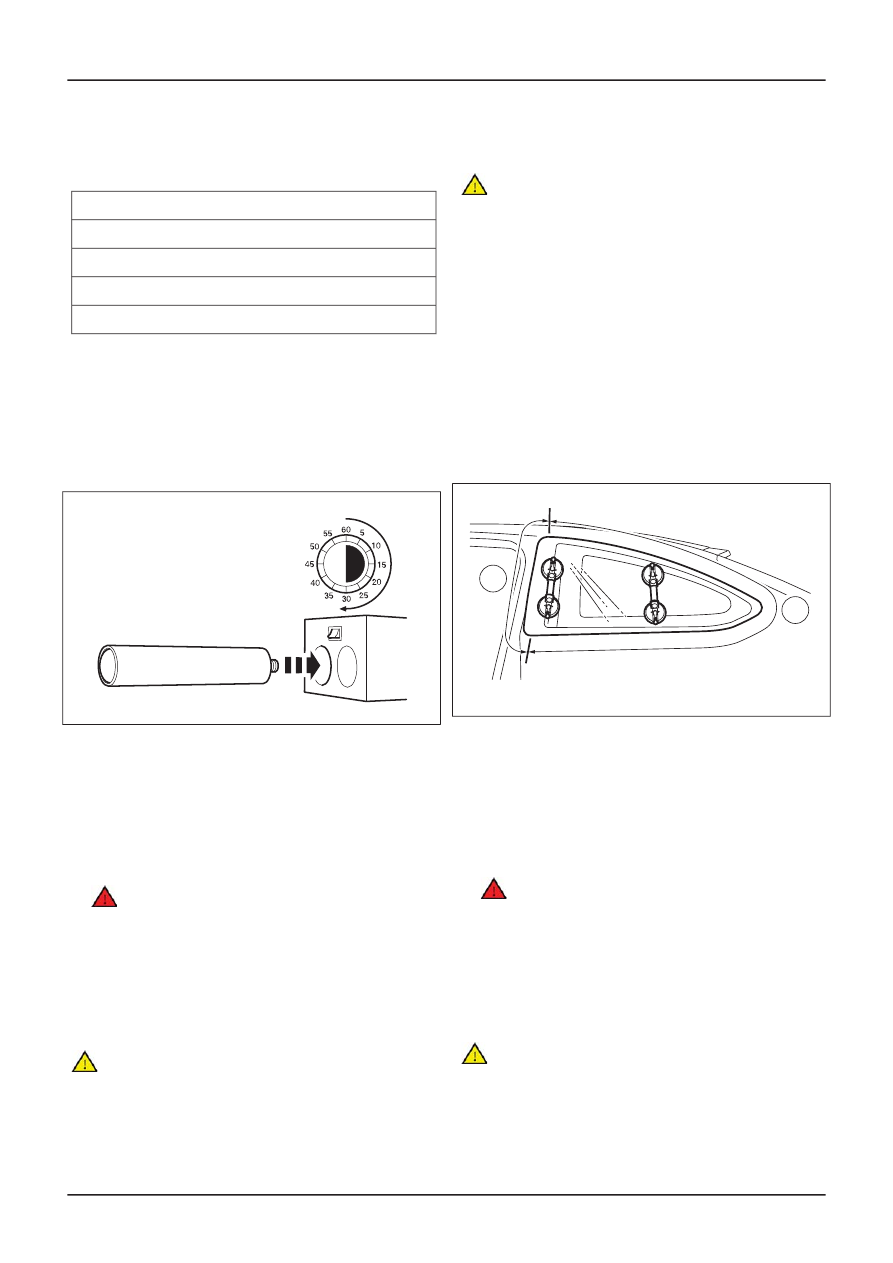
1. Remove the polyurethane (PU) adhesive cap
and heat the PU adhesive for a minimum of
30 minutes.
TIE0022871
3-door
2. Remove the B-pillar trim panel.
Trim and Ornamentation, Removal and
Installation).
3.
WARNING: Wear gloves and eye
protection when working with the glass
cutting tool as the cutting operation may
produce splinters. When using the cutter
wear ear protectors. Failure to follow these
instructions may result in personal injury.
CAUTIONS:
Place a suitable piece of flexible plastic
card between the direct glazing cutter
blade and vehicle body to avoid damage
to the vehicle body when cutting from
outside the vehicle.
Make sure the cutting blades are changed
where the cutting depth changes to avoid
damage to the body and trim panels when
cutting from inside the vehicle.
NOTE: Some resistance may be encountered when
cutting through the glass locating pegs in the
corners of the glass.
Using a suitable direct glazing cutter, cut the
PU adhesive and, with the aid of another
technician, use glazing suction cups to
remove the rear quarter window glass.
1. From outside the vehicle, cut the PU
adhesive.
2. From inside the vehicle, cut the PU adhesive
to a maximum depth of 55 mm.
E48514
2
1
5-door
4. Remove the C-pillar trim panel.
Trim and Ornamentation, Removal and
Installation).
5.
WARNING: Wear gloves and eye
protection when working with the glass
produce splinters. When using the cutter
instructions may result in personal injury.
CAUTIONS:
card between the direct glazing cutter
blade and vehicle body to avoid damage
to the vehicle body when cutting from
outside the vehicle.
G388095en
501-11-
25
Glass, Frames and Mechanisms
501-11-
25
REMOVAL AND INSTALLATION
wear ear protectors. Failure to follow these
Place a suitable piece of flexible plastic
Trim Panel - 4-Door/5-Door
(501-05 Interior
Trim Panel - 4-Door/5-Door
(501-05 Interior
cutting tool as the cutting operation may
For additional information,
refer to
:
B-Pillar
For additional information,
refer to
:
C-Pillar