Ford Focus RS (2011 year). Instruction - part 14
Item 4
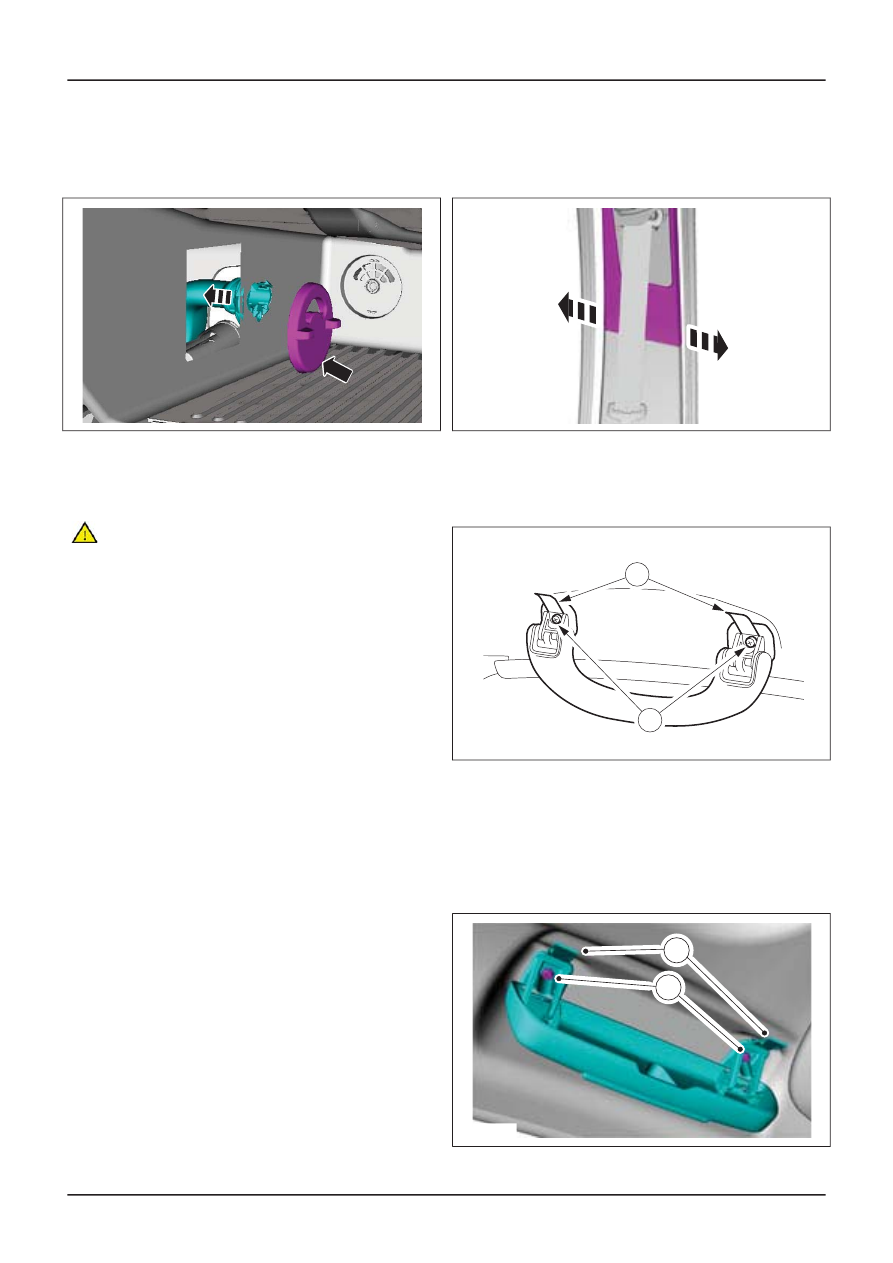
Glove compartment cooling hose
1. Detach the glove compartment cooling hose
from the glove compartment cooling vent.
E51010
Item 5
Moving pictures experts group audio
layer 3 (MP3) auxiliary connector electrical
connector
CAUTION: Do not place excessive strain
on the electrical wiring harness when
detaching the glove compartment.
1. Reposition the glove compartment and
disconnect the MP3 auxiliary connector
electrical connector.
Item 11
Noise, vibration and harshness (NVH)
material
1. Detach the NVH material from the upper
A-pillar area to gain access to the roof wiring
harness retaining clip.
Item 13
Roof wiring harness
1. Attach
a draw cord to
the roof wiring harness
and
CJB electrical connector
. Feed the wiring
harness through the
NVH material to above
the
instrument panel
A-pillar area.
Item 14
Front door opening weatherstrips
1. Detach the front door opening weatherstrip
from the front door upper opening area.
Item 15
Rear door opening weatherstrips
1. Detach the rear door opening weatherstrip
from the rear door upper opening area.
Item 18
B-pillar trim panels
1. Detach the B-pillar trim panels and position
them to one side.
E51478
Item 19
Rear passenger assist handles
1. Lever open the rear passenger assist handle
screw covers.
MPE0002639
1
2
2. Remove the rear passenger assist handle
retaining screws.
Item 21
Glasses holder
1. Lever open the glasses holder retaining
screw covers.
1
2
E51013
G410774en
501-05-
64
Interior Trim and Ornamentation
501-05-
64
REMOVAL AND INSTALLATION