Dodge Viper (2017 year). Manual - part 5
MIRRORS
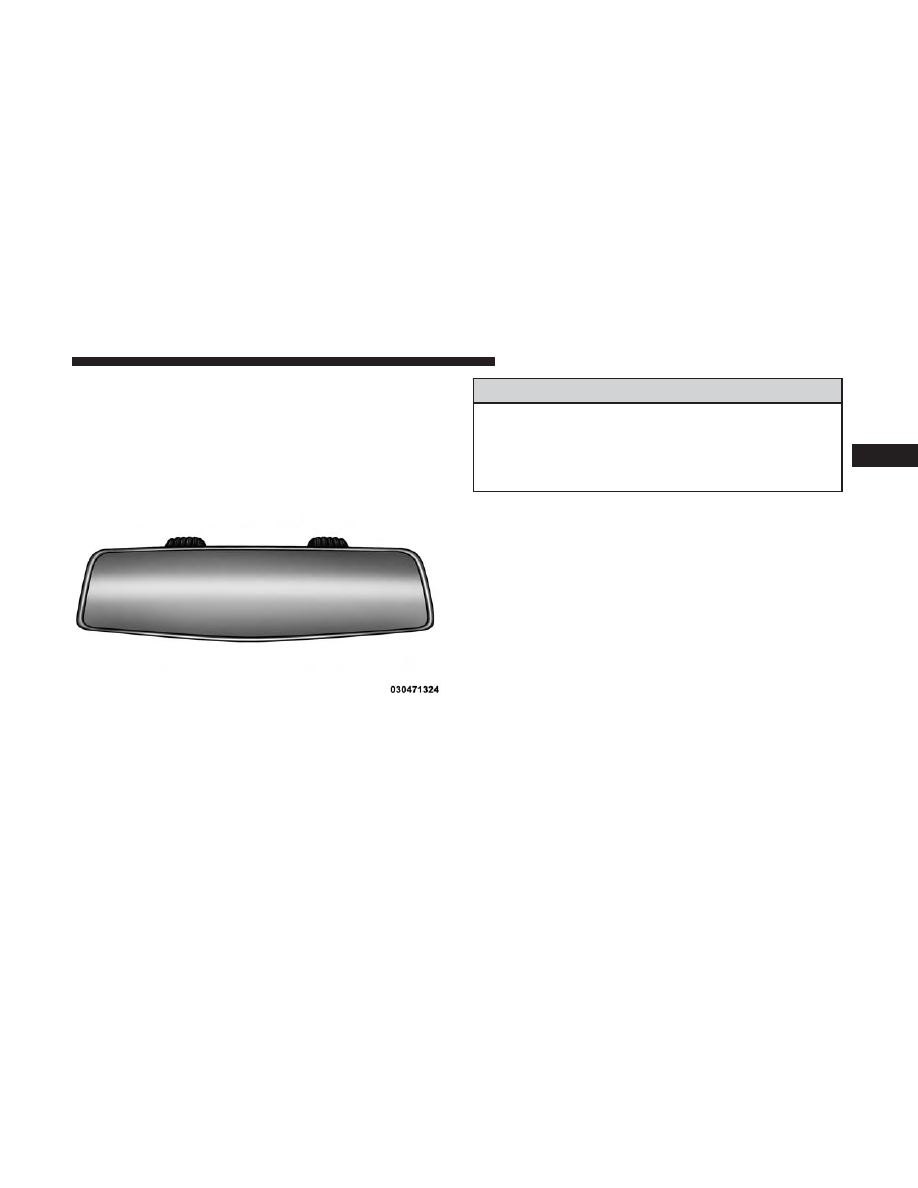
Automatic Dimming Mirror
This mirror automatically adjusts for headlight glare from
vehicles behind you. This feature will be defaulted on, and
only be disabled when the vehicle is moving in reverse.
If Equipped, the rearview mirror contains an ASSIST and a
9-1-1 button.
WARNING!
ALWAYS obey traffic laws and pay attention to the
road. Some Uconnect Access services, including 9-1-1
and Assist, will NOT work without an operable
1X(voice/data) or 3G(data) network connection.
NOTE:
• Your vehicle may be transmitting data as authorized by
the subscriber.
• The 9–1–1 and ASSIST buttons will only function if you
are connected to an operable 1X(voice/data) or 3G(data)
network. Other Uconnect services will only be operable
if your Uconnect Access service is active and you are
connected to an operable 1X(voice/data) or 3G(data)
network.
Assist Calls
The ASSIST Button is used for contacting Roadside Assis-
tance, Vehicle Care and Uconnect Care. The 9-1-1 Button
connects you to emergency services to someone who can
help. Roadside Assistance will know what vehicle you’re
driving and its location. Additional fees may apply for
roadside Assistance.
Automatic Dimming Mirror
3
UNDERSTANDING THE FEATURES OF YOUR VEHICLE
73