Dodge Intrepid (2004 year). Manual - part 2
3. vehicle speed is above 15 m.p.h. (24 km/h),
4. the accelerator pedal is depressed.
The Automatic Door Locks can be disabled or re-enabled
by performing the same following procedure:
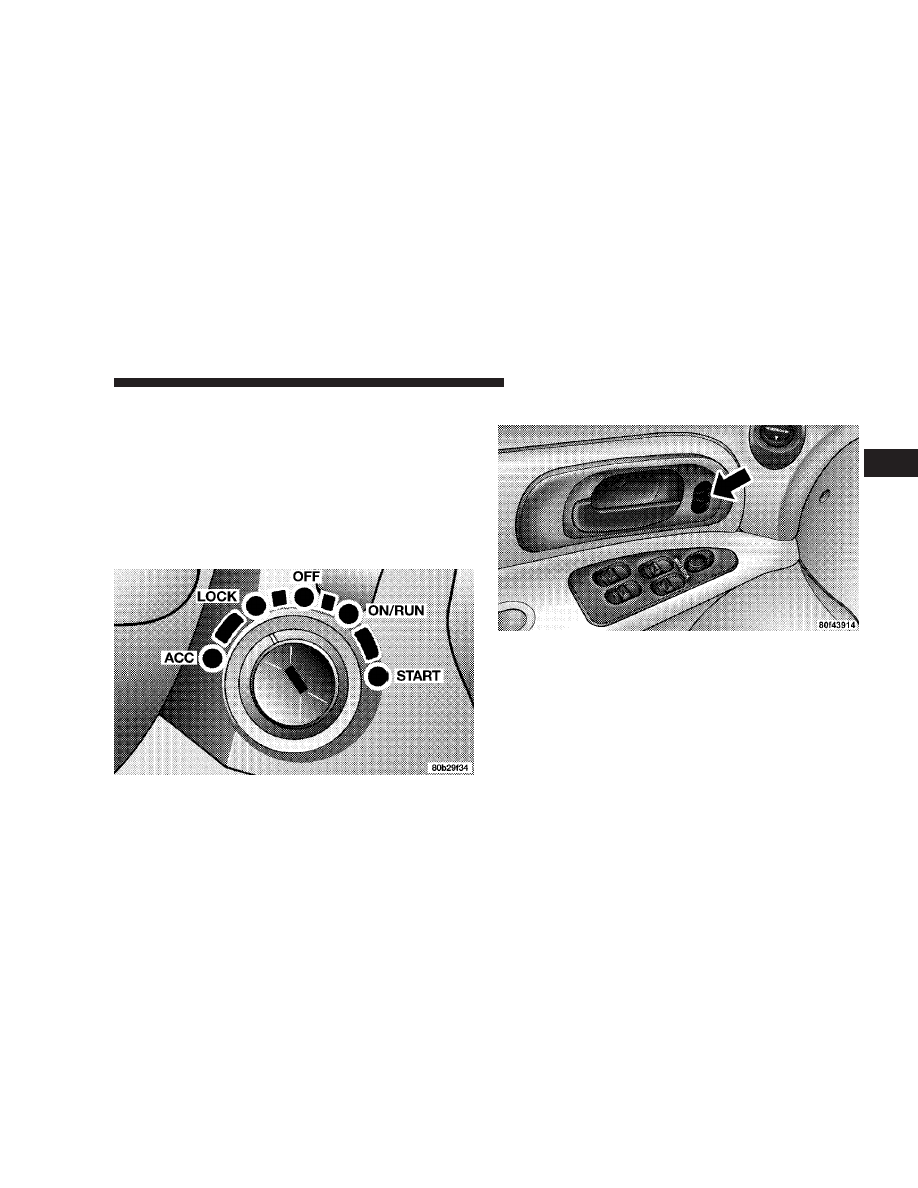
1. Close all doors and place the key in the ignition.
2. Cycle the ignition switch between OFF and ON/RUN
and back to OFF 4 times ending up in the OFF position.
3. Depress the power door lock switch to lock the doors.
4. A single chime will indicate the completion of the
programming.
Automatic Unlock on Exit (Only Available if
Automatic Door Locks Enabled)
This feature will unlock all the doors when the driver’s
door is opened and the ignition switch is in the LOCK
position. This function is disabled as delivered from the
factory. Automatic Unlock on Exit can be enabled or
disabled by performing the following procedure:
THINGS TO KNOW BEFORE STARTING YOUR VEHICLE
17
2