Content .. 1953 1954 1955 1956 ..
Dodge Ram Truck 1500-2500-3500. Manual - part 1955
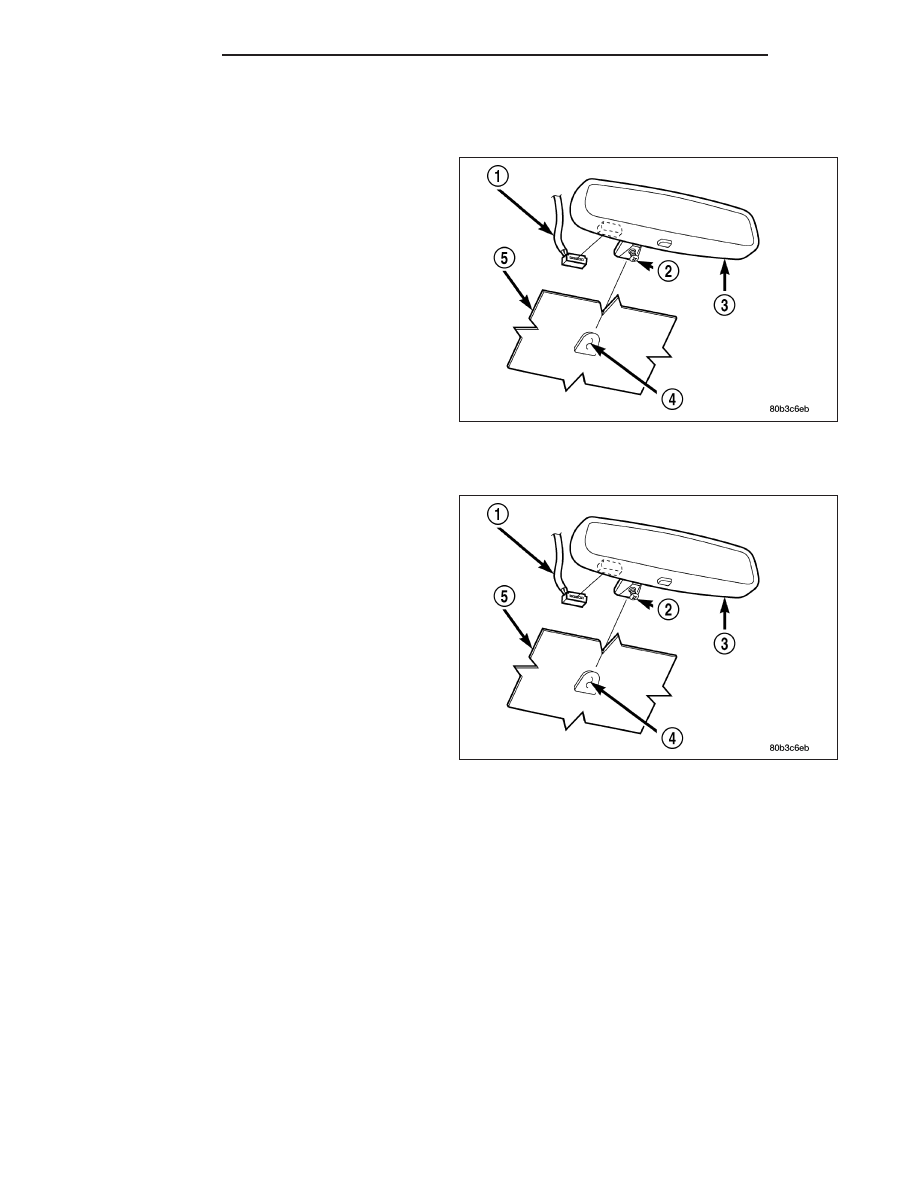
INSTALLATION
INSTALLATION
1. If required, install the mounting bracket (4) to the
windshield (5) (Refer to 23 - BODY/INTERIOR/
REAR VIEW MIRROR - REAR VIEW MIRROR
MOUNTING BRACKET - INSTALLATION).
2. Position the base of the rear view mirror (3) onto
the mounting bracket and slide the mirror down-
ward until it is fully engaged on the mounting
bracket.
3. Tighten the set screw (2) that secures the rear view
mirror to the mounting bracket to 1 N·m (15 in.
lbs.).
4. If equipped, connect the wire harness connector (1)
to the rear view mirror.
REAR VIEW MIRROR MOUNTING BRACKET
1. Mark the position for the mirror mounting bracket
(4) on the outside of the windshield glass (5) with a
wax pencil.
2. Clean the bracket contact area on the glass. Use a
mild powdered cleanser on a cloth saturated with
isopropyl (rubbing) alcohol. Finally, clean the glass
with a paper towel dampened with alcohol.
3. Sand the surface on the mounting bracket with a
fine grit sandpaper. Wipe the mounting bracket sur-
face clean with a paper towel.
4. Apply accelerator to the surface on the mounting
bracket according to the following instructions:
a. Crush the vial to saturate the felt applicator.
b. Remove the paper sleeve.
c. Apply accelerator to the contact surface on the mounting bracket.
d. Allow the accelerator to dry for five minutes.
e. Do not touch the bracket contact surface after the accelerator has been applied.
5. Apply adhesive accelerator to the bracket contact surface on the windshield glass. Allow the accelerator to dry
for one minute. Do not touch the glass contact surface after the accelerator has been applied.
6. Install the mounting bracket according to the following instructions:
a. Apply one drop of adhesive at the center of the bracket contact-surface on the windshield glass.
b. Apply an even coat of adhesive to the contact surface on the mounting bracket.
c. Align the mounting bracket with the marked position on the windshield glass.
d. Press and hold the mounting bracket in place for at least one minute.
NOTE: Verify that the mirror mounting bracket is correctly aligned, because the adhesive will cure rapidly.
7. Allow the adhesive to cure for 8-10 minutes. Remove any excess adhesive with an alcohol-dampened cloth.
8. Allow the adhesive to cure for an additional 8-10 minutes before installing the rear view mirror (3) (Refer to 23
- BODY/INTERIOR/REAR VIEW MIRROR - INSTALLATION).
23 - 174
INTERIOR
DR/DH