Content .. 1435 1436 1437 1438 ..
Dodge Ram Truck 1500-2500-3500. Manual - part 1437
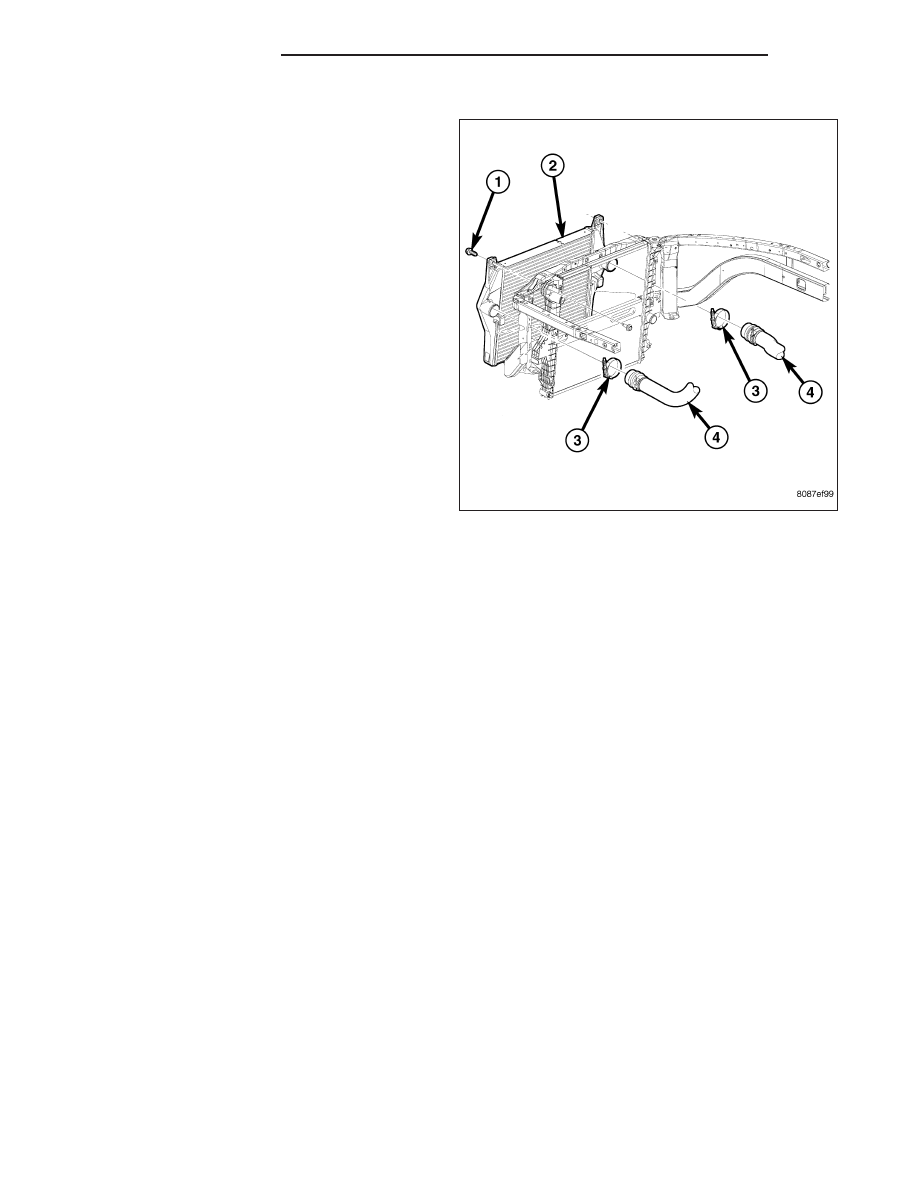
REMOVAL
WARNING: IF THE ENGINE WAS JUST TURNED
OFF, THE AIR INTAKE SYSTEM TUBES MAY BE
HOT.
1. Disconnect the battery negative cables.
2. Discharge the A/C system (Refer to 24 - HEATING
& AIR CONDITIONING/PLUMBING - STANDARD
PROCEDURE) and remove the A/C condenser
(Refer to 24 - HEATING & AIR CONDITIONING/
PLUMBING/A/C CONDENSER - REMOVAL) (if A/C
equipped).
3. Remove the transmission auxiliary cooler (Refer to
7 - COOLING/TRANSMISSION/TRANS COOLER -
REMOVAL).
4. Remove intake air tubing from the charge air
cooler.
5. Remove the charge air cooler bolts. Pivot the
charge air cooler forward and up to remove.
CLEANING
CAUTION: Do not use caustic cleaners to clean the charge air cooler. Damage to the charge air cooler will
result.
NOTE: If internal debris cannot be removed from the cooler, the charge air cooler MUST be replaced.
1. If the engine experiences a turbocharger failure or any other situation where oil or debris get into the charge air
cooler, the charge air cooler must be cleaned internally.
2. Position the charge air cooler so the inlet and outlet tubes are vertical.
3. Flush the cooler internally with solvent in the direction opposite of normal air flow.
4. Shake the cooler and lightly tap on the end tanks with a rubber mallet to dislodge trapped debris.
5. Continue flushing until all debris or oil are removed.
6. Rinse the cooler with hot soapy water to remove any remaining solvent.
7. Rinse thoroughly with clean water and blow dry with compressed air.
INSPECTION
Visually inspect the charge air cooler for cracks, holes, or damage. Inspect the tubes, fins, and welds for tears,
breaks, or other damage. Replace the charge air cooler if damage is found.
Pressure test the charge air cooler, using Charge Air Cooler Tester Kit No. 3824556. This kit is available through
Cummins
T
Service Products. Instructions are provided with the kit.
11 - 34
EXHAUST SYSTEM
DR/DH