Dodge Neon / Neon SRT-4. Manual - part 41
INSTALLATION
NOTE: Before installing the drum, inspect the brake
shoe linings for wear, shoe alignment, and contam-
ination.
(1) Install the rear brake drum on rear hub and
bearing (Fig. 88).
(2) Install the tire and wheel assembly (Refer to 22
- TIRES/WHEELS - REMOVAL). Tighten the wheel
mounting nuts to a torque of 135 N·m (100 ft. lbs.).
(3) Adjust the rear brake shoes as necessary.
(Refer to 5 - BRAKES/HYDRAULIC/MECHANICAL/
BRAKE PADS/SHOES - ADJUSTMENTS).
(4) Lower the vehicle.
FLUID
DIAGNOSIS AND TESTING - BRAKE FLUID
CONTAMINATION
Indications of fluid contamination are swollen or
deteriorated rubber parts. Swelling indicates the
presence of petroleum in the brake fluid.
To test for contamination, put a small amount of
drained brake fluid in clear glass jar. If the fluid sep-
arates into layers, there is mineral oil or other fluid
contamination of the brake fluid.
If the brake fluid is contaminated, drain and thor-
oughly flush the brake system. Replace all the rubber
parts or components containing rubber coming into
contact with the brake fluid including: the master
cylinder and reservoir; proportioning valves (non-
ABS);
caliper
seals;
wheel
cylinder
seals; ABS
hydraulic control unit; and all hydraulic fluid hoses.
STANDARD PROCEDURE - BRAKE FLUID
LEVEL CHECKING
Brake fluid level should be checked a minimum of
twice a year.
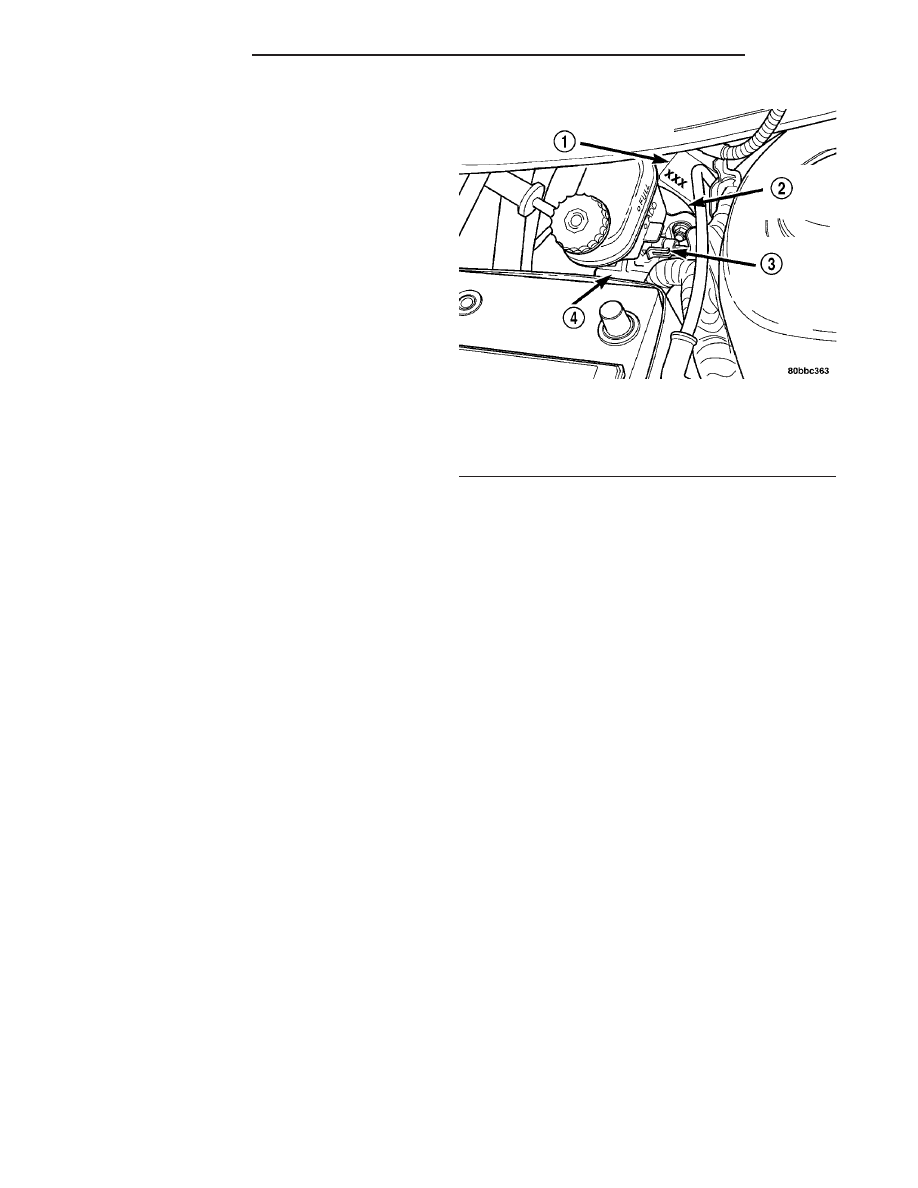
Master cylinder reservoirs are marked, FULL and
MIN, indicating the allowable brake fluid level range
in the master cylinder brake fluid reservoir (Fig. 89).
CAUTION: Use only Mopar
T
brake fluid or an equiv-
alent from a tightly sealed container. Brake fluid
must conform to DOT 3 specifications. Do not use
petroleum-based fluid because seal damage in the
brake system will result.
Although there is a range, the preferred level is
FULL. If necessary, adjust the brake fluid level to
the FULL mark on the side of the master cylinder
brake fluid reservoir.
SPECIFICATIONS
BRAKE FLUID
The brake fluid used in this vehicle must conform
to DOT 3 specifications and SAE J1703 standards.
No other type of brake fluid is recommended or
approved for usage in the vehicle brake system. Use
only Mopar
t Brake Fluid or an equivalent from a
tightly sealed container.
CAUTION: Never use reclaimed brake fluid or fluid
from an container which has been left open. An
open container will absorb moisture from the air
and contaminate the fluid.
CAUTION: Never use any type of a petroleum-based
fluid in the brake hydraulic system. Use of such
type fluids will result in seal damage of the vehicle
brake hydraulic system causing a failure of the
vehicle brake system. Petroleum based fluids would
be items such as engine oil, transmission fluid,
power steering fluid, etc.
Fig. 89 Master Cylinder
1 - POWER BRAKE BOOSTER PARTS IDENTIFICATION TAG
2 - POWER BRAKE BOOSTER
3 - BRAKE FLUID LEVEL SWITCH
4 - MASTER CYLINDER
5 - 46
BRAKES - BASE
PL/SRT-4
DRUM (Continued)