DAF 95XF. Manual - part 492
3
DRIVE SHAFTS
Disassembly and assembly
4-2
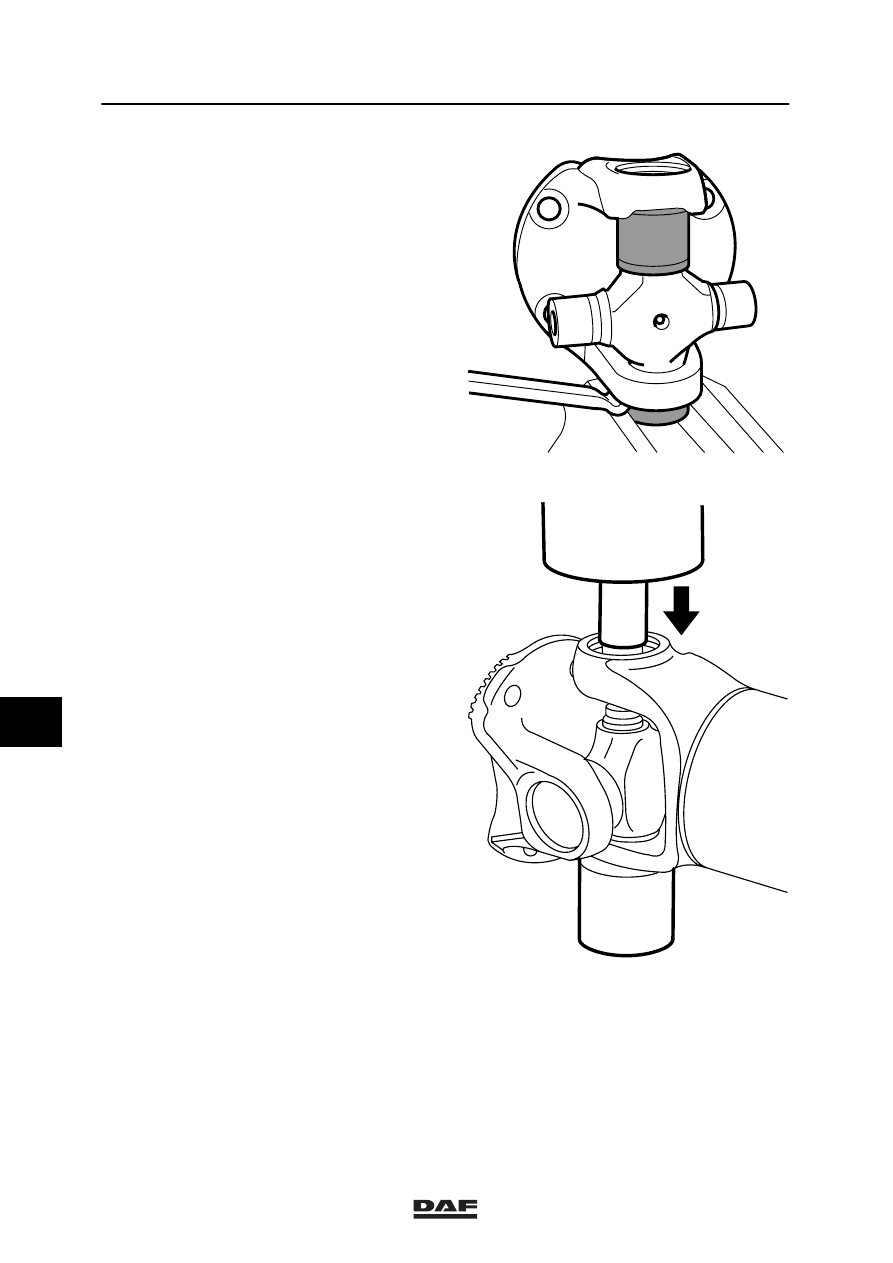
4.
Rotate the shaft 180
° and remove the
bearing that has just been pressed out. If
the first bearing to be removed fails to come
out of the fork entirely, the bearing can be
clamped to enable the fork to be pushed up
by means of a lever. Relocate the shaft
onto the bush.
5.
Push the spider down again in the direction
of the shaft fork. Again, continue until the
spider touches the fork.
6.
The spider and the drive flange can now be
tilted from the shaft fork.
7.
Place the drive flange on a bush using a
press and press the entire spider including
bearings and drive flange down, until the
spider touches the fork of the drive flange.
8.
Rotate the drive flange 180
° and remove
the bearing that has just been pressed out.
Relocate the drive flange onto the bush.
9.
Push the spider down again in the direction
of the drive flange fork. Again, continue until
the spider touches the fork.
10. The spider can now be tilted from the drive
flange fork.
Note:
When spiders are being replaced, always
replace them including their bearings.
11. Check the components to be reused for any
cracks and/or damage.
W 3 06 012
W 3 06 011
8
ǹ 0002