Citroen C4 Cactus (2016 year). Instruction - part 8
111
5
Safety
Child seats recommended by CITROËN
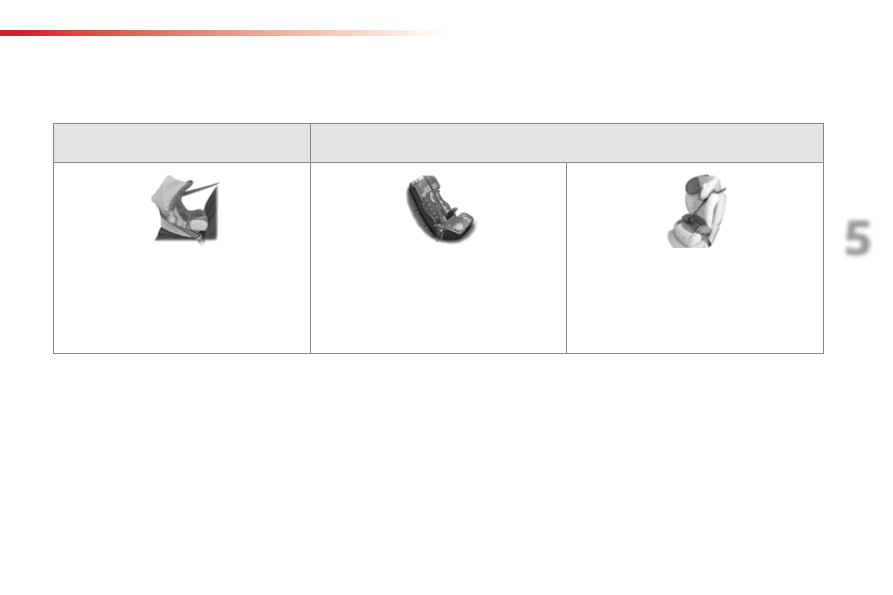
Group 0+: from birth to 13 kg
Groups 2 and 3: from 15 to 36 kg
L1
"RÖMER Baby-Safe Plus"
Installed in the rearward facing position.
L4
"KLIPPAN Optima"
From 22 kg (approximately 6 years),
the booster is used on its own.
L5
"RÖMER KIDFIX"
Can be fitted to the vehicle's ISOFIX
mountings.
The child is restrained by the seat belt.
CITROËN offers a range of recommended child seats which are secured using a three point seat belt.