RAM Cargo Van (2015 year). Manual - part 24
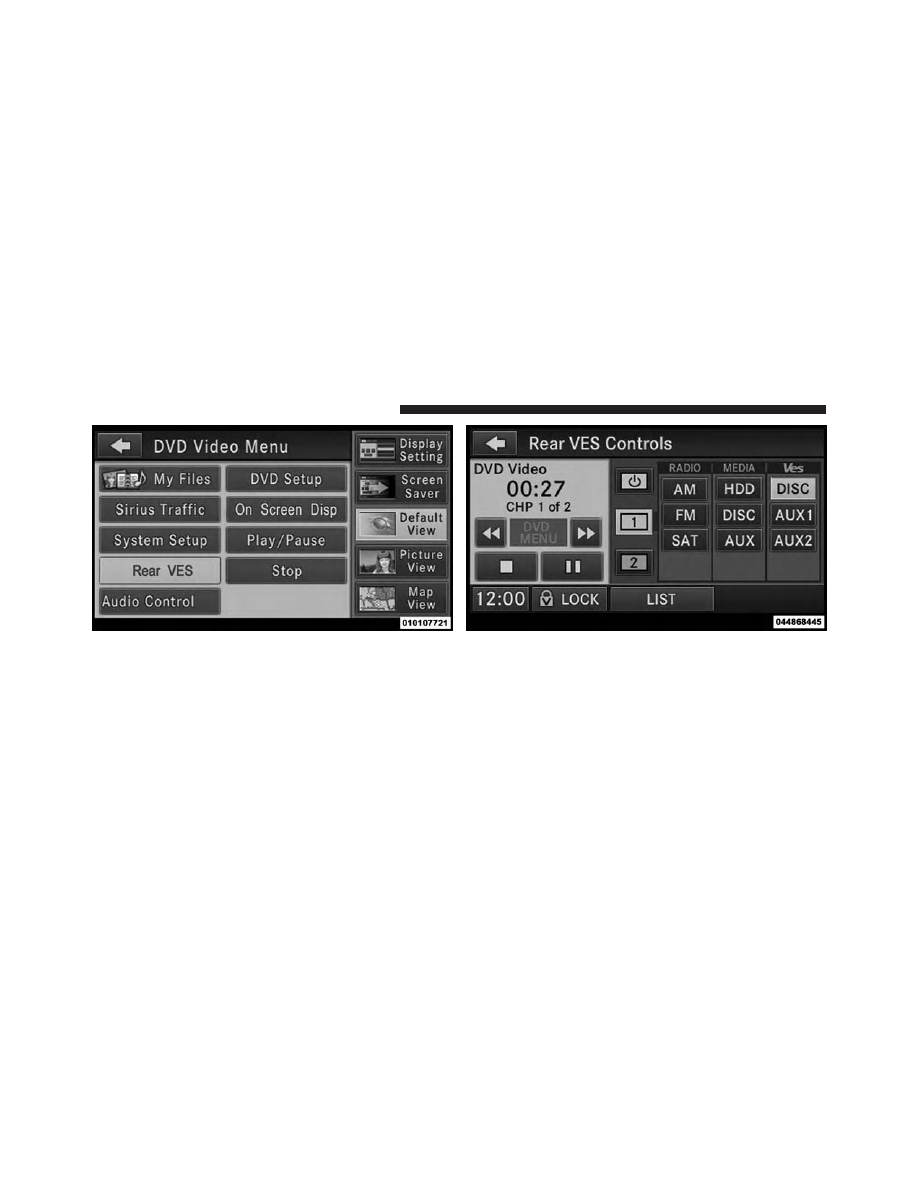
3. Press the 1 or 2 button on the touchscreen and then the
DISC button on the touchscreen in the VES™ column.
To exit press the back arrow button on the touchscreen
at the top left of the screen.
Rear VES™ Button On The Touchscreen
Select Channel/Screen 1 And DISC In The VES™
Column
374
UNDERSTANDING YOUR INSTRUMENT PANEL