Chery Tiggo 5 (T21). Manual - part 525
49–
11
49
Front Doorsill Pressure Plate Assembly
Removal
HINT:
Use the same procedures for the right side and left side.
Procedures listed below are for the left side.
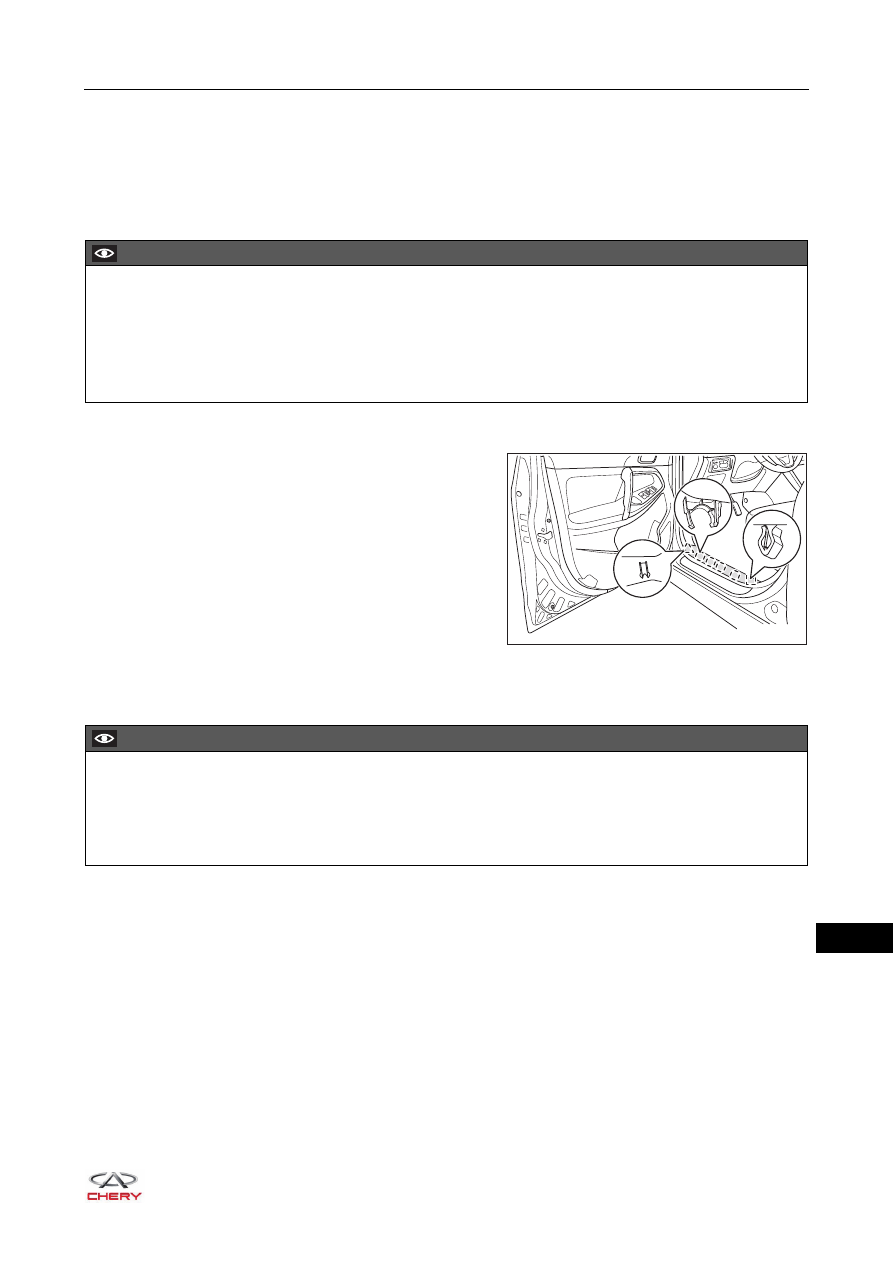
1. Remove the front left doorsill pressure plate assembly.
a. Using an interior crow plate, pry up the claws of front
doorsill pressure plate assembly, and remove the front
left doorsill pressure plate assembly.
Installation
Installation is in the reverse order of removal.
CAUTION
Make sure to wear safety equipment to prevent accidents when removing the front door scuff plate
assembly.
Appropriate force should be applied when removing the front door scuff plate assembly. Be careful not to
operate roughly.
Prevent interior and body paint from being scratched when removing the front door scuff plate assembly.
RT21490050
CAUTION
Make sure front doorsill pressure plate assembly is installed in place during installation.
Make sure to check the fitting gap between front doorsill pressure plate assembly and B-pillar lower
protector assembly, A-pillar lower protector assembly for uniformity after installing front doorsill pressure
plate assembly.