Chery S11 / Chery QQ. Manual - part 173
 

  Index      Chery     Chery S11 / Chery QQ - service repair manual


Search            


Content   ..  171  172  173  174   ..


Chery S11 / Chery QQ. Manual - part 173


Chery    QQ    Maintenance Manual                                          Body System


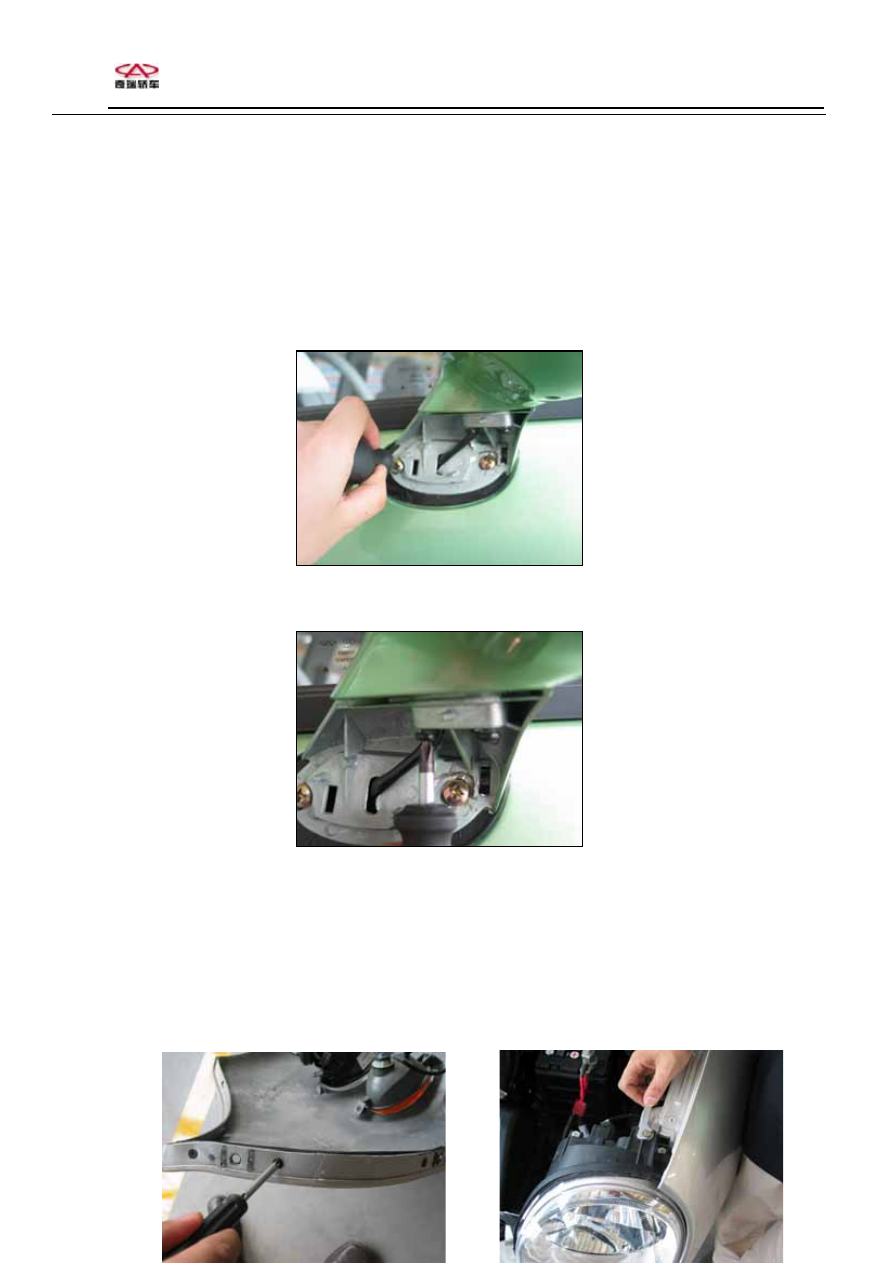
(2) Remove 2 set screws of the outside rearview mirror. 


(3) Remove 3 set screws of rearview    mirror plastic parts. 


(4) Loosen the harness connector of the mirror from the door inner panel; take out the rearview 
mirror assembly. 


6.1.2 Removal of headlamp 
(1) Remove front bumper (see dismantlement of front bumper for reference) 
(2) Loosen 3 set bolts, take out the head lamp. 


60


Chery    QQ    Maintenance Manual                                          Body System


6.1.3 Removal of horn 
(1) Remove tire plate 
(2) Loosen set bolts, take off the horn. 


6.1.4 Removal of tail surface: 
1、Loosen 3 set bolts, take out tail wing 


6.1.5 Removal of high-mount stop lamp 
(1) Loosen 2 set bolts, pull out lamp cover downwards 
(2) Loosen 3 set bolts, take out the high-mount lamp. 


 Autom

61

Chery

obile Co., Ltd 


Chery    QQ    Maintenance Manual                                          Body System


6.1.6 Removal of number plate lamp/protective panel assembly 
(1) Loosen 4 set bolts of the number plate lamp with ring spanner, take the bolts off. 


(2) Loosen 2 set screws on the protective panel, and then take off the screws. 


6.1.7 Removal of fuel tank lid 
Loosen set bolt of fuel tank lid, remove the fuel tank lid. 
6.1.8 The installation sequence is just the reverse of dismantlement sequence 


62


  Chery    QQ    Maintenance Manual                                                    Body System 


Chapter 7 Removal of windshield 

 
7.1 Maintenance guide 
7.1.1 Removal of fore windshield   
Removal procedures 
1 Remove upper weather-strip of windshield. 
Cut the weather-strip open with knife, shown as the 
illustration. 
Caution: Don’t let the knife damage vehicle body. 
2 Remove the windshield 

(1) Pass the piano line through from inside of vehicle 

between the vehicle body and glass. 

(2) Tie both end of piano line with wood block or 

similar substitution. 
Hint: Attach adhesive tape from outside to avoid the 
surface being damaged. 
Caution: Don’t damage paint surface and outside or inside 
decorative parts while removing the glass. 
You can lay a piece of plastic slice between the piano line 
and instrument panel in order not to damage the instrument 
panel while removing the glass. 


(3) Pull the piano line along all around the glass, cut the adhesive open, and remove the glass. 

Caution: Leave more bonding agent in vehicle body when cutting the adhesive connection of glass. 


63


Content   ..  171  172  173  174   ..