Chery S11 / Chery QQ. Manual - part 58
 

  Index      Chery     Chery S11 / Chery QQ - service repair manual


Search            


Content   ..  56  57  58  59   ..


Chery S11 / Chery QQ. Manual - part 58


Chery QQ Service Manual


- 46 -   

——Put the bolt with expand nut into the lo

 the car body, then fix the 

lighting fitting with tapping screw; 

——Connect lamp seat harness, install the c

——Close the luggage compartment lid. 


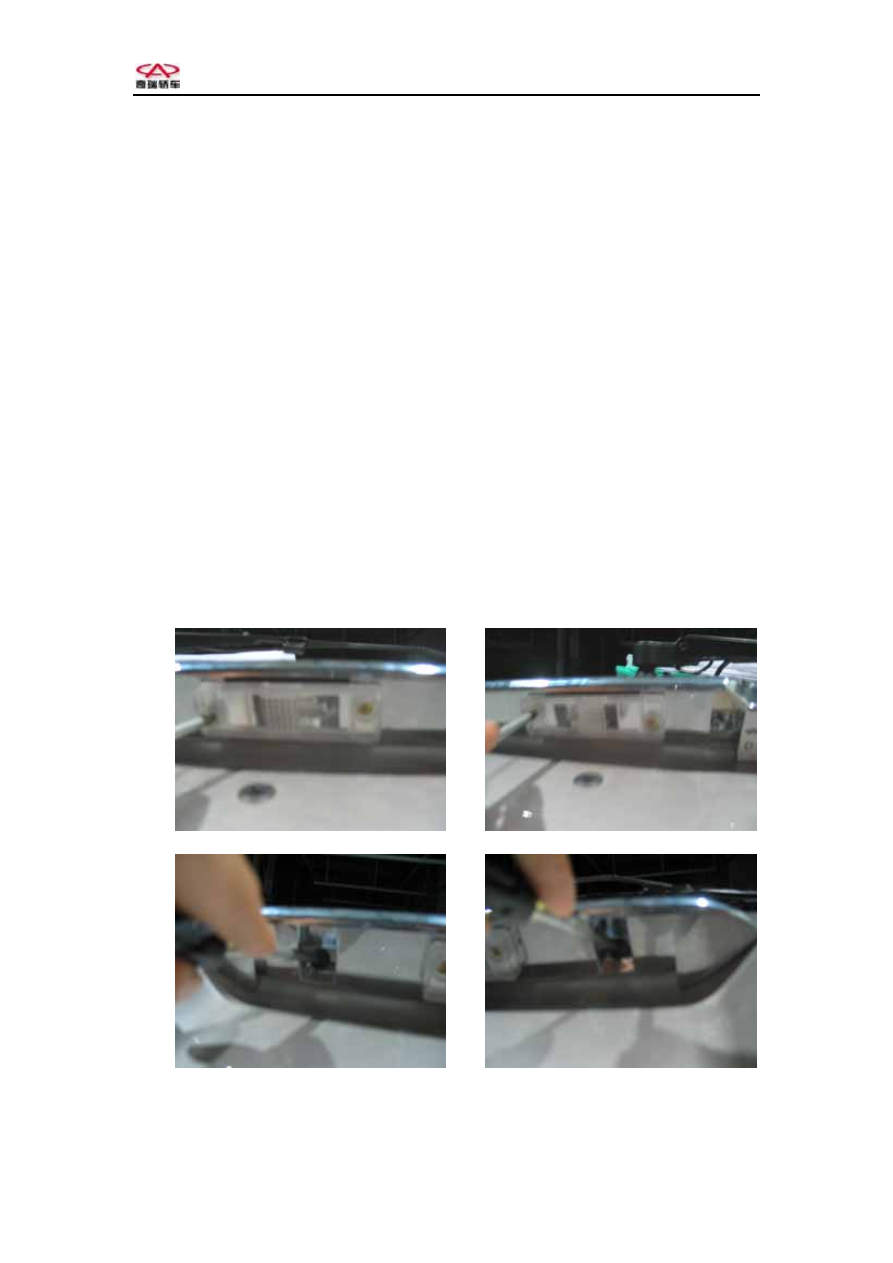
6. Removal and installation of license plate lamp protective 

board and license plate lamp   

Removal: 

1. Open the luggage com

 board. 

. Loose the nut which to fix lock core. 

e plate lamp. 

 license plate lamp/protective board assembly   

p.   

rotective board. 


Installation: 

——Connect harness connector; 

cation hole on

arpet. 

partment, remove trim

2

3. Loose two tapping screw on the protective board then take them down.   

4. Remove the tapping screw from licens

Removal of

——Remove four fixing screws on the license plate lam

——Remove two fixing screws on the p


Chery QQ Service Manual


——Insert base line of the lamp into sheet-metal hole, screw hole on the lamp and 

oncentric, then tighten tapping screw. 

 installation of rear foglight 

Removal: 

the b

e vehicle if possible. 

hould distinguish left and right(“L” mark in the left lamp, “R” mark in 

the r

 put the foglight into the install hole, insert two pins into location 

. Removal and installation of interior ceiling light 

Removal: 

shell, prize the shade carefully; 

screw hole on the sheet-metal is c

——insert two bolts of license plate into sheet-metal hole, install the nut and tapping 

screw, adjust install position then tighten nut and tapping screw;   

— — Assemble the luggage compartment lid trim board, close the luggage 

compartment lid.   


7. Removal and

——Raise the vehicle and then remove from 

ottom of th

——Loose two nuts then take out the foglight 

——Remove the harness connector, then tak

down the foglight from the location hole of th

front bumper   

Installation:  

——First you s

ight lamp ), then

notch, then tighten it by bolt with nut;   

——Connect the foglight harness connector; 


8

——Insert flat-tip screwdriver between shade and 

——Remove two tapping screw of front ceiling 

light by screwdriver. 

——Disconnect lamp holder harness. 


- 47 -   


Chery QQ Service Manual


Installation: 

——

——

 into top install hole in correct 

ping screw by 


. Removal and installation of high-mounted stop lamp 

emoval: 

trim

 out the wiper motor. 

Installation: 

—Connect the harness connector;   

——

ody by bolt; 

rim board, close the luggage compartment lid;


Connect the harness connector; 

put the lamp

position and direction, tighten the tap

screwdriver, then press the shade of ceiling light in 

by your hands.   


9

R

——Open the luggage compartment lid, remove the 

 board, take

——Loose two fixing screw then pull out the shade 

downwards. 

——Loose three bolt the take out the high-mounted 

stop lamp. 

——Pull out the connector. 


Fix the lamp b

——Install the luggage compartment t

- 48 -   


Chery QQ Service Manual                              BCM Computer Control System   


Chapter 4 Inspection and Repair of BCM Computer Control System   


.General 

BCM is abbreviation of Body Control Module of Chery Automobile, which is also 

named antitheft computer control unit. It is a device designed to facilitate the driver and 

passengers to use some electric devices in the vehicle and simple maintenance.   


BCM location, disassembly and assembly


Disassembly: 

1.  Remove the instrument and upper setscrews; 

2.  Remove the BCM module connector; 

3.  Remove the nut on it with M10 spanner. 


Assembly: 

Fix the setscrews with M10 spanner with securing moment at 2.5 -3.5 N·M and then 

insert the module connector.   


Assembly the instrument. 


.Introduction of antitheft control system   

The vehicle antitheft control system is designed to implement central monitor with 

- 79 -   


Content   ..  56  57  58  59   ..