Chery IndiS (S18D) . Manual - part 6
 

  Index      Chery     Chery IndiS (S18D) - service manual


Search            


Content   ..  4  5  6  7   ..


Chery IndiS (S18D) . Manual - part 6


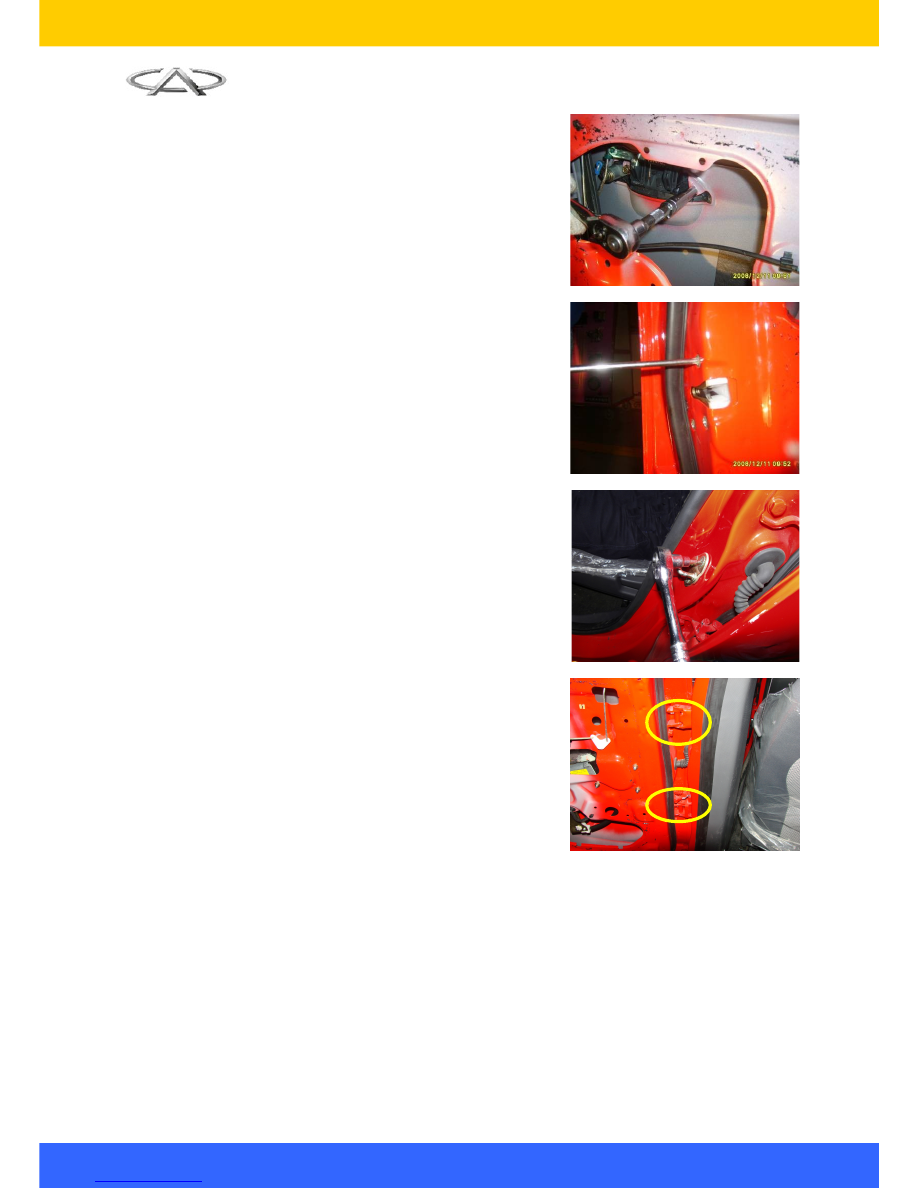
3.18.

Remove the two fixing screws with 10# 
socket wrench, remove the door outside 
handle.

3.19.

Remove the three screws fixing the lock 
cylinder   with   cross   screwdriver,   remove 
the lock cylinder.

3.20.

Remove the two screws that fix the lock 
cylinder   with   cross   screwdriver,   remove 
the lock cylinder.

3.21.

Use   13#   socket   wrench   to   remove   the 
four fixing screws of the hinge that fix the 
vehicle door, remove the door.

Torque: 32±3 N.m

4. Installation Procedure

The installation procedures are reverse to those for removal.

Note: The removal procedures for the right-front door can refer to those for the left-front door.

II. Removal & Installation of Rear Doors

1. Preparations

Tools: slotted screwdriver, cross screwdriver, socket wrench and etc.

2. Precautions

2.1. Wear necessary appliance for labor protection to prevent from accidents. 

2.2. Disconnect the battery to prevent damage for electrical equipments.

21


2.3. To prevent glass from being damaged, pay attention to take correct steps during removal and 

installation.

3. Removal Procedure

3.1. Pry   out   the   rear   door   inner   triangular   block 

with plastic screwdriver.

3.2. Pry   out   the   protective   cover   of   door   inner 

armrest   groove   with   slotted   screwdriver, 
expose the fixing screw.

3.3. Remove   the   fixing   screw   of   the   door   inner 

armrest with cross screwdriver.o

3.4. Pry   out   the   window   regulator   switch   with 

slotted screwdriver, pull off the connector of 
window regulator and remove it.

22


3.5. Remove the fixing screws of door panel on its 

front and side with cross screwdriver.

3.6. Pry out the door inner panel from edge with 

the plastic screwdriver.

3.7. Pull off the door inner handle cable.

23


3.8. Remove the door inner armrest bracket with 

cross screwdriver.

3.9. Remove the anti-water protective layer.

3.10.

Remove   the   door   outside   handle   fixing 
nuts with 10# socket wrench, remove the 
door outside handle.

3.11.

Connect   the   battery   and   lower   the 
window glass at a proper position (let the 
glass   fixing   screws   be   exposed   on   the 
two installation holes as shown in figure) 
and remove the two screws that fix the 
glass with cross screwdriver, remove the 
glass carefully.

24


Content   ..  4  5  6  7   ..