Chery IndiS (S18D) . Manual - part 4


  Index      Chery     Chery IndiS (S18D) - service manual


Search            


Content   ..  1  2  3  4  5  ..


Chery IndiS (S18D) . Manual - part 4


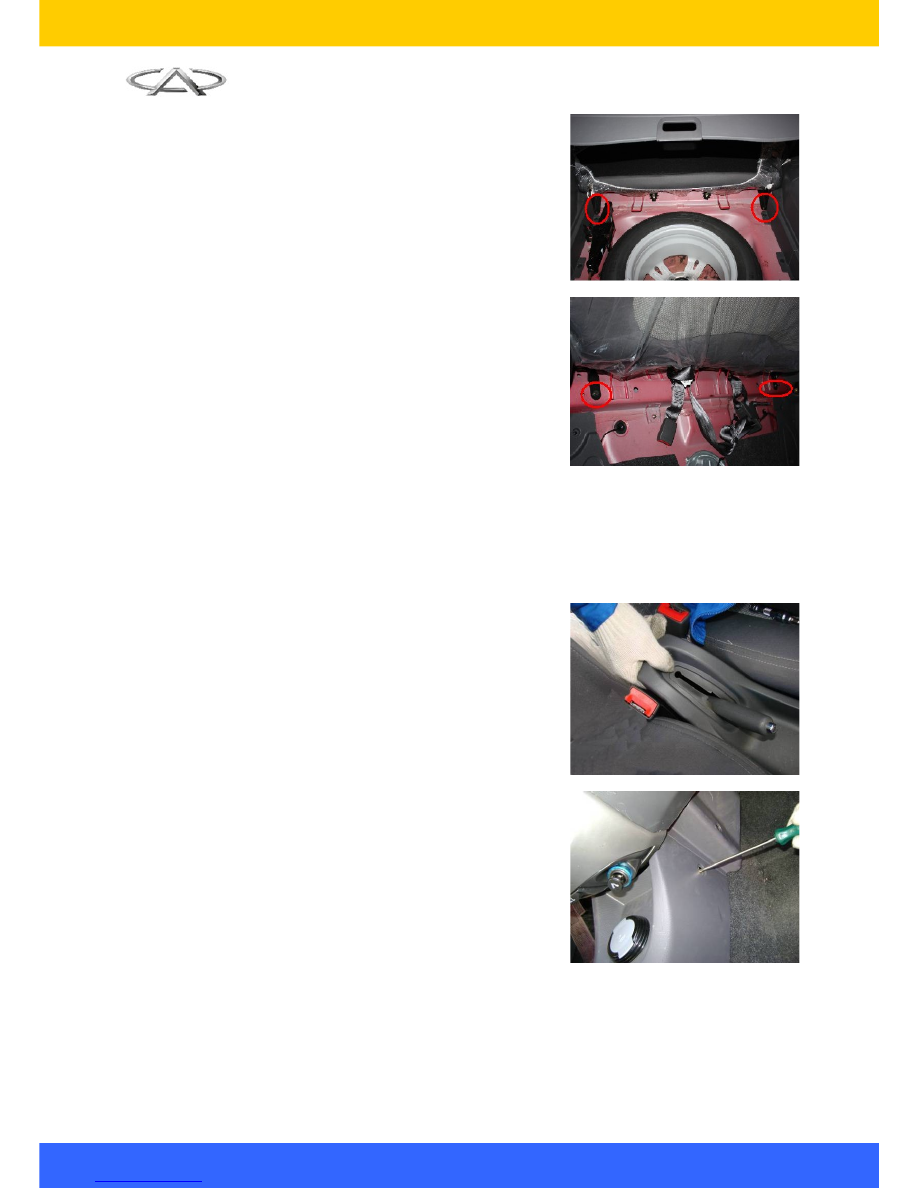
3.4. Remove the fixing bolts of the seat backrest 

with  13#  socket   wrench  to  remove  the  rear 
seat backrest (two bolts on each side).

Torque: 25±3N.m

4. Installation Procedure

The installation procedures are  reverse to those 
for removal.

Note: keep the cleanness of vehicle interior trim 
parts   during   removal   and   installation;   avoid   the 
trim parts surface scratch when moving the seat.

III. Removal and Installation of Central Console 

1. Preparations

Tools: cross screwdriver, plastic screwdriver and etc.

2. Removal Procedure

2.1. Use plastic screwdriver to pry open the panel 

at the hand brake.

2.2. Use   cross   screwdriver   to   remove   the   front 

fixing screws of the central console assembly.

13


2.3. Use   cross   screwdriver   to   remove   the   rear 

fixing screws of the central console assembly 
and cup holder lower fixing screws.

2.4. Use   plastic   screwdriver   to   pry   open   the 

gearshift handle cover and rotate the gearshift 
handle in anti-clockwise direction to remove it.

2.5. Lift up the rear part of center console and pull 

the rear part to remove the center console.

3. Installation Procedure

The installation procedures are reverse to those for removal.

IV. Removal and Installation of Carpet

1. Preparations

Tools: slotted screwdriver, cross screwdriver; socket wrench and etc.

2. Removal Procedure

2.1. Remove   the   seats.   (Refer   the   removal   of 

seat)

14


2.2. Remove   the   central   console   (Refer   the 

removal of central console)

2.3. Remove the seat belt, front and rear doorsill 

panel and the upper/lower panel of pillar B. 

(Refer the removal of seat belt)

2.4. Pry   out   the   footreast   cover   by   slotted 

screwdriver.

2.5. Remove the footrest with 10# socket wrench.

2.6. Remove   the   pillar  A  lower   panel   with   cross 

screwdriver.

2.7. Remove the seat cushion of rear seats (See 

removal of seats)

Remove the rear doorsill pressure plate with cross 
screwdriver.

15


2.8. Remove the the carpet fixing clip and remove 

the carpet.

3. Installation Procedure

Note: In installation, notice the carpet edges flatness and indoor related wiring harness direction.

3.1. Put the vehicle carpet inside the vehicle, and 

take   out   the   harness   connected   with   the 
seats,   and   then   press   the   vehicle   carpet 
besides the middle passage tightly.

3.2. Let the seat holes exposed.

3.3. Spread the carpet under foot pedal and press 

it tightly.

3.4. Spread the rear part of the carpet according 

to the shape of the vehicle floor, expose the 
mounting holes of the rear seats, and spread 
and   press   the   rear   part   of   the   carpet 
according to the shape of the vehicle floor.

16


Content   ..  1  2  3  4  5  ..