Chery Fora (Elara A520). Manual - part 27
 

  Index      Chery     Chery Fora (Elara A520) - service repair manual


Search            


Content   ..  25  26  27  28   ..


Chery Fora (Elara A520). Manual - part 27


Chery Service Manual for A520                Body Dimension and Accessories


11 


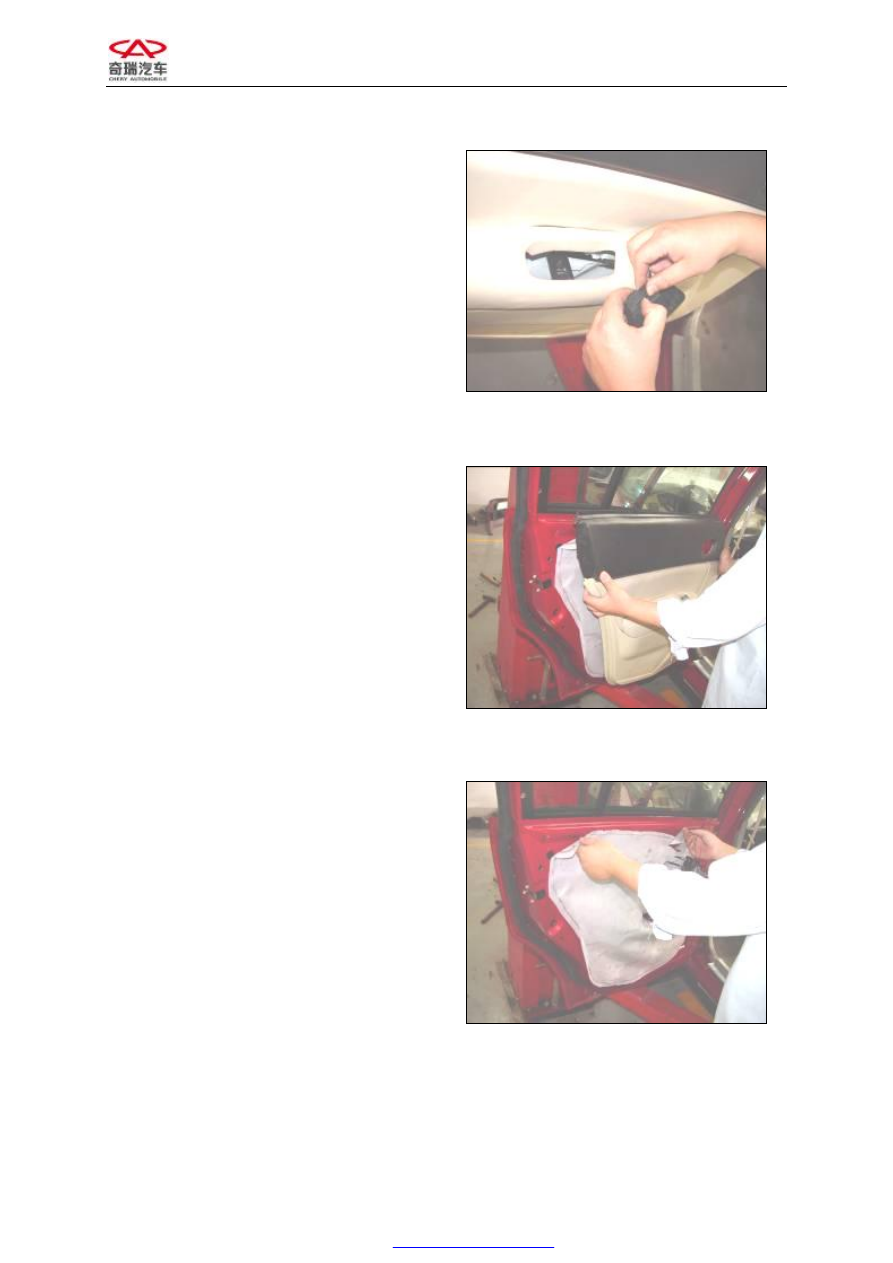
5.


Pry  out  the  window  regulator  switch  to 
pull out the harness;


Figure 74


6.


The door trim panel could be removed;


Figure 75


7.


Remove  the  protective  film  from  the  left 
rear door;


Figure 76


Chery Service Manual for A520                Body Dimension and Accessories


12 


8.


Unscrew  the  fastening  screw  for  the 
inside door handle to detach the handle; 


Figure 77


9.


Remove  the  fixing  bolts  from  the  trim 
panel bracket;


Figure 78


10.


Lower  the  glass  to  a  proper  position, 
remove the set screws, move the glass to 
the bottom of the door, and then take out 
the glass slantways;


Figure 79


Chery Service Manual for A520                Body Dimension and Accessories


13 


11.


Remove  the  fastening  screws  for  the 
glass guide rail;


Figure 80


12.


Remove  the  top  screws  to  detach  the 
glass  rear  guide  rail  and  the  triangle 
glass;


Figure 81


13.


Remove the top fastening bolts from the 
window regulator;


Figure 82


Chery Service Manual for A520                Body Dimension and Accessories


14 


14.


Remove  the  lower  bolts  from  the 
window regulator;


Figure 83


15.


Remove  the  lock  fastening  screws  with 
an internal spline socket;


Figure 84


16.


Loosen  the  opening  out  pull  rod  from 
the  door  handle,  pull  out  the  harness, 
and then detach the lock;


Figure 85


Content   ..  25  26  27  28   ..