Chery Fora (Elara A520). Manual - part 20
 

  Index      Chery     Chery Fora (Elara A520) - service repair manual


Search            


Content   ..  18  19  20  21   ..


Chery Fora (Elara A520). Manual - part 20


Chery Service Manual for A520                Body Dimension and Accessories


CHAPTER SEVEN    DISASSEMBLING AND INSTALLING THE EVAPORATOR 

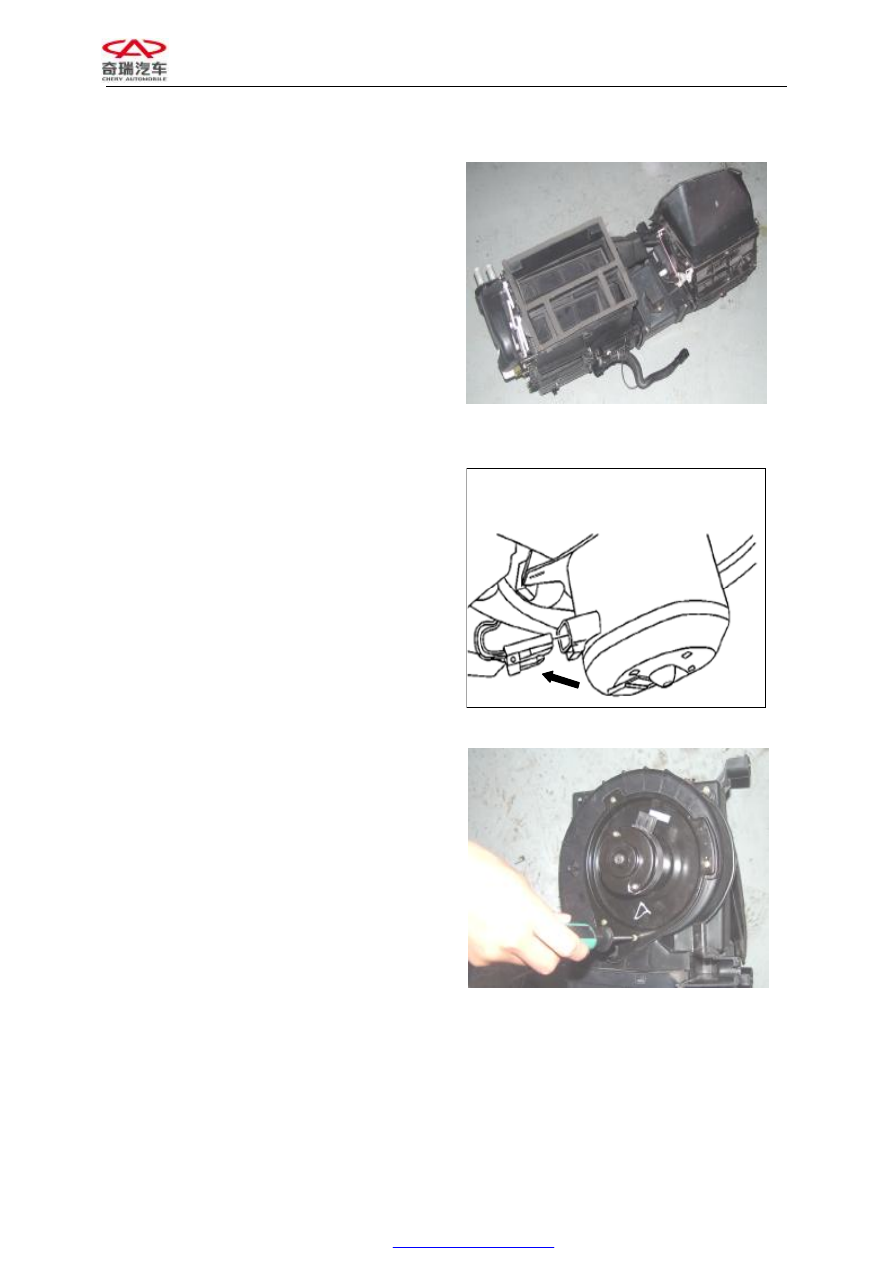
1.  Appearance view of A21 evaporator 


2.  Necessary tools for disassembling 

Cross  screwdriver,  vice,  flat  screwdriver,  8# 
socket, ratchet gear and ratchet rod. 


3.  Disassembling 

and 

installing 

the 

evaporator 

3.1  Replacing the blower 

3.1.1  Disassembling the blower 

1)  Disconnect  the  wire  connector  of  the 

blower motor 


2)  Remove  the  mounting  bolts  for  the 

blower motor 


Chery Service Manual for A520                Body Dimension and Accessories


3)  Pull out the blower. 


3.1.2  Installation 

The  installing  steps  are  reverse  to  those  for 
removal. 


3.2  Replacing the heater water tank 

3.2.1  Disassembling the heater water tank 

1)  Remove  the  bolts  and  clips  as  shown  in 
the figure. 


2)  Pull out the heater water tank. 


3.2.2  Installation procedures 

The  installing  steps  are  reverse  to  those  for 
removal. 


Chery Service Manual for A520                Body Dimension and Accessories


3.3  Replacing the evaporator core assembly 

3.3.1  Disassembling  the  evaporator  core 

assembly 

1) 

Remove  the  fastening  bolts  for  the 
expansion valve and the evaporator core 
assembly with an Allen wrench. 


2) 

Remove  the  three  screws  at  the  joint 
position  of  the  blower  and  the 
evaporator housing. 


3) 

Remove the two screws on the rear vent 
air duct to detach the rear air duct. 


Chery Service Manual for A520                Body Dimension and Accessories


4)  Remove  the  screws  as  shown  in  the 
figure. 


5) 

Remove  the  fastening  screws  on  the 
trunk  lid  of  the  evaporator  core 
assembly  to  detach  the  trunk  lid,  and 
then  take  out  the  evaporator  core 
assembly.   


3.3.2  Installing 

the 

evaporator 

core 

assembly 

The  installing  steps  are  reverse  to  those  for 
removal. 

3.4  Replacing  the  speed  regulating  resistor 

of the blower fan 

3.4.1  Disassembling  the  blower  fan  speed 

regulating resistor module 

1) 

Unplug the plug connecting to the speed 
regulating resistor module. 


Content   ..  18  19  20  21   ..