Chery A18. Manual - part 64
 

  Index      Chery     Chery A18 - service repair manual


Search            


Content   ..  62  63  64  65   ..


Chery A18. Manual - part 64


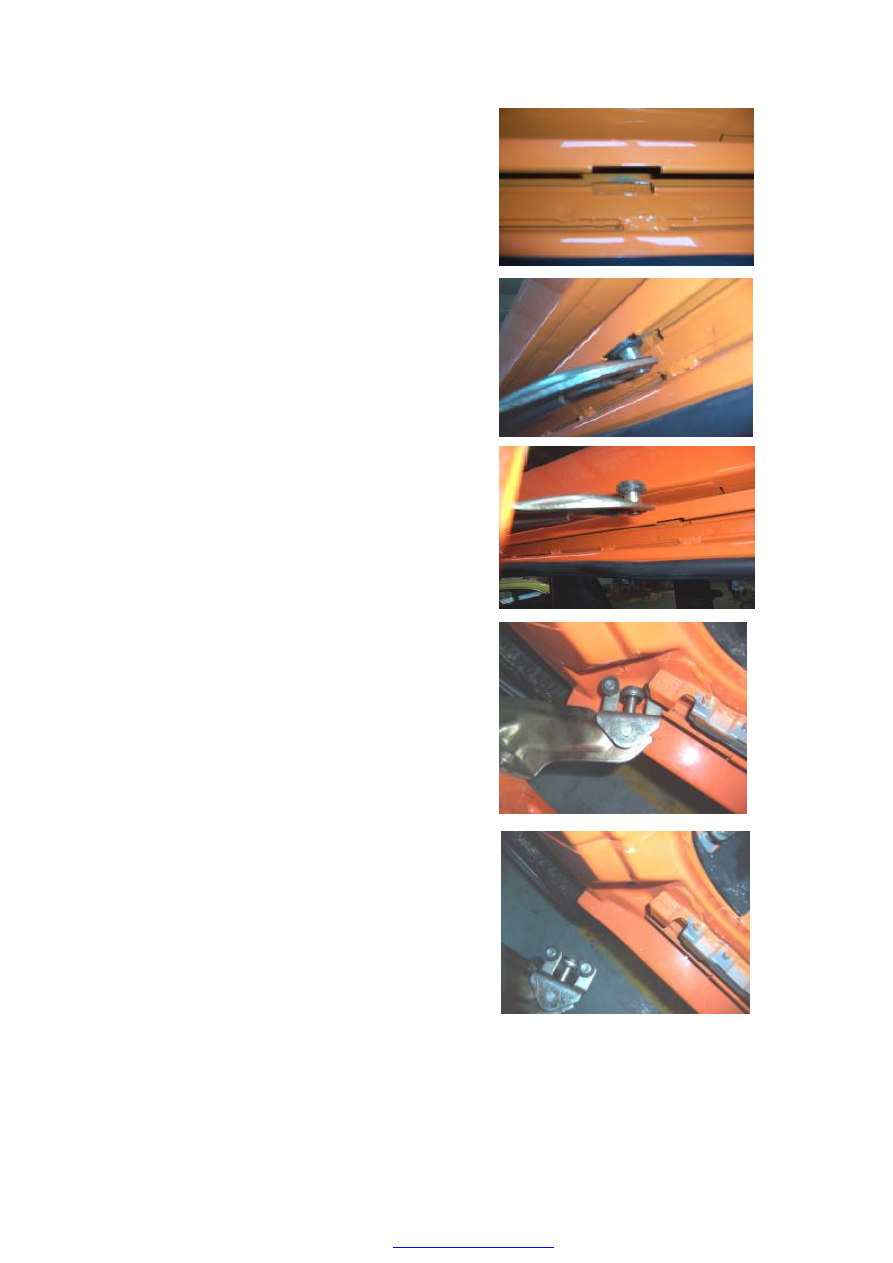
3.9. Push the roller of the upper rail of the side door 

up to the open size at the center, press down the side 

door  by  hands  to  separate  the  roller  from  the  upper 

rail 


3.10.  Slowly  push  the  side  door  to  the  car  rear 

position  till  the  end  of  the  rail  and  carefully  take  it 

out. 

Attention:  After  the  roller  is  separated  from  the 

upper rail keep the side wall  moved back  flatly and 

the  roller  can  not  be  applied  by  forces  from  other 

directions during the process of the pushing in order 

to  avoid  the  parts  distortion.  Put  the  side  door  on  a 

plane and  fill a layer of  protective  material between 

the door and the touching position of the plane 


4. Assembly steps 

Assemble according to the inverted sequence of the disassembly 


Chapter IV Disassembly, Assembly & Maintenance of the 

Front & Rear Bumper 

I. Disassembly, assembly & maintenance of the front bumper 

1. Preparation 

Tools: Socket wrench 8# , socket wrench 10#, socket wrench 19#, connecting rod, ratchet wrench, 

Phillips screwdriver, ring wrench 8#, 13# , torque wrench, etc. 


2. Attentions 

2.1. Please put on necessary appliances for labor protection in order to avoid the accident 

2.2. Avoid as  much as possible scratching the lacquer surface of the bumper when  disassembling 

& assembling 

2.3. When disassembling in the low temperature environment, the bigger force can not be used for 

fear breaching the bumper. 


3. Disassembly steps 

3.1.  Open  the  front  compartment  for  the  front  engine  by 

hands 


3.2.  Unscrew  bolts  of  2  front  headlamps  with  the  socket 

wrench  10#  and  then  take  them  out.  (See  the  disassembly 

way of the front headlamp). 

Moment:  (11±1)Nm 


3.3. Unscrew left & right each 2 bolts  in the  main beam  of 

the  front  bumper  with  the  ring  wrench  13#.  Shown  as  the 

figure: 

Moment:  (14±2)N·m 


3.4.  Disassemble  2  front  wheels  with  the  socket  wrench 

(See the disassembly way of the tyre). 


3.5.  Lift  the  car  to  a  suitable  height,  and  unscrew  fixing 

bolts  of  the  left  &  right  wheel  fenders  with  the  socket 

wrench 8# 


3.6. Disassemble left & right shields below the bumper with 

the same way.   

Assembly moment:9±0.5 Nm   


3.7. Separately unscrew fixing bolts & screws of the fender 

at  the  side  of  the  bumper  with  the  socket  wrench  8#  & 


Content   ..  62  63  64  65   ..