Chery A15. Manual - part 113
REMOVAL/INSTALLATION OF STARTER
Warning:
When connecting wires of the battery are in on-state, and at this time if you contact the
generator terminal to the car body, sparks will happen. This may cause body injury, fire
and the sparks may damage the electrical components. Therefore before carrying the
following operation, you must disconnect the negative grid of the battery first.
—
Disconnect the negative grid of the
battery.
—
Apply lubricating grease of about 5
grams evenly on the inserting shaft of the
starter.
—
Insert the starter into housing of the
clutch.
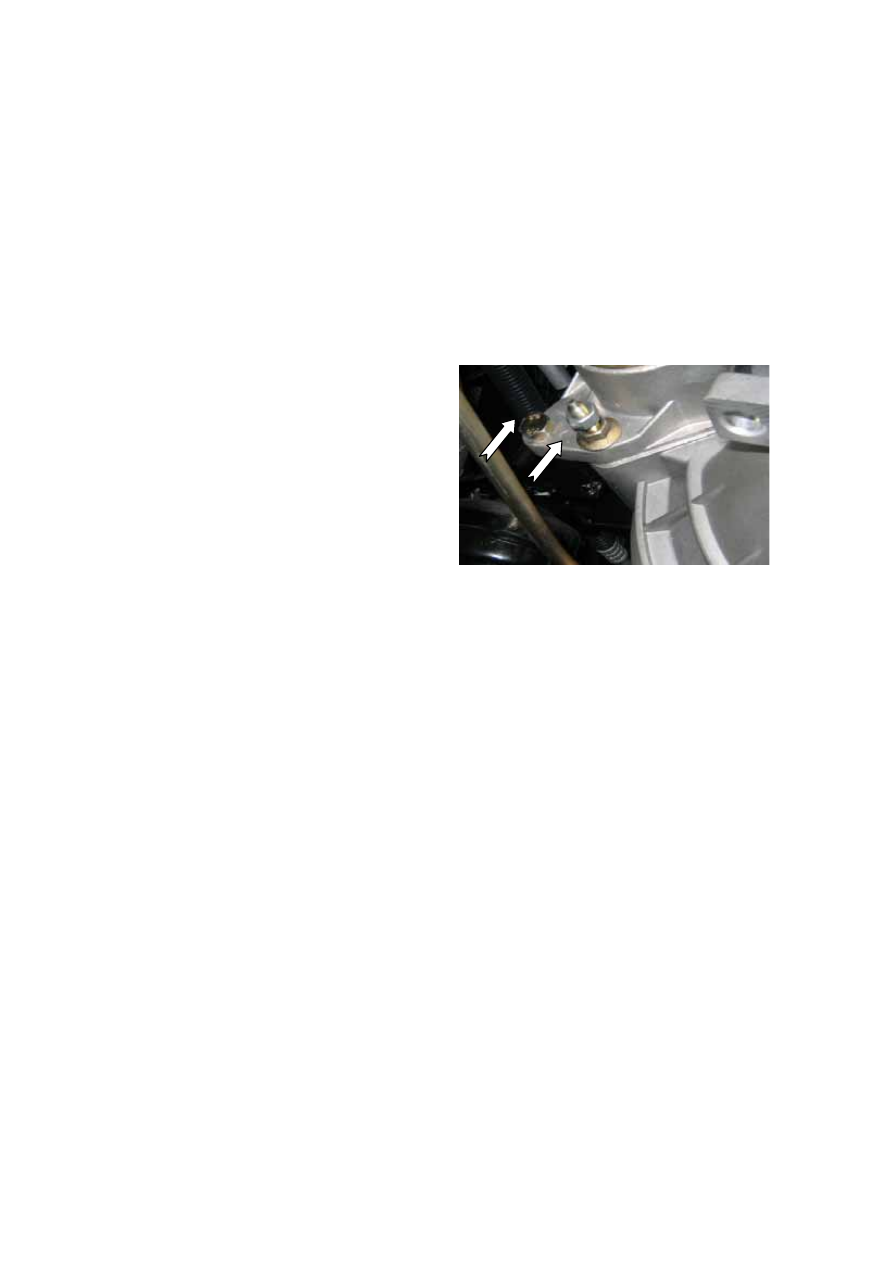
—
Screw three bolts and tighten them,(one
of the bolts is M10×1×35), with the
tightening torque of 40±4Nm.
—
Connect the wiring harness to the
positive grid of the starter, and the starter
wiring harness connector. Pay attention
not to ground the wiring harness so as to
prevent short circuit and catching fire.
The installing steps are reverse to those
for removal.
OVERHAUL OF STARTER
No load test:
—
Verify that the battery is fully charged.
—
Close the circuit of the starter, battery, voltmeter and ammeter according to the following
diagram.
—
Initiate the starter and check whether it operates smoothly.
—
When the starter is rotating, measure its voltage and current values. If these values do not
meet the requirements, then replace the starter.
T-9