BMW 325xi (2006 year). Instruction - part 4
47
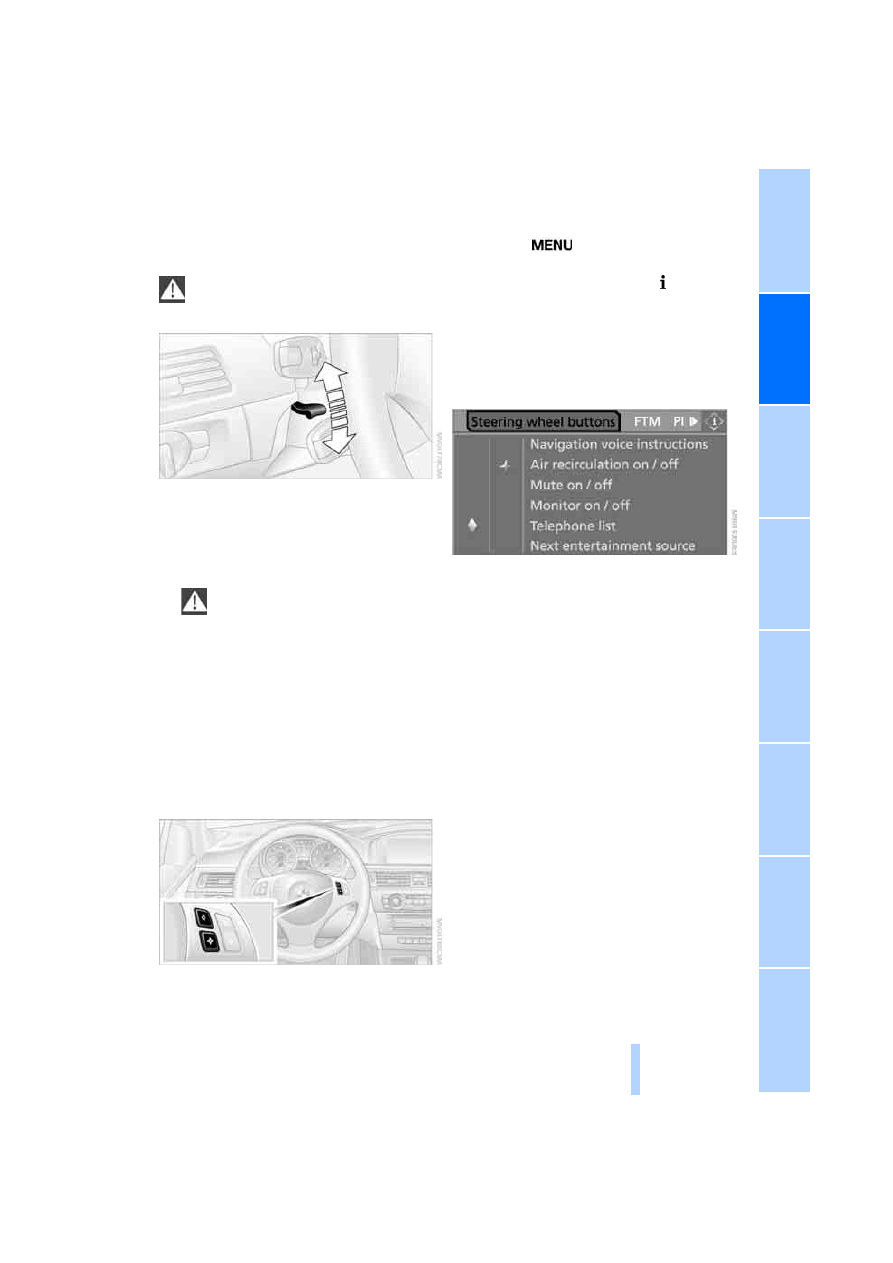
Steering wheel
Adjustments
Do not adjust the steering wheel position
while the car is in motion, or an accident
may result from any unexpected movement.
<
1.
Fold the lever down.
2.
Move the steering wheel to the preferred
height and angle to suit your seated posi-
tion.
3.
Swing the lever back up.
Do not use force to swing the lever
back up, otherwise the mechanism
will be damaged.
<
Electric steering wheel lock
The steering wheel locks or unlocks automati-
cally when the remote control is removed or
inserted, refer to page
.
Programmable buttons on the steering
wheel
You can program the buttons to suit your per-
sonal preferences:
These settings are stored for the remote con-
trol currently in use.
iDrive concept, refer to page
1.
Press the
button.
This opens the start menu.
2.
Press the controller to open the menu.
3.
Select "Vehicle settings" and press the
controller.
4.
If necessary, move the highlight marker to
the uppermost field. Turn the controller
until "Steering wheel buttons" is selected
and press the controller.
A list showing various functions is dis-
played:
>
"Navigation voice instructions"
Voice messages from the navigation
system
>
"Air recirculation on / off"
Permanent shut-off of outside air, refer
to Automatic recirculated-air control
AUC on page
>
"Mute on / off"
To mute the audio sources
>
"Monitor on / off"
To switch Control Display on/off
>
"Telephone list"
To show/hide phone book or last dis-
played list of stored phone numbers
>
"Next entertainment source"
To change the audio source
5.
Select the desired function and press the
controller.