Acura CSX. Manual - part 364
04
05
01
SNR9A00B44100056301KBAT00
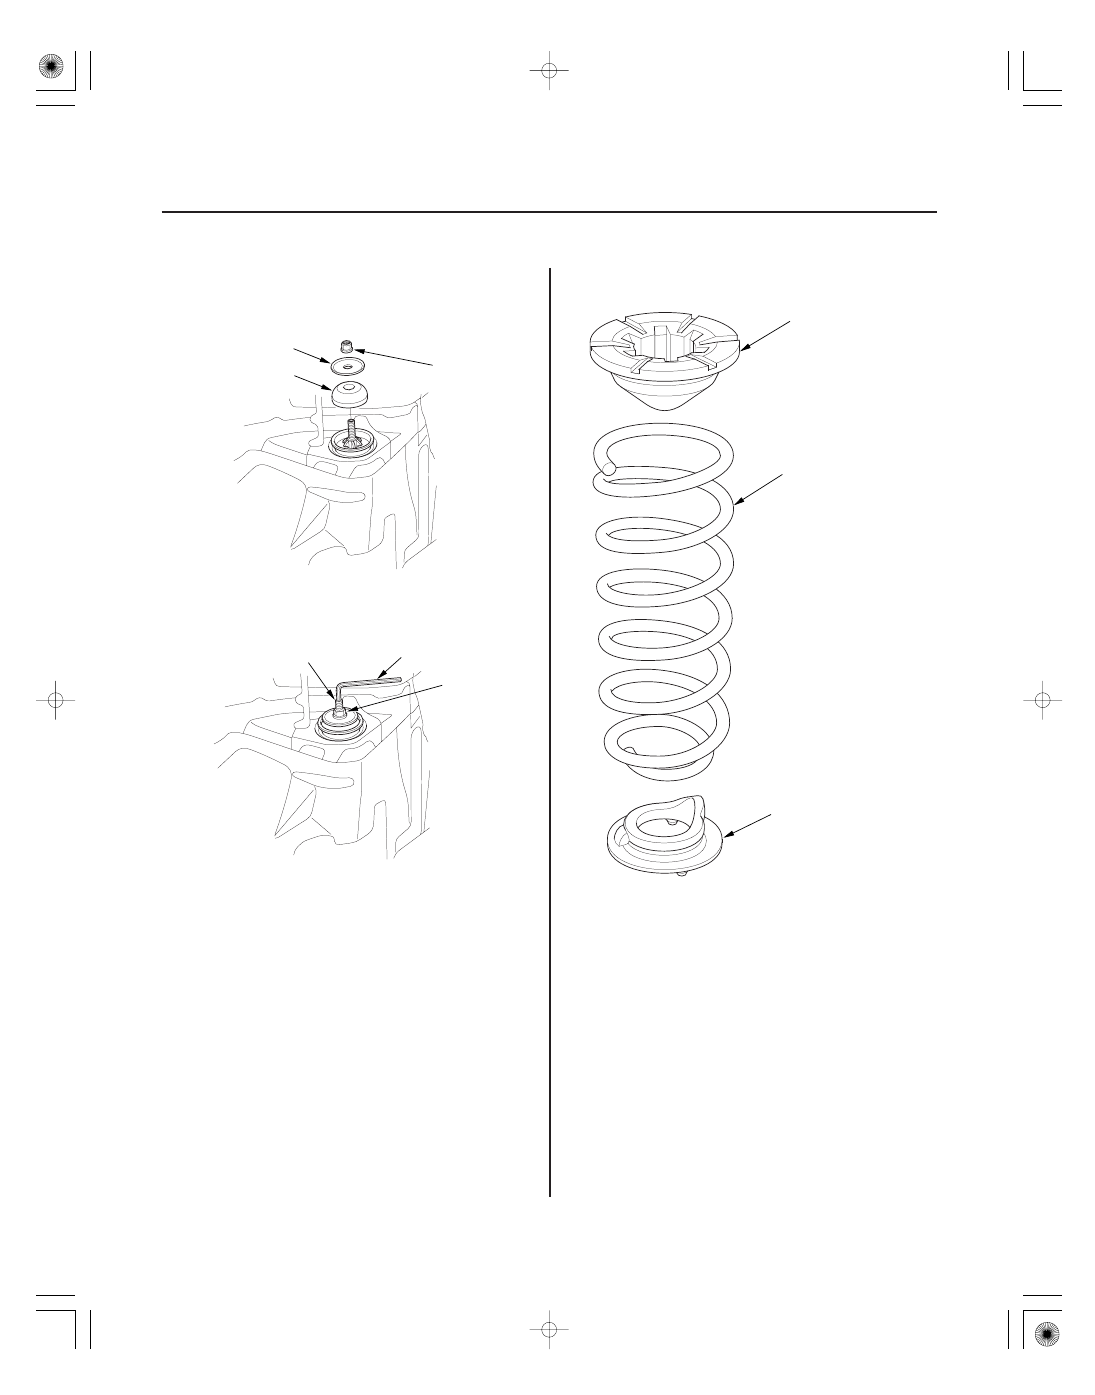
Exploded View
18-42
18-42
Rear Suspension
Spring Replacement
A
B
C
10 x 1.25 mm
B
C
A
10 x 1.25 mm
29 N·m
(3.0 kgf·m,
22 lbf·ft)
SPRING MOUNTING
RUBBER
SPRING
LOWER SPRING SEAT
5. Install the damper mounting bushing (A), the
damper mounting washer (B), and the new self-
locking nut (C) on the damper shaft.
6. Tighten the self-locking nut (A) to the specified
torque value while holding the damper shaft (B)
with a hex wrench (C).
7. Install the trunk side trim panel (see page 20-80).
8. Clean the mating surfaces of the brake disc and the
inside of the wheel, then install the rear wheel.
9. Check the wheel alignment, and adjust it if
necessary (see page 18-5).
Replace.
Replace.
Check for weakness
and damage.
Check for damage.
Check for deterioration
and damage.
08/08/21 14:58:17 61SNR030_180_0042