Acura CSX. Manual - part 288


  Index      Acura     Acura CSX - P/NO. 61SNR03 - service repair manual 2006-2009 year


Search            


Content   ..  286  287  288  289   ..


Acura CSX. Manual - part 288


*01

01

SNR9AA1E10410400000KAAT00

Special Tools Required

14-233

Transmission Removal

A
18 x 1.5 mm
49 N·m
(5.0 kgf·m, 36 lbf·ft)

B

A

B

• Engine hanger plate 07AAK-SNAA120
• Engine support hanger, A and Reds AAR-T1256
• 2006 Civic engine hanger VSB02C000025
• Front subframe adapter VSB02C000016

Available through Acura Canada Technical Tools
Department; Fax

866-398-8665/

e-mail: ch_technicaltools

ch.honda.com

NOTE:

• Use fender covers to avoid damaging painted

surfaces.

• Special tool engine support hanger must be used

with the side engine mount installed.

1. Remove the cowl cover (see page 20-163) and the

under-cowl panel.

2. Remove the front grille cover (see page 20-163).

3. Do the battery removal procedure (see page 22-69).

4. Remove the intake air duct (see page 11-348) and

the air cleaner assembly (see page 11-345).

5. Remove the battery tray, the battery base, and the

resonator.

6. Raise the vehicle on a lift, and make sure it is

securely supported and remove the front wheels.

7. Remove the splash shield.

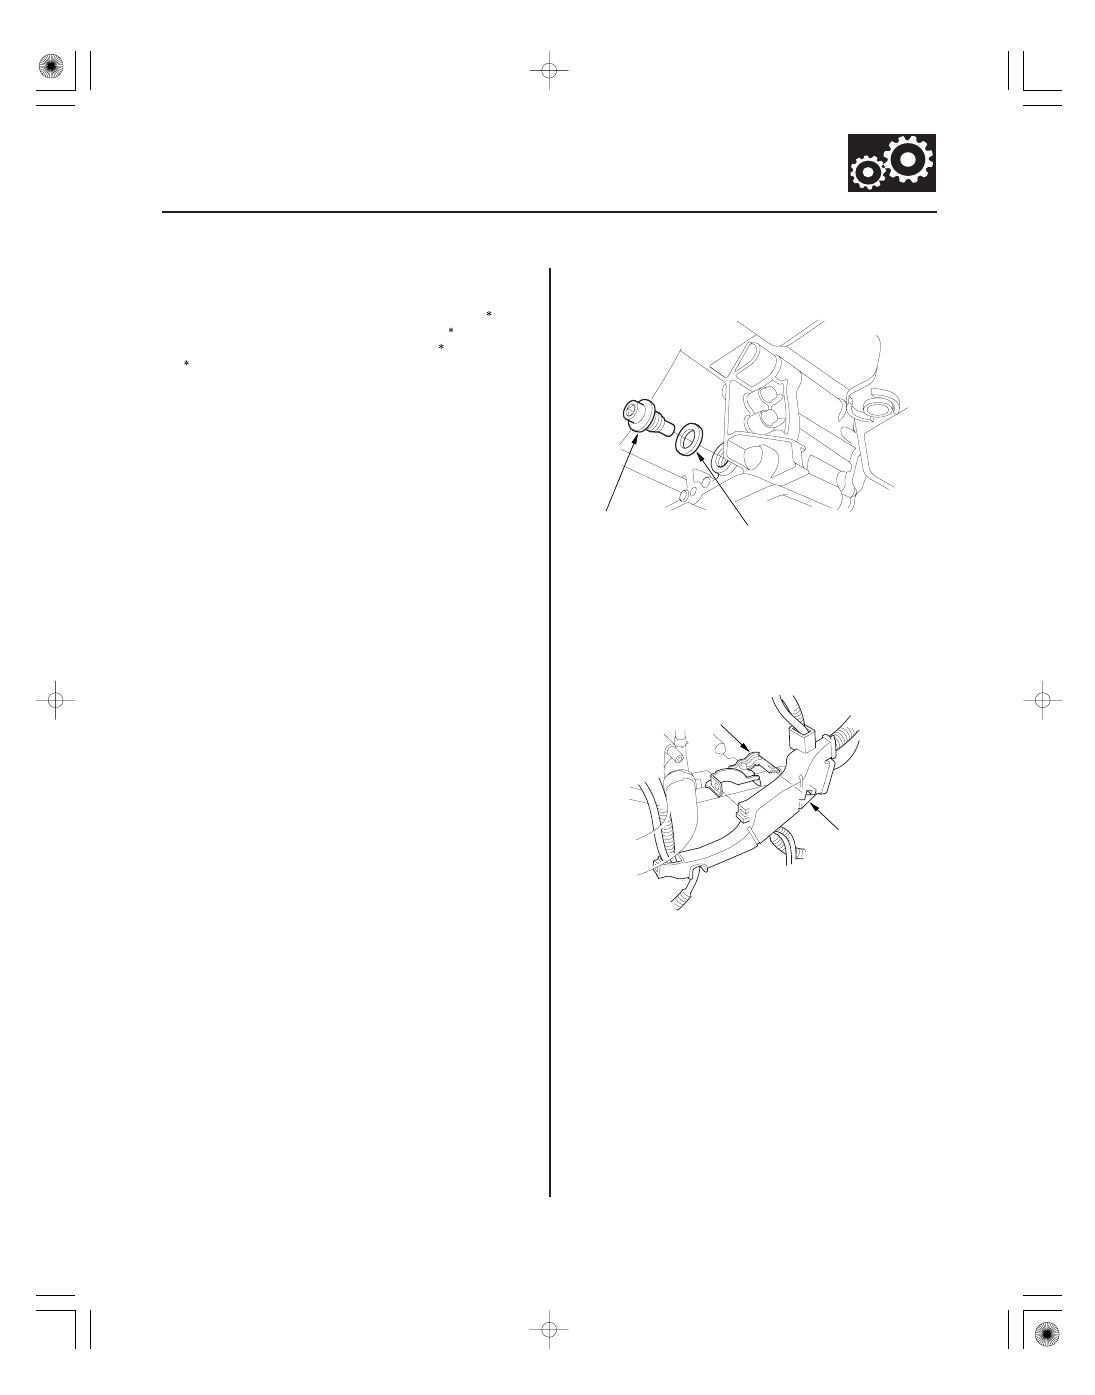
8. Remove the drain plug (A), and drain the automatic

transmission fluid (ATF).

9. Reinstall the drain plug with a new sealing washer

(B).

10. Secure the hood in the vertical position.

11. Remove the harness cover (A) from its bracket (B).

Replace.

08/08/21 14:46:53 61SNR030_140_0235

03

02

05

06

14-234

Automatic Transmission

A

B

C

D

D

A

B

C

D

E

F

C

G

A

B

C

D

E

D

E

12. Disconnect the A/T clutch pressure control solenoid

valve A connector (A) and the 2nd clutch
transmission fluid pressure switch connector (B),
and remove the harness clamps (C) from the clamp
brackets (D).

13. Remove the harness clamp (A) from the clamp

bracket (B). Disconnect the transmission range
switch connector (C), and remove the connector
from its bracket.

14. Disconnect the output shaft (countershaft) speed

sensor connector (D) and the input shaft
(mainshaft) speed sensor connector (E), and
remove the harness clamp (F) from the clamp
bracket (G).

15. Disconnect the 3rd clutch transmission fluid

pressure switch connector.

16. Disconnect the shift solenoid wire harness

connector (A), the A/T clutch pressure control
solenoid valve B connector (B), and the A/T clutch
pressure control solenoid valve C connector (C),
then remove the harness clamps (D) from the
clamp brackets (E).

08/08/21 14:46:54 61SNR030_140_0236

07

08

09

10

14-235

A

B

A

B

A

B

A

B

C

07AAK-SNAA120

17. Disconnect the ATF cooler hoses (A) from the ATF

lines (B). Turn the end of the ATF cooler hoses up to
prevent ATF from flowing out, then plug the hoses
and lines.

18. Remove the bolt securing the harness clamp

bracket (A) from the transmission hanger (B).

19. Remove the water hose from its clamp.

20. Remove the air cleaner housing mounting bracket

(A).

21. Install the engine hanger plate (07AAK-SNAA120)

on the stud nut (B) with a 8 x 1.25 - 16 mm bolt (C).
Use only the 8 x 1.25 mm and 16 mm in length of
the threaded bolt. If you use other than 16 mm
threaded-length bolt, it may damage the engine
cylinder head.

08/08/21 14:46:55 61SNR030_140_0237

11

12

13

14-236

Automatic Transmission

07AAK-SNAA120

VSB02C000025

A

B

C

22. Install the front leg assembly (A), the hook (B), and

the wing nut (C) from the A and Reds engine
support hanger (AAR-T1256) onto the 2006 civic
engine hanger (VSB02C000025). Carefully position
the engine hanger on the vehicle, and attach the
hook to the slotted hole in the engine hanger plate
(07AAK-SNAA120). Tighten the wing nut by hand to
lift and support the engine. Use care when working
around the windshield.

23. Remove the nuts and the bolt securing the lower

arms and the ball joints, and separate the lower
arms from the ball joints.

24. Remove both front subframe body mount brackets.

08/08/21 14:46:55 61SNR030_140_0238


Content   ..  286  287  288  289   ..