Lancia THEMA. Service Manual - part 2
If the door lock knob is down when
you shut the door, the door will lock.
Therefore, make sure the Key Fob is
not inside the vehicle before closing
the door.
WARNING!
• For personal security and safety
in the event of an accident, lock
the vehicle doors before you drive
as well as when you park and
leave the vehicle.
• When leaving the vehicle, always
remove the key fob and lock your
vehicle.
(Continued)
WARNING!
(Continued)
• Never leave children alone in a
vehicle, or with access to an un-
locked vehicle.
• Allowing children to be in a ve-
hicle unattended is dangerous for
a number of reasons. A child or
others could be seriously or fa-
tally injured. Children should be
warned not to touch the parking
brake, brake pedal or the shift
lever.
• Do not leave the key fob in or near
the vehicle, or in a location acces-
sible to children, and do not leave
the ignition of a vehicle equipped
with Keyless Enter-N-Go in the
ACC or ON/RUN mode. A child
could operate power windows,
other controls, or move the ve-
hicle.
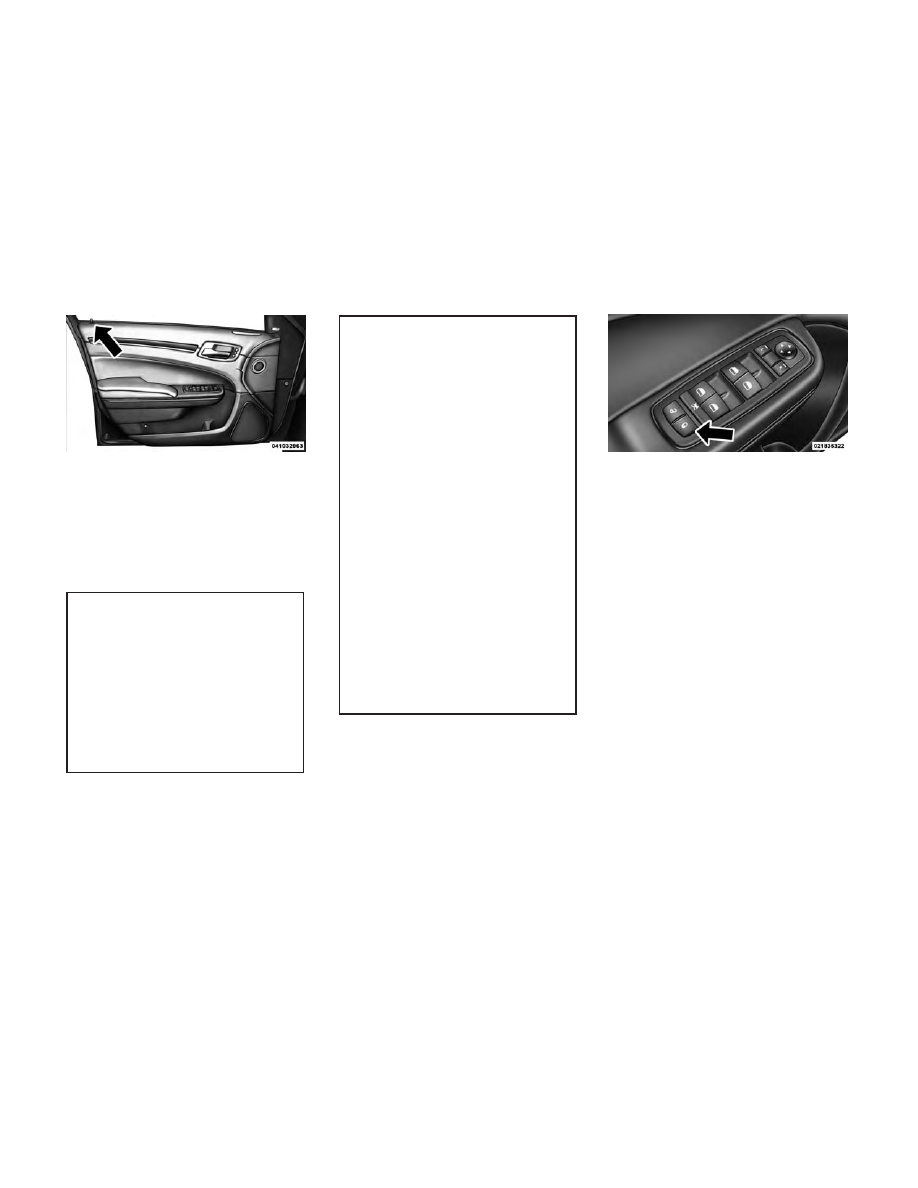
POWER DOOR LOCKS
A power door lock switch is on each
front door trim panel. Use this switch
to lock or unlock the doors.
The doors can also be locked and un-
locked with the Keyless Enter-N-Go
(Passive Entry) system. For further
information, refer to “Keyless Enter-
N-Go” in “Things To Know Before
Starting Your Vehicle”.
If you press the power door lock
switch while the ignition is in the ACC
or ON/RUN position, and any front
door is open, the power locks will not
operate. This prevents you from acci-
dentally locking the Key Fob in the
vehicle. Cycling the ignition to the
OFF position or closing the door will
allow the locks to operate. If a door is
open, and the ignition is in the ACC or
ON/RUN position, a chime will sound
as a reminder to remove the Key Fob.
Door Lock Knob
Power Door Lock Switch
21