Snowmobile Arctic Cat (2002 year). Manual - part 152
9-86
2. Remove the shock pad.
INSPECTING
NOTE: Whenever a part is worn excessively,
cracked, or damaged in any way, replacement is
necessary.
1. Inspect the pad and retaining brackets for damage
or wear.
2. Inspect the rivet holes in the slide rail for damage
or elongation.
INSTALLING
1. Place the pad and retaining brackets into position
on the slide rail.
2. Secure the pad assembly with rivets.
AG531D
Front Outer
Idler Wheels
NOTE: The skid frame does not have to be
removed for this procedure.
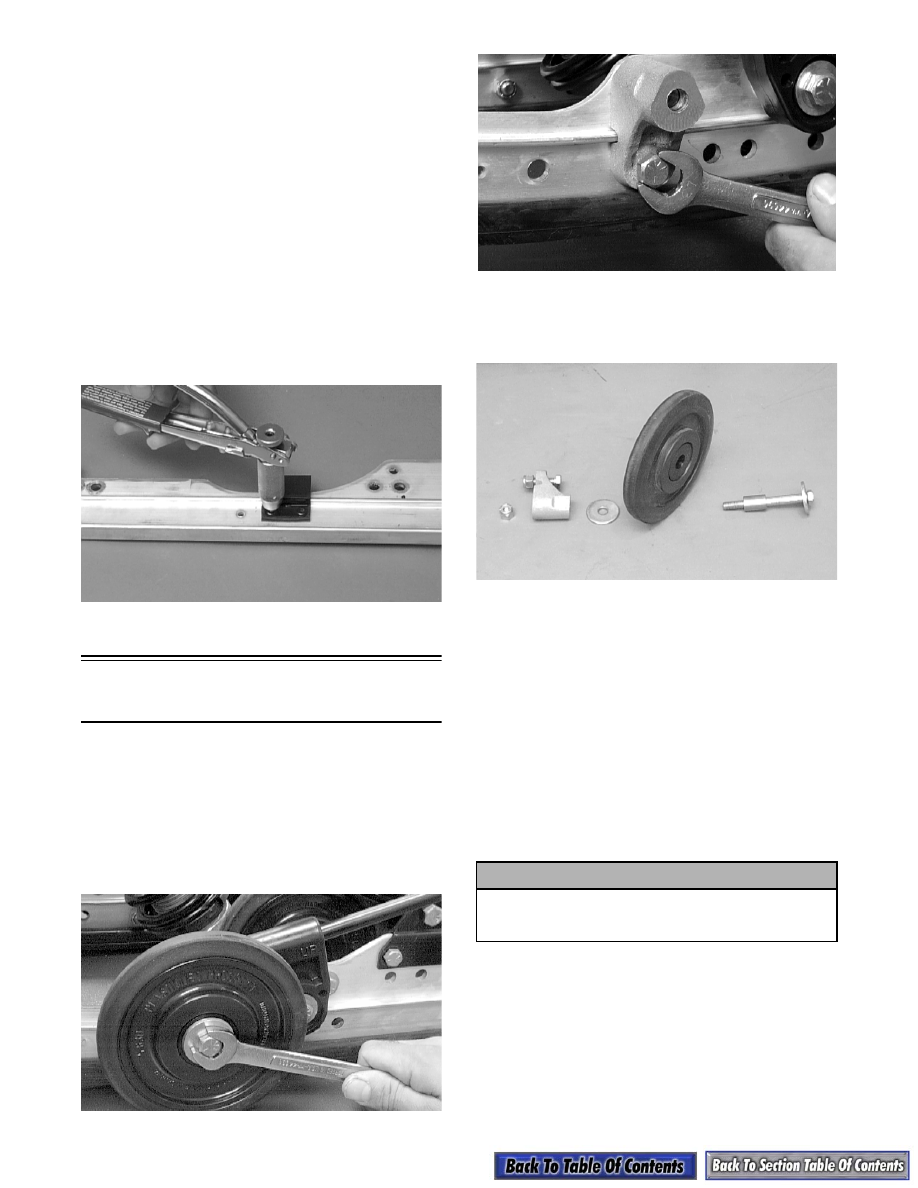
REMOVING
1. Remove the cap screws and lock nuts securing the
front outer idler wheel and the idler wheel mount-
ing block. Account for flat washers and an axle.
AG678D
AG686D
2. Note the locations of the flat washers for assembly
purposes. The washers are to be installed next to
the idler wheels.
AG622D
CLEANING AND INSPECTING
NOTE: Whenever a part is worn excessively,
cracked, or damaged in any way, replacement is
necessary.
1. Clean the bearing with a clean cloth.
2. Inspect each idler wheel and each plastic hub for
cracks or damage.
3. Rotate the idler wheel bearing (by hand) and
inspect for binding or roughness.
4. If a bearing must be replaced, use this procedure.
A. Remove the wheel insert and the snap ring.
B. Using a hydraulic press, press the bearing out
from the inside of the wheel.
C. Press the new bearing (on its outer race) into
the idler wheel.
! CAUTION
Do not remove the bearing unless it is absolutely
necessary. The bearing will be damaged during
removal.