Snowmobile Arctic Cat (2002 year). Manual - part 124
8-54
AF293D
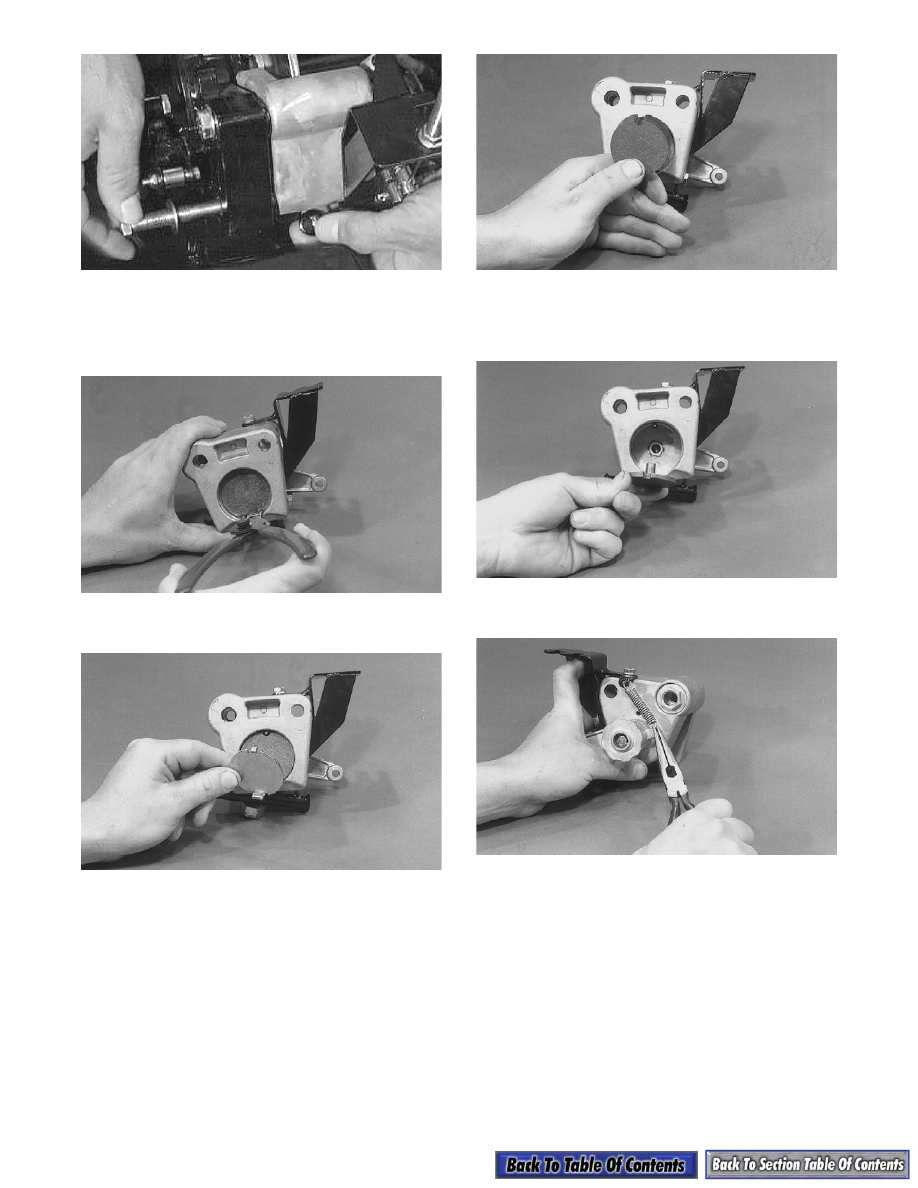
DISASSEMBLING
1. Remove the snap ring on the stationary side of the
caliper.
AF318A
2. Remove the brake pad support plate.
AF356
3. Remove the stationary brake pad.
AF354
4. Remove the movable brake pad.
5. Remove the brake piston.
AF353
6. Remove the brake actuator arm return spring.
AF351A
7. Loosen and remove the three cap screws securing
the brake cable bracket and remove the bracket.