Yamaha XV1700P, XV1700PC. Service Manual - part 6
 

  Index      Manuals     Yamaha XV1700P, XV1700PC. Service Manual


Search            copyright infringement  


Content      ..     4      5      6      7     ..


Yamaha XV1700P, XV1700PC. Service Manual - part 6


2 - 26

SPEC

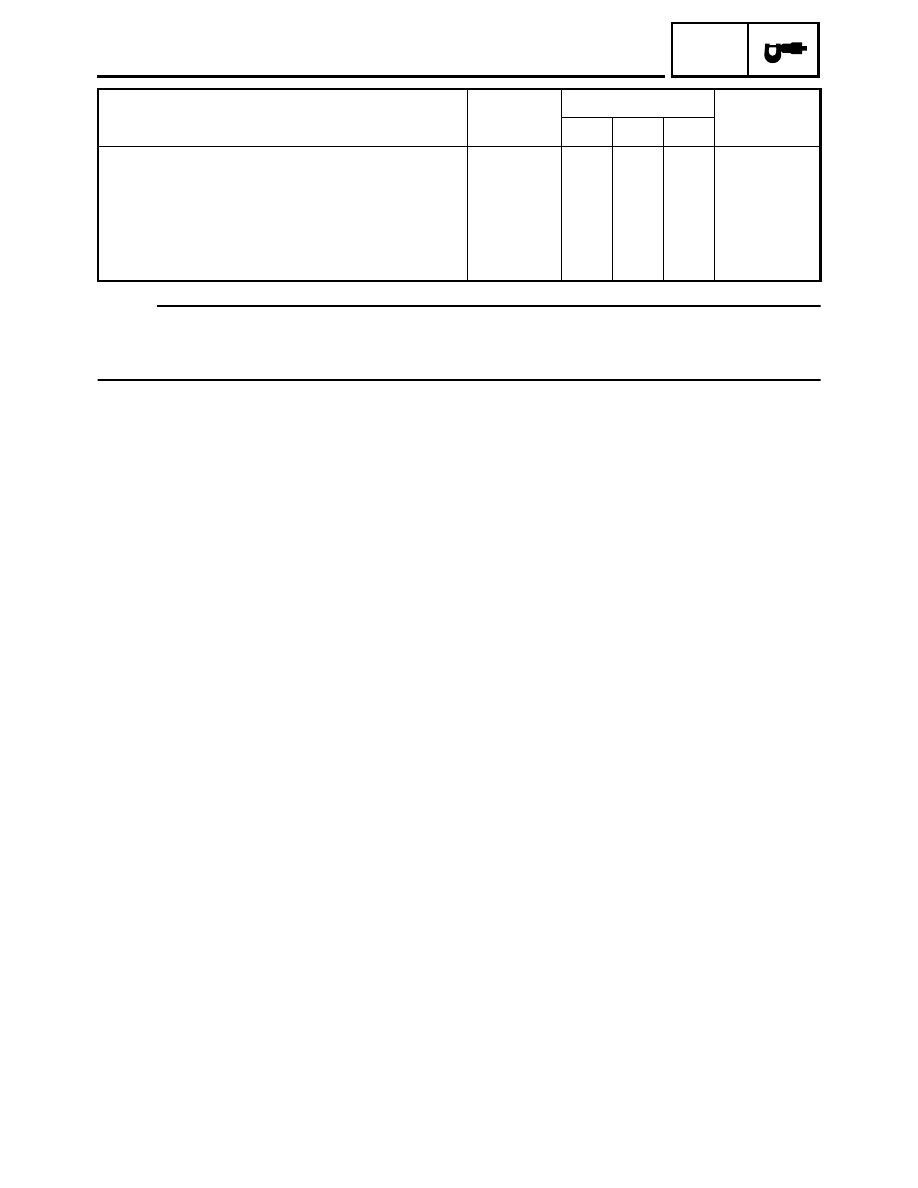
TIGHTENING TORQUES

NOTE:

1. First, tighten the ring nut approximately 52 Nm (5.2 m • kg, 37 ft • lb) by using the torque wrench,

then loosen the ring nut completely.

2. Retighten the ring nut to specification.

Damper rod assembly bolt

40

4.0

29

Reflector bracket (front)

M6

8

0.8

5.8

Footrest bracket and rear brake bracket

M8

16

1.6

11

Footrest bracket and shift rod bracket

M8

16

1.6

11

Rear brake bracket and brake pedal

M8

19

1.9

13

Shift shaft and shift pedal

M6

12

1.2

8.7

Item

Thread size

Tightening torque

Remarks

Nm

m·kg

ft·lb

2 - 27

SPEC

LUBRICATION POINTS AND LUBRICANT TYPES

EAS00031

LUBRICATION POINTS AND LUBRICANT TYPES

ENGINE 

Lubrication point

Lubricant

Oil seal lips

LS

O-rings

LS

Bearings

E

Connecting rod bolts and nuts

M

Connecting rod small end and big end

E

Crankshaft pins

E

Crankshaft journals

E

Piston surfaces

E

Piston pins

E

Camshaft cam lobes and camshaft journals

M

Valve push rods

E

Valve push rod end balls

E

Valve stems (intake and exhaust)

M

Valve stem ends (intake and exhaust)

E

Valve lifters

E

Rocker arms

E

Rocker arm shafts

E

Oil pump rotors (inner and outer) and oil pump housing

E

Oil strainer

E

Starter clutch idle gear inner surface

E

Starter clutch idle gear shafts

E

Starter clutch roller and starter clutch gears outer surface

E

Crankshaft big end bearing (upper and lower)

E

Clutch pull rod

M

Pressure plate bearing

E

Transmission gears (wheel and pinion)

M

Shift drum

E

Shift forks and shift fork guide bars

E

Shift shaft

LS

Shift pedal 

LS

Shift lever joint

LS

Crankcase mating surface

Sealant

(Quick Gasket

®

)

Stator coil lead grommet

Sealant

(Quick Gasket

®

)

Crankshaft position sensor lead grommet

Sealant

(Quick Gasket

®

)

2 - 28

SPEC

LUBRICATION POINTS AND LUBRICANT TYPES

EAS00032

CHASSIS 

Lubrication point

Lubricant

Steering bearings and bearing races (upper and lower)

LS

Steering bearing cover

LS

Steering head pipe lower oil seal

LS

Front wheel oil seal (right and left)

LS

Rear wheel oil seal

LS

Rear wheel drive hub mating surface

LS

Rear brake pedal shaft

LS

Shift pedal

LS

Rear footrest pivot

LS

Sidestand sliding surface

LS

Tube guide (throttle grip) inner surface

LS

Brake lever pivot bolt, contact surface

LS

Clutch lever pivot bolt, contact surface

LS

Swingarm pivot shaft

LS

Swingarm pivot bearing

LS

Swingarm pivot oil seal

LS

Relay arm bearing (inner)

LS

Rear shock absorber bearing (inner)

LS

Connecting rod bearing (inner)

LS

2 - 29

SPEC

ENGINE OIL LUBRICATION CHART

ENGINE OIL LUBRICATION CHART

Pressure feed

Rear cylinder intake valve

Valve stem 
end

Front cylinder intake valve

Piston

Valve stem 
end

Piston

Camshaft lobe faces

Camshaft journal (camshaft cover side)

Starter clutch

Clutch

Main axle gears

Oil pump drive gear

Drive axle gears

Connecting rod

Crank pin

Rocker 
arm

Push 
rod

Valve 
lifter

Rear 
camshaft

Rocker 
arm

Push 
rod

Valve 
lifter

Front 
camshaft

Connecting rod

Crank pin

Generator shaft journal (right)

Crankshaft journal 
(left)

Rear cylinder

Front cylinder

Crankshaft journal 
(right)

Crankshaft journal 
(camshaft cover side)

Generator shaft journal (left)

Drive axle

Main axle

Check ball

Rotor 2

Rotor 1

Relief valve

Oil strainer

Drain bolt

Bypass valve

Oil filter cartridge

Oil pump

Oil tank

Oil strainer

Drain bolt

2 - 30

SPEC

ENGINE OIL FLOW DIAGRAMS

ENGINE OIL FLOW DIAGRAMS

1

Oil tank

2

Dipstick

3

Oil delivery pipe

4

Push rod

5

Oil filter cartridge

3

5

5

4

4

3

2

1

2 - 31

SPEC

ENGINE OIL FLOW DIAGRAMS

1

Valve lifter

2

Push rod

3

Rocker arm shaft

4

Crankshaft

3

2

1

4

3

2 - 32

SPEC

ENGINE OIL FLOW DIAGRAMS

1

Engine oil pump

2

Oil strainer

3

Engine oil drain bolt (engine)

3

2

1

1

2 - 33

SPEC

ENGINE OIL FLOW DIAGRAMS

1

Main axle

2

Drive axle

3

Engine oil pump

4

Oil strainer

È

To oil filter cartridge

3

4

2

1

È

2 - 34

SPEC

TRANSFER GEAR OIL FLOW DIAGRAMS

TRANSFER GEAR OIL FLOW DIAGRAMS

1

Middle driven shaft

2

Transfer gear oil pump

2

1

2 - 35

SPEC

TRANSFER GEAR OIL FLOW DIAGRAMS

1

Transfer gear oil pump

2

Middle driven shaft

1

2

2 - 36

SPEC

CABLE ROUTING

EB206000

CABLE ROUTING

1

Brake hose

2

Clutch cable

3

Rectifier/regulator

4

Rectifier/regulator lead

5

Rear brake light switch lead

6

Horn lead

7

Stator coil assembly lead

È

Fasten the rectifier/regulator
lead, horn lead, and rear brake
light switch lead with a plastic
locking tie to the frame.

É

Fasten the stator coil assembly
lead, rectifier/regulator lead,
and the end of the boot with a
plastic band.

Ê

Fasten the rear brake light
switch lead, horn lead, and sta-
tor coil assembly lead with a
plastic locking tie to the frame.

Ë

Fasten the stator coil assembly
lead, horn lead, and rear brake
light switch lead with a plastic
locking tie to the frame.

2

1

3

4

5

6

7

1

1

Ë

Ê

É

È

2 - 37

SPEC

CABLE ROUTING

1

Clutch cable

2

Left handlebar switch lead

3

Right handlebar switch lead

4

Throttle cable 1

5

Throttle cable 2

6

Brake hose

È

Fasten the left handlebar switch lead with a plas-
tic holder.

É

Fasten the right handlebar switch lead with a
plastic holder.

Ê

20 ~ 30 mm (0.8 ~ 1.2 in)

Ë

50 ~ 70 mm (2.0 ~ 2.8 in)

2 - 38

SPEC

CABLE ROUTING

1

Throttle cables

2

Clutch cable

3

Atmospheric pressure sensor

4

Spark plug cap (ignition coil 1-L spark plug lead)

5

Horn lead

6

Crankshaft position sensor lead

7

Horn 2

8

Sidestand switch lead

9

Starter motor lead

0

Spark plug cap (ignition coil 2-L spark plug lead)

È

Pass throttle cable 1 and throttle cable 2 through
the cable guide, and then fasten them with a
plastic holder.

É

Fasten the engine stop switch lead, horn lead,
and oil temperature sensor lead with a plastic
locking tie.

Ê

Fasten the sidestand switch lead, starter motor
lead, crankshaft position sensor lead, decom-
pression solenoid lead, cylinder identification
sensor lead, speed sensor lead, and neutral
switch lead with a plastic locking tie.

Ï

Î

Ð

Í

Ì

Ë

Ê

É

È

1

2

3

4

5

6

7

8

9

0

2 - 39

SPEC

CABLE ROUTING

Ë

Fasten the engine stop switch lead, crankshaft position sensor lead, and horn lead with a plastic locking
tie.

Ì

Fasten the starter motor lead, and side stand switch lead with a plastic locking tie to the frame.

Í

Fasten the starter motor lead, fuel tank drain hose, and fuel tank/air filter breather hose with a plastic band
to the frame.
Be sure not to pinch the fuel tank drain hose or the fuel tank/air filter breather hose.

Î

Fasten the starter motor lead with the plastic clamp.

Ï

Clamp the clutch cable between the locknut and washer with a plastic clamp.

Ð

To the engine.

Ï

Î

Ð

Í

Ì

Ë

Ê

É

È

1

2

3

4

5

6

7

8

9

0

2 - 40

SPEC

CABLE ROUTING

1

Ignition coil 1

2

Atmospheric pressure sensor lead

3

Ignition coil 2

4

Ignition coil 2 lead

5

Rear brake light switch coupler

6

Rectifier/regulator lead and horn lead

7

Linear control valve lead

8

Ignition coil 1 lead

9

Fuel return hose

0

Fuel inlet hose

È

To the rectifier/regulator, horn 1 and rear brake
light switch.

É

30 ~ 50 degrees

Ê

40 ~ 60 degrees

A

C

B

2

1

6

7

9

A

B

C

8

5

4

0

D-D

D

D

È

3

É

Ê

2 - 41

SPEC

CABLE ROUTING

1

Tail/brake light lead

2

Fuel pump lead

3

Sidestand switch lead

4

Starter motor lead

È

Be sure to position the ECU leads and sensor
leads toward the left side of the frame, and then
fasten the wire harness protector with a plastic
locking tie.

É

Route the negative battery lead on top of the
other leads.

Ê

To the tail/brake light.

A

A

B

B

2

3

A-A

1

4

3

Í

Ì

Ê

É

È

Ë


Content      ..     4      5      6      7     ..