WT9 Dynamic LSA. AIRCRAFT MAINTENANCE MANUAL (AS-AMM-01-000, 22. 05. 2017) - page 5
 

  Index      Manuals     WT9 Dynamic LSA. AIRCRAFT MAINTENANCE MANUAL (AS-AMM-01-000, 22. 05. 2017)


Search            copyright infringement  


Content      ..     3      4      5      6     ..


WT9 Dynamic LSA. AIRCRAFT MAINTENANCE MANUAL (AS-AMM-01-000, 22. 05. 2017) - page 5


 ALL 

Page 05-29 


PERIODIC INSPECTIONS 

Operational and Functional Check 

Interval 

(flight hours) 

Initials: 

First 

25 hr. 

100 hr./ 

Annual/ 

Special 

1. 

Check aileron, elevator and rudder controls for full range of travel, 
excessive friction and obstructions. 


2.  Check the roll and pitch trim for full range of travel and indication. 


3. 

Check  extension,  retraction  and  locking  of  wing  flaps  
at all positions. 


4. 

Check  the  full  range  of  engine  controls  for  motion,  obstruction  
and excessive friction. 


5. 

Set the altimeters to correct barometric pressure setting and check 
if indicate within 50 feet of field elevation. 


6.  Check the vertical speed indicators to indicate zero. 


7.  Check the radio communication capability. 


8.  Check the landing and anti-collision/strobe lights operation. 


9.  Start and warm the engine according to POH (Chapter 4). 


10. 

Move the fuel selector to the LEFT and RIGHT positions to verify 
fuel flow. 


11.  Perform the brake test. 


12. 

Perform  ignition  and  engine  ground  test  according  to  POH  
(Chapter 4). 


13.  Shut down the engine according to POH (Chapter 4). 


14. 

Perform  a  walk  around  to  detect  any  fluid  leaks  or  other  
abnormalities. Check the fuel leak in the cockpit. 


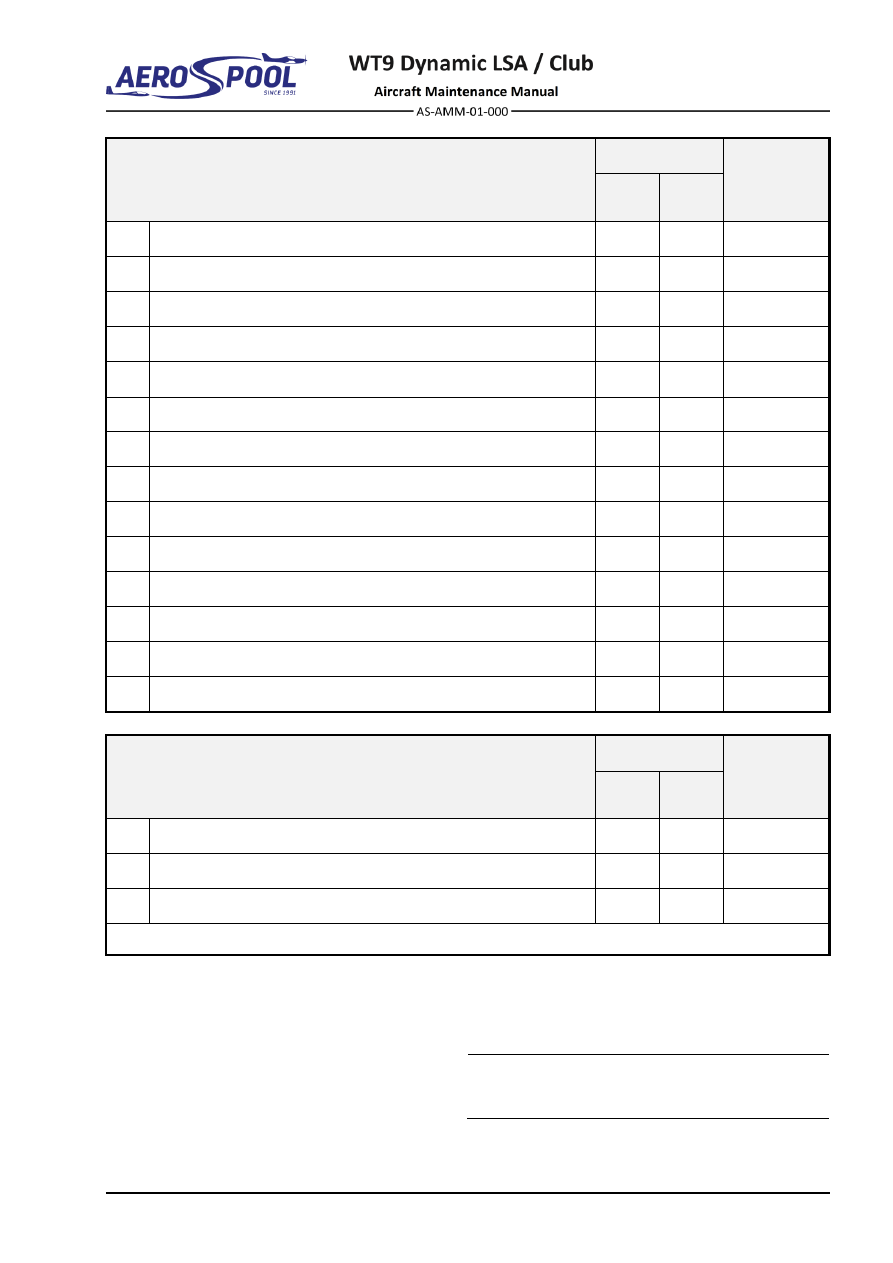
Finishing Works 

Interval 

(flight hours) 

Initials: 

First 

25 hr. 

100 hr./ 

Annual/ 

Special 

1. 

Install  upper  engine  cowling.  Close  and  check  all  covers  
are on their place. 


2.  Check the removal of all detected defects. 


3.  Fill out the required logbook entries. 


The end 

Tab.


05-4


Scheduled Maintenance Tasks (page 13 of 13) 

Signature of Mechanic or Inspector: 


Certificate Number: 


 ALL 

Page 05-31 


PERIODIC INSPECTIONS 

05-50


UNSCHEDULED MAINTENANCE CHECKS


1.  GENERAL 

During  operation,  the aircraft may be subjected to  any incidents  that  could damage  
the aircraft and therefore unscheduled maintenance checks are required. 
The following procedures may be in the details amended or supplemented according 
to the extent of damage. If necessary, please consult the aircraft manufacturer. 


UNSCHEDULED MAINTENANCE CHECKS 

28. 04. 2021


PERIODIC INSPECTIONS


2.  HARD LANDING CHECKS 


AC TYPE: WT9 Dynamic LSA 

AC MODEL: Club 

SERIAL NUMBER: 

REGISTRATION NUMBER: 

LAST INSPECTION DATE: 

LAST INSPECTION HOURS: 

TOTAL F.H.: 

CYCLES: 

DATE IN: 

DATE OUT: 

INSPECTION INTERVAL: 

UNSCHEDULED 


Hard Landing 

Inspection 

Result: 

Initials: 

1.  Preparatory works 

1.1  Visual inspection of aircraft

’s 

lateral and longitudinal position. 


2.  Nose Landing Gear 

2.1  Remove the nose wheel fairing. Visual inspection for damage. 


2.2 

Visual  inspection  of  nose  gear  leg  for  damage,  deformation  
and cracks. 


2.3 

Visual  inspection  of  critical  area  of  nose  gear  leg  under  lower  
support for cracks. If any doubts, use an available non-destructive 
testing method. 


2.4 

Visual inspection of critical area of lid of upper support for cracks 
and deformations. If any doubts, use an available non-destructive 
testing method. 


2.5  Visual inspection of lower support for damage and deformation. 


2.6  Visual inspection of rubber ropes for damage. 


2.7 

Functional  inspection  of  steering  and  centring  mechanism.  Turn 
the nose gear leg from side to side to check abnormal resistance. 


2.8 

Visual  inspection  of  carbon  fork  for  damage,  delaminations  
and cracks. 


2.9  Visual inspection of tire for wear and damage. 


2.10 

Visual  inspection  of  wheel  disc  for  damage  and  condition  
of bearings by rotating of wheel. 


2.11  Inspect proper tire pressure. 


2.12  Install the nose wheel fairings. 


Tab.


05-5


Unscheduled Maintenance Tasks 

 Hard Landing (page 1 of 2) 


 ALL 

Page 05-33 


PERIODIC INSPECTIONS 


Hard Landing (Continued) 

Inspection 

Result: 

Initials: 

3.  Main Landing Gear


3.1 

Remove  the  main  wheel  fairings  and  main  leg  fairings.  Visual  
inspection for damage. 


3.2 

Visual inspection of main legs for damage, deformation and cracks. 
Pay attention to entry point of landing legs to fuselage. 


3.3 

Remove  the  upholstery,  seats  and  inspection  covers.  Visual  
inspection of fuselage inner rib for damage, cracks and main leg 
attachment. Perform the inspection from interior side and through 
the gap around main leg

s entry point. 


3.4 

Visual inspection of fuselage outer rib for damage, cracks and main 
leg attachment. 


3.5  Visual inspection of tires for wear and damage. 


3.6 

Visual  inspection  of  wheel  discs  for  damage  and  condition  
of bearings by rotating of wheels. 


3.7 

Visual  inspection  of  brake  discs,  brake  pads  and  callipers  
for  condition  and  damage.  Visual  inspection  of  brake  system  
for leak. 


3.8  Inspect proper tire pressure. 


3.9  Install the inspection cover, seats and upholstery. 


3.10  Install the main wheel fairings and main leg fairings. 


Tab.


05-5


Unscheduled Maintenance Tasks 

 Hard Landing (page 1 of 2) 

Signature of Mechanic or Inspector: 


Certificate Number: 


CONTENTS 


DIMENSIONS  

AND AREAS 

06  DIMENSIONS AND 

AREAS 

CONTENTS 

DIMENSIONS AND AREAS .............................................. 3


1.


DESCRIPTION .......................................................................... 3


2.


THREE-VIEW DRAWINGS ........................................................ 4


A.


General.............................................................................. 6


B.


Wing .................................................................................. 6


C.


Wing flaps .......................................................................... 6


D.


Ailerons ............................................................................. 6


E.


Vertical tail ......................................................................... 6


F.


Horizontal tail ..................................................................... 6


G.


Landing gear ..................................................................... 6


3.


CONTROL SURFACES DEFLECTIONS AND CABLE TENSION 
SETTINGS ................................................................................. 7


A.


Aileron ............................................................................... 7


B.


Elevator ............................................................................. 7


C.


Rudder............................................................................... 7


D.


Wing flaps .......................................................................... 7


4.


HATCHES AND COVERS ......................................................... 8


A.


External hatches and covers ............................................. 8


B.


Internal hatches and covers ............................................ 10


DIMENSIONS AND AREAS 


DIMENSIONS  

AND AREAS 

06-00  DIMENSIONS AND AREAS 

1.  DESCRIPTION 

This  chapter  shows  three-view  drawing  of  aircraft,  describes  dimensions,  hatches  
and covers. In the hatches and covers section the legends to the above figures specify 
what  components are accessible after opened / removed and how hatches / covers 
are attached. 


Effectivity:

 ALL 

04. 07. 2019


DIMENSIONS 
AND AREAS


2.  THREE-VIEW DRAWINGS 


Fig.  06-1  Dynamic WT9 LSA / Club 


DIMENSIONS AND AREAS 


DIMENSIONS  

AND AREAS 


Fig.  06-2   Dynamic WT9 LSA / Club (Towing Version) 


Effectivity:

 ALL 

04. 07. 2019


DIMENSIONS 
AND AREAS


A. 

General 

Wing span (Overall) ............................................... 8.926 m .............. 29.28 ft 

Length (Overall) ..................................................... 6.460 m .............. 21.19 ft 

Height (Maximum) .................................................. 1.850 m ................ 6.07 ft 

Propeller diameters: 

EVRA PerformanceLine 175/xxx/805.5 .................. 1.750 m .............. 68.90 in 

KW-31 (towing version) .......................................... 1.726 m .............. 67.95 in 


B. 

Wing 

Span ....................................................................... 8.926 m .............. 29.28 ft 

Area ..................................................................... 10.500 m

2

 .......... 112.98 ft

2


Wing loading .......................................................... 57.14 kg/m

2

 ....... 11.71 lb/ft

2


MAC length ............................................................ 1.172 m ................ 3.84 ft 

C. 

Wing flaps 

Span ....................................................................... 2.275 m ................ 7.46 ft 

Area ....................................................................... 0.750 m

2

 .............. 8.07 ft

2


D. 

Ailerons 

Span ....................................................................... 1.133 m ................ 3.72 ft 

Area ....................................................................... 0.270 m

2

 .............. 2.91 ft

2


E. 

Vertical tail 

Span ....................................................................... 1.208 m ................ 3.96 ft 

Vertical tail area ..................................................... 0.902 m

2

 .............. 9.71 ft

2


Rudder area ........................................................... 0.333 m

2

 .............. 3.58 ft

2


F. 

Horizontal tail 

Span ....................................................................... 2.400 m ................ 3.96 ft 

Horizontal tail area ................................................. 1.680 m

2

 ............ 18.08 ft

2


Elevator area .......................................................... 0.496 m

2

 .............. 5.34 ft

2


G. 

Landing gear 

Wheel track (main to main) .................................... 2.240 m ................ 7.35 ft 

Wheel base (main to nose) .................................... 1.400 m ................ 4.59 ft 

Main wheel tire size ............................................ 15x6.00 

Nose wheel tire size ........................................... 13x5.00 


DIMENSIONS AND AREAS 


DIMENSIONS  

AND AREAS 

3.  CONTROL SURFACES DEFLECTIONS AND CABLE TENSION 

SETTINGS 

A. 

Aileron 

Aileron up deflection .................................................. 25

° ±2° 

Aileron down deflection .............................................. 15

° ±2° 

Trim tab up deflection ................................................ 18

° ±1° 

Trim tab down deflection ............................................ 

20° ±1° 

B. 

Elevator 

Elevator up deflection ................................................ 

28° ±2° 

Elevator down deflection ............................................ 

18° ±2° 

C. 

Rudder 

Rudder left deflection ................................................. 

25° ±2° 

Rudder right deflection ............................................... 

25° ±2° 

Rudder cable tension ............................................. 61-65 N 

D. 

Wing flaps 

Flaps 0 (retracted) ....................................................... 

0° ±2° 

Flaps 1 (takeoff) ......................................................... 15

° ±2° 

Flaps 2 (landing) ........................................................ 

24° ±2° 

Flaps 3 (emergency landing) ..................................... 

35° ±2° 


Effectivity:

 ALL 

04. 07. 2019


DIMENSIONS 
AND AREAS


4.  HATCHES AND COVERS 

A. 

External hatches and covers 


Fig. 

06-3

  External Hatches and Covers (page 1 of 2) 


DIMENSIONS AND AREAS 


DIMENSIONS  

AND AREAS 


Propeller spinner 

– screwed on 

Upper engine cowling 

– quick lock fasteners 

Lower engine cowling 

–quick lock fasteners to upper engine cowling 

and screwed on fuselage 

Nose wheel cover 

– screwed on 

5L 

Main wheel fairing, left 

– screwed on 

5R  Main wheel fairing, right

– screwed on 

6L 

Main leg cover, left 

– screwed on 

6R  Main leg cover, right 

– screwed on 

Emergency  parachute  system  cover  (separate  the  cover

’s  contact 

surface to avoid of its bonding to the silicone seal) 

– screwed on. 

Cover of installation hole (access to outer main pin) 

– screwed on 

Installation  hole  cover  (access  to  aileron  control  lever  and push-pull 
rods) 

–silicone 

Fig.


06-3


External Hatches and Covers (page 2 of 2) 

CAUTION 

DO  NOT  BOND  THE  EMERGENCY  PARACHUTE  SYSTEM  COVER 
WITH  A  SILICONE.  THE  COVER  MUST  BE  SEPARATED  FROM  
THE  SILICONE  SEAL  TO  ENSURE  EXTRACTION  DEVICE  TO 
REMOVE THE COVER. 


Effectivity:

 ALL 

04. 07. 2019


DIMENSIONS 
AND AREAS


B. 

Internal hatches and covers 


Fig. 

06-4

  Internal Hatches and Covers (page 1 of 2) 


DIMENSIONS AND AREAS 


DIMENSIONS  

AND AREAS 


Fuel filter cover RH (access to RH fuel filter) 

– snapped on 

Fuel filter cover LH (access to LH fuel filter) 

– snapped on 

3R  Inner fuel tank rib cover RH (access to RH fuel level sensor) 

– Velcro 

tape 

3L 

Inner fuel tank rib cover LH (access to LH fuel level sensor) 

– Velcro 

tape 

Main  spar cover (access to  bolts of  yoke bearing clamps) 

– double-

sided adhesive tape 

Elliptical  interior  sidewall  cover  (access  to  main  gear  leg  bolts) 

– 

silicone 

Circular  interior  sidewall  cover  (access  to  main  gear  leg  bolts) 

– 

silicone 

Torsion tube cover 1 (access to flap torsion tube) 

– Velcro tape 

Torsion tube cover 2 (access to flap torsion tube) 

– Velcro tape 

Torsion tube cover 3 (access to flap torsion tube) 

– silicone 

10 

Cover of wing flap booster (access to flap booster) 

– screwed on 

11 

Cover behind slotted link (access to  pitch trim actuator and elevator 
control) 

– screwed on 

12 

Central tunnel cover - aft (access to elevator control) 

– screwed on 

13 

Baggage bulkhead cover 

– Velcro tape 

14 

Instrument panel cover 

– screwed on 

15 

Torsion tube cover 4 (access to flap torsion tube) 

– silicone 

16 

Servo cover (access to roll trim servo) 

– silicone, screwed on 

Fig.


06-4


External Hatches and Covers (page 2 of 2) 


GENERAL 


LIFTING 

AND SHORING 

07-00  GENERAL 

1.  INTRODUCTION 

The aircraft is jacked and shored for maintenance, replacement of components, 
overhaul, and repair etc. 

When possible, the aircraft should be located on a level surface. The jacking site 
should be protected from wind (preferably inside a hangar). 

The aircraft may be jacked with the full fuel tanks. 

When possible, the jacks should be used together with shoring. 


Content      ..     3      4      5      6     ..