Suzuki Grand Vitara JB416 / JB420. Manual - part 393
9H-3 Interior Trim:
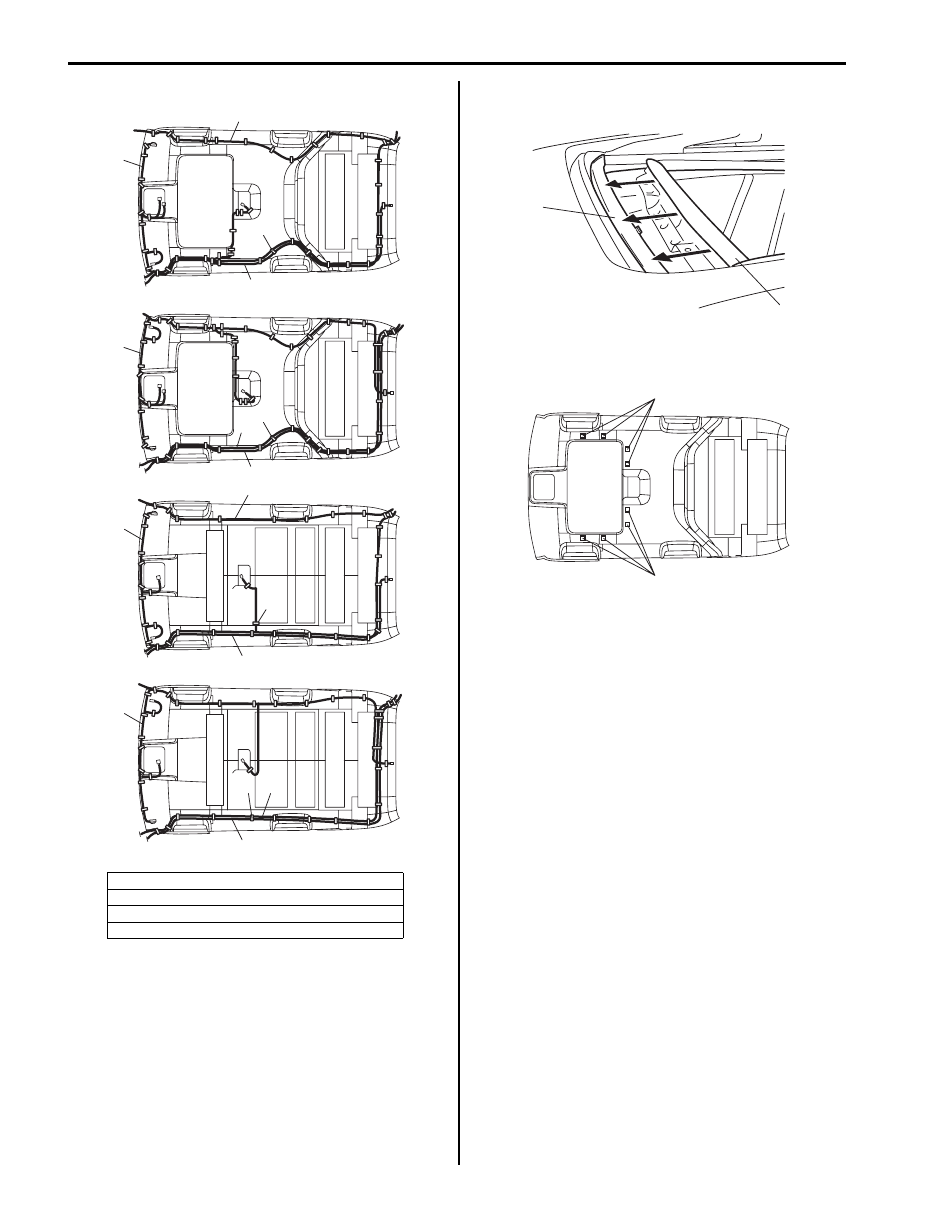
5 door model
• For equipped with sliding roof, hook on bracket (1) of
roof lining to sliding roof housing (2).
• For equipped with sliding roof, adhere fasteners (1) on
roof lining to fasteners of sliding roof frame securely.
• For tightening torque of seat belt anchor bolt, refer to
“Front Seat Belt Components in Section 8A” and
“Rear Seat Belt Components in Section 8A”.
[C]: Left-hand steering vehicle with sliding roof
[D]: Right-hand steering vehicle with sliding roof
[E]: Left-hand steering vehicle without sliding roof
[F]: Right-hand steering vehicle without sliding roof
1
4
2
1
2
3
4
[C]
1
2
3
3
4
[D]
[E]
1
4
2
3
[F]
I5JB0A980009-01
1
2
I5JB0A980007-01
1
1
I5JB0A980010-01