Geely Emgrand X7. Manual part - 89


  Главная      Geely     Geely Emgrand X7 - Manual


поиск по сайту            


содержание   ..   80  81  82  83  84  85  86  87  88  89  90  ..


Geely Emgrand X7. Manual part - 89


7.  Dismantle the fixing bolts of fuel 

distributing pipe and dismantle 
the fuel distributing pipe. 

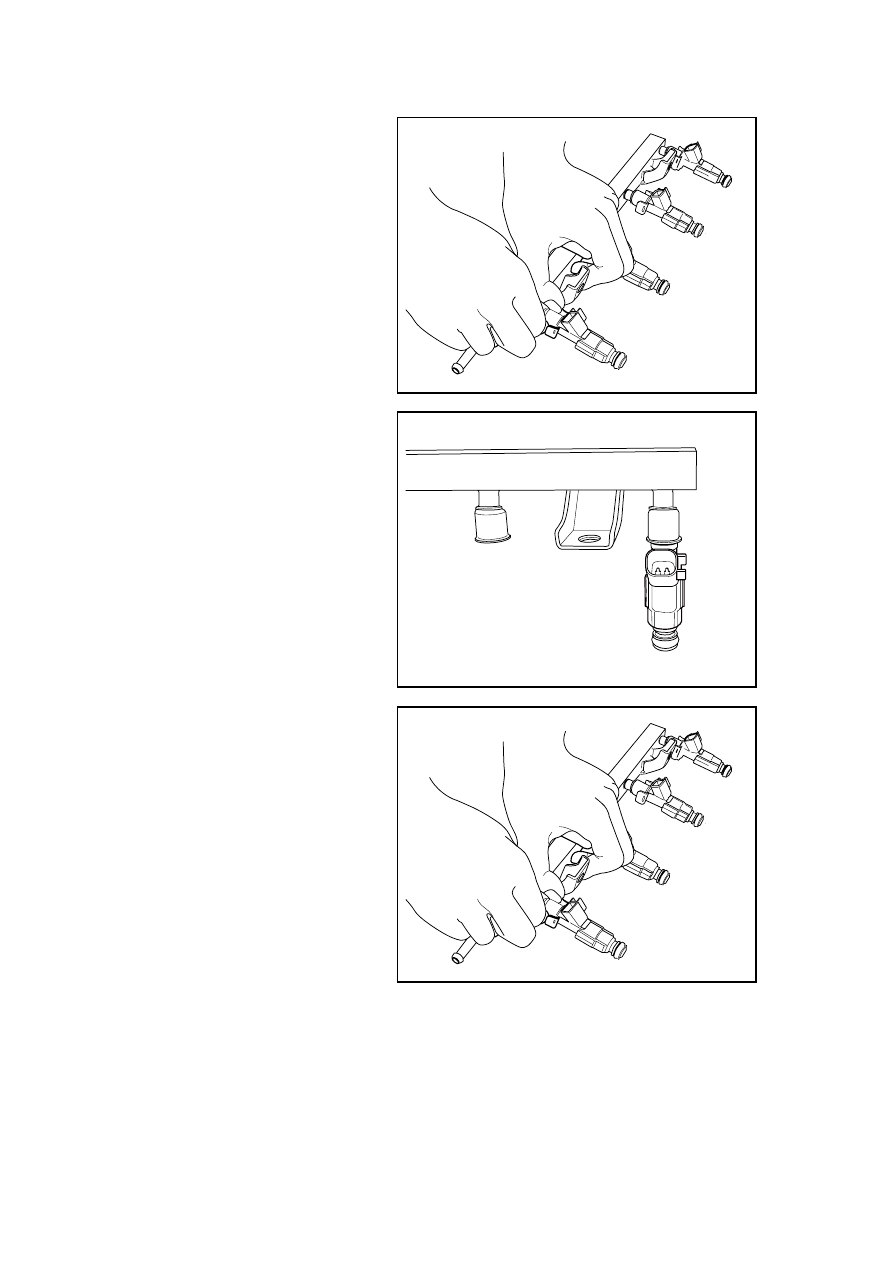
8.  Dismantle retaining clips of fuel 

injector and pull out the fuel 
injector. 

NL02-0392b

Installation Procedure: 

1.  Apply a small amount of engine 

lubrication oil to lubricate the 
fuel injector O-ring. 

NL02-0393b

2.  Install retaining clips of fuel 

injector to ensure that the fuel 
injector harness connector and 
the fuel rail mounting hole are in 
the same direction. 

3.  Install the fuel distributing pipe 

assembly and tighten the fixing 
bolts. 

Torque:10 Nm(Metric) 7 lb-ft(English 
system) 

4.  Connect engine fuel injector 

wiring harness connector. 

5.  Connect the fuel distributing pipe 

into fuel rail. 

Note: Fuel pipe must be inserted into 
the fuel distributing pipe after the 
second boss and then tighten. 

NL02-0392b

6.  Connect crankcase ventilation tube. 

7.  Install the plastic shield of engine. 

8.  Connect the battery negative cable .

355

2.3.8.6 Fuel Tank Emission Procedure 

Warning: forbid discharging or storing fuel in an open container. Must use the accepted fuel 
storage container to reduce the potential of fire and explosion. 

Warning: prior to the execution of the maintenance procedure on the vehicle, prepare a dry 
chemical (B) fire extinguisher nearby. Not following these precautions may cause personal 
injury. 

1.  Dismantle the fuel filler cap. 

2.  Install to the fuel pipe and keep 

the fuel filler cap open. 

3.  Insert into the fuel tank until the 

hose touching the floor. 

4.  Use the pneumatic pump to drain 

the fuel through the fuel pipe as 
much as possible. 

NL02-0395b

356

2.3.8.7 Replacement of Fuel Tank Assembly 

Dismantlement Procedure 

Warning: Refer to "Warning on Release Fuel Pressure" in "Warnings and Precautions". 

Warning: Refer to "Warning on Battery Disconnection" in "Warnings and Precautions". 

1. Release 

fuel 

pressure. Refer to 

2.3.6.1 Fuel Pressure Release 
Procedure. 

2.  Disconnect the battery negative 

cable. Refer to 2.12.6.1 Battery 
Cable Disconnection/Connection 
Procedures. 

3.  For exhaust of fuel tank, refer to 

2.3.8.6 Exhaust procedures of 
fuel tank. 

4.  Disconnect the fuel level sensor 

wiring harness connector. 

NL02-0396b

5.  Loosen the fuel tank inlet hose 

clamp and separate the fuel tank 
inlet hose and the fuel tank 
assembly. 

NL02-0397b

6. Disconnect the left-front fuel 

tank inlet pipe and canister hose. 

NL02-0398b

357

7. Detach the carbon canister 

pipeline fixed on the fuel tank. 

NL02-0399b

8. Disconnect the front inlet 

ventilation hose. 

NL02-0400b

9.  Support the fuel tank. 

10.  Dismantle the fixing bolts of the 

mounting strap in the rear of the 
fuel tank. 

NL02-0401b

358


содержание   ..   80  81  82  83  84  85  86  87  88  89  90  ..