Volvo XC70 (2016 year). Instruction - part 10
06 Locks and alarm
06
157
Detachable key blade – general
information
Each remote key contains a detachable metal
key blade (p. 152) for mechanically locking or
unlocking the driver's door and the glove
compartment, and to enable the private lock-
ing(p. 158) function. For more information on
the key blade. The key blades have a unique
code, which is used if new ones need to be
produced. This code is available at an author-
ized Volvo retailer.
The visible ends of these key blades are
unique to make it easier to identify "your"
remote key.
Related information
•
Detachable key blade – unlocking
•
Detachable key blade – detaching/rein-
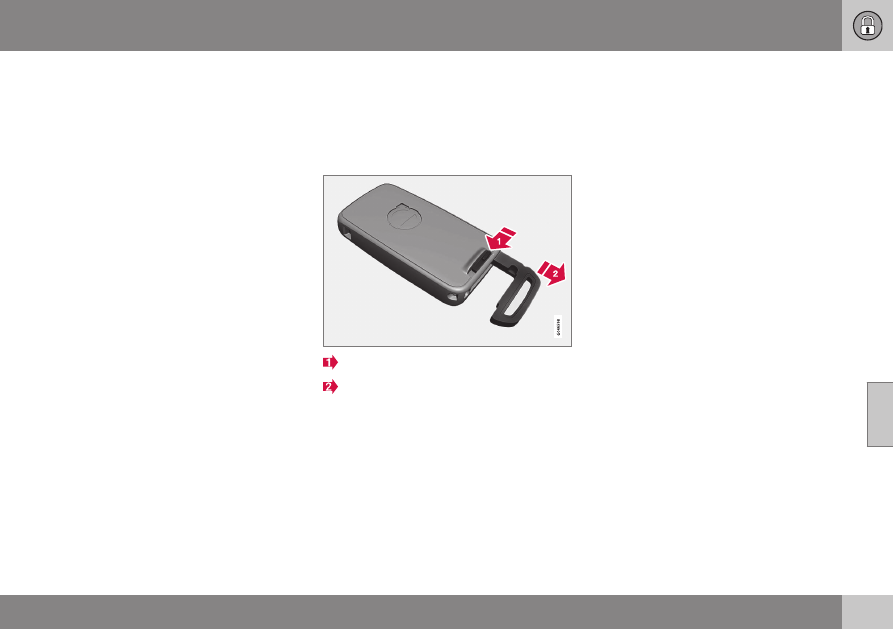
Detachable key blade – detaching/
reinserting
The detachable key blade (p. 157) can be
removed or reinserted in the remote key as
follows:
Removing the key blade
Slide the spring loaded catch to the side.
Pull the key blade straight out of the
remote key.
Reinserting the blade
1. Hold the remote key with the slot for the
key blade up.
2. Carefully slide the key blade into its
groove.
3. Gently press the key blade in the groove
until it clicks into place.
Related information
•
Detachable key blade – unlocking
•