Volvo V60 Plug-in Hybrid (2015 year). Instruction - part 6
03 Instruments and controls
03
*
Option/accessory, for more information, see Introduction.
99
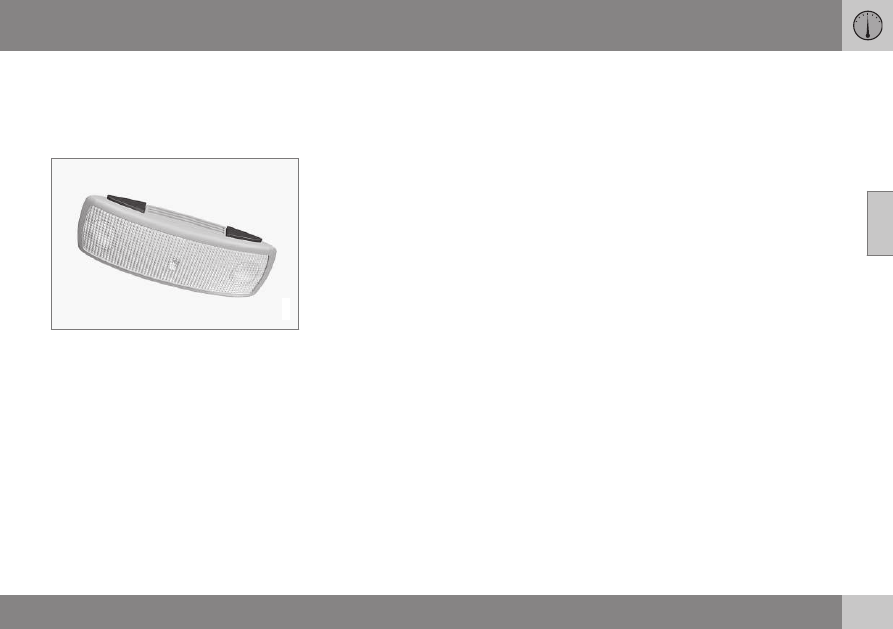
Front roof lighting
The front reading lamps are switched on or
off by pressing the relevant button in the roof
console.
Rear roof lighting
G021150
Rear roof lighting.
The lamps are switched on or off by pressing
each respective button.
Courtesy lighting
Courtesy lighting (and passenger compart-
ment lighting) is switched on and off respec-
tively when a side door is opened or closed.
Glovebox lighting
Glovebox lighting is switched on and off
respectively when the lid is opened or closed.
Vanity mirror lighting
The lighting for the vanity mirror (p. 150) is
switched on and off respectively when the
cover is opened or closed.
Lighting in the cargo area
The lighting in the cargo area is switched on
and off respectively when the tailgate is
opened or closed.
Automatic lighting
The switch for passenger compartment light-
ing has three positions for the lighting in the
passenger compartment:
•
Off – right-hand side pressed in, auto-
matic lighting deactivated.
•
Neutral position – automatic lighting
activated.
•
On – left-hand side pressed in, passenger
compartment lighting switched on.
Neutral position
When the button is in neutral position the
passenger compartment lighting is switched
on and off automatically in accordance with
the following.
The passenger compartment lighting is
switched on and remains on for 30 seconds
if:
•
the car is unlocked with the remote con-
trol key or key blade, see Remote control
key - functions (p. 163) or Detachable
key blade - unlocking doors (p. 167)
•
the engine has been switched off and the
car's electrical system is in key position
0.
Passenger compartment lighting is switched
off when:
•
the engine is started
•
the car is locked.
The passenger compartment lighting comes
on and remains on for two minutes if one of
the doors is open.
If any lighting is switched on manually and
the car is locked then it will be switched off
automatically after two minutes.
Mood lights*
When the normal passenger compartment
lighting is switched off and the engine is run-
ning, a number of LEDs illuminate, including
one in the ceiling lighting, in order to provide
a low-light and enhance the mood while driv-
ing. The light also makes it easier to see
objects in storage compartments etc. during
the darker hours of the day. This lighting goes
out for a little while after the normal passen-
ger compartment lighting when the car is
locked. The brightness is controlled using the