Volvo XC90 Excellence (2018 year). Instruction - part 14
||
LOADING AND STORAGE
* Option/accessory.
236
Removing and storing
The safety net can be easily removed and folded
up.
1. Reduce safety net tension by pressing the
button in the anchoring strap lock and feed-
ing out a little of the anchoring strap on each
side.
2. Press in the catches and detach both of the
anchoring strap's hooks.
3. Undo the upper attachments and release the
net from the roof mountings.
4. Press the red button on the rod to enable
folding and then roll up the net.
Related information
•
Recommendations for loading (p. 229)
•
•
•
Load retaining eyelets (p. 231)
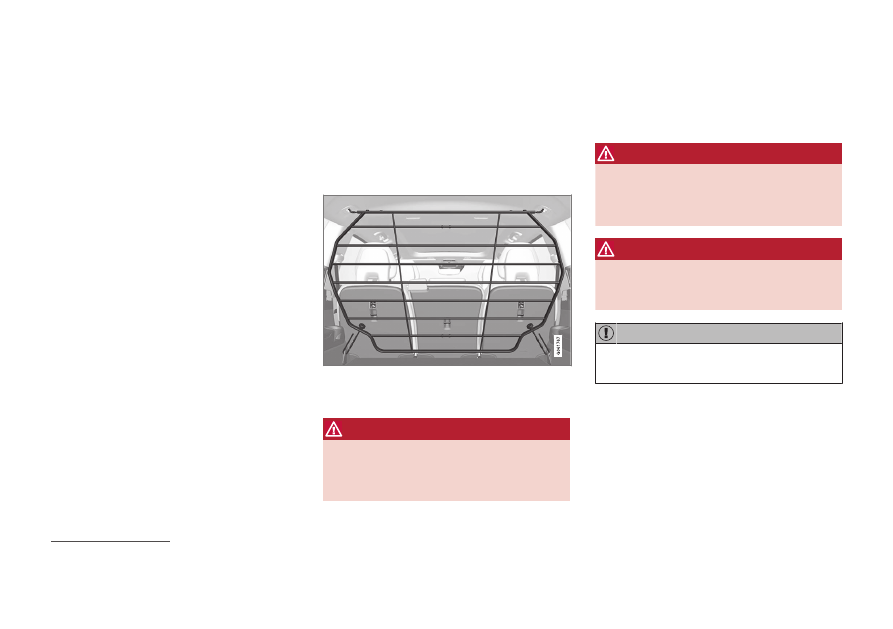
Safety grille
*
The safety grille prevents loads or pets in the
cargo area from being thrown forward in the
passenger compartment.
The safety grille is crash-tested in accordance
with the ECE R17 legal requirement and fulfils
Volvo's strength requirements.
For safety reasons, the safety grille must always
be attached and anchored correctly.
WARNING
Under no circumstances may anybody remain
in the cargo area while the car is moving. This
is to avoid injury in the event of heavy braking
or an accident.
The safety grille's parts consist of the grille and
two loose attaching braces. The attaching braces
each come with a screw cap and there are two
plastic sleeves for the safety grille.
WARNING
The safety grille must only be used in the rear
position described here. The roof mountings
behind the front seats are not intended for
the safety grille.
WARNING
For safety reasons, the third seat row
5
must
be lowered when the safety grille is fitted in
the car.
It is not possible to have the protective grille
fitted at the same time as the cargo cover.
Installation
1. Lower the rear seat and then lift the safety
grille in through one of the rear side doors or
via the tailgate - the arched/convex side of
the grille should face the cargo area while
the hooks on each side point up. The attach-
ing braces and plastic sleeves are not used
in this stage.
5
Applies to 7-seat cars.