Volkswagen Jetta / Bora: Electrical System Manual - part 27
 

  Index      Volkswagen     Volkswagen Jetta (2005 year) / Bora (2006 year) - Electrical System manual


Search            copyright infringement  


Content   ..  25  26  27  28   ..


Volkswagen Jetta / Bora: Electrical System Manual - part 27


21 - Spacer sleeve

9.5.2

Removing and installing alternator, 1.6 l

FSI engine

Special tools and workshop equipment required
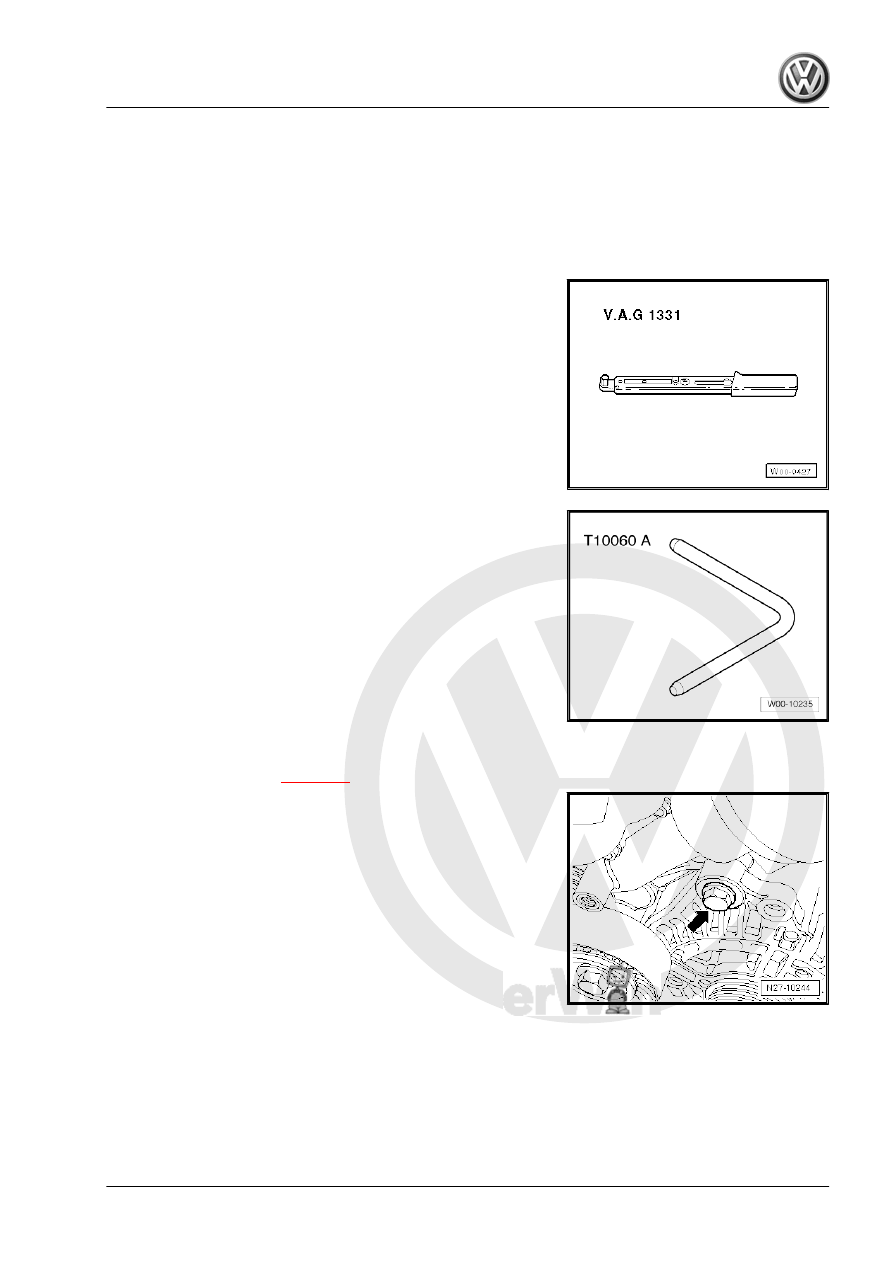
♦ Torque wrench -V.A.G 1331-

♦ Locking pin -T10060 A-

Removing:
– Disconnect the battery 

⇒ page 29

 .

– Remove upper securing bolt of alternator -arrow-.
– Remove noise insulation ⇒  General Body Repairs, Exterior;

Rep. Gr.  50 ; Noise insulation .

Jetta 2005 ➤ , Bora 2006 ➤

9. Alternator    

105

– Disconnect connector of DF wiring -1- and pull B+ wiring -2-

off alternator.

Caution

Mark top and direction of rotation of poly V-belt before remov‐

ing. When installing observe direction of rotation marked on

removal. Installing opposite to the direction of rotation leads to

belt damage!

– Mark direction of rotation of poly V-belt.

– Release poly V-belt by turning the tensioning device with an

open-ended spanner AF 16 in -direction of arrow-.

– Lock tensioning element with retaining pin -T10060 A- .
– Remove ribbed belt.
– Remove air conditioner compressor ⇒  Heating, air condition‐

er; Rep. Gr.  87 ; Repair work on refrigerant circuit must be

carried out in workshops with trained personnel only (work‐

shop service centres for air conditioning system); Removing

and installing compressor

– Remove lower securing bolt of alternator -arrow-.
– Remove alternator from vehicle downwards.
Installing:
Installation is carried out in the reverse order. When installing,

note the following:

Caution

♦ When reinstalling used ribbed belts (poly V-belts) observe

the direction of rotation marked on removal!

♦ Ensure, before installing poly V-belt, that all ancillaries

(alternator, air conditioner compressor, power assisted

steering vane pump) are secured tightly.

♦ Ensure ribbed belt (poly V-belt) is seated correctly in belt

pulley when installing.

Jetta 2005 ➤ , Bora 2006 ➤

106

approx. 4 mm in -direction of arrow-.

– Position wiring bracket -arrow- on rear of generator at 9

o'clock.

– Tighten threaded connections to specified torque settings

⇒ page 145

 .

– Start the engine and check belt running.

9.5.3

Ribbed belt routing, 1.6 l FSI engine

Models without air conditioning system:
1 - Ribbed belt (poly V-belt) pulley – Coolant pump
2 - Tensioning roller
3 - Ribbed belt (poly V-belt) pulley – Alternator
4 - Poly V-belt
5 - Ribbed belt (poly V-belt) pulley - Crankshaft

Models with air conditioning system:
1 - Ribbed belt (poly V-belt) pulley – Coolant pump
2 - Idler roller
3 - Ribbed belt (poly V-belt) pulley – Alternator
4 - Tensioning roller
5 - Ribbed belt (poly V-belt) pulley – Air conditioner compressor
6 - Poly V-belt
7 - Ribbed belt (poly V-belt) pulley - Crankshaft

Jetta 2005 ➤ , Bora 2006 ➤

9. Alternator    

107

Alternator, 2.0 l FSI engine

9.6.1

Assembly overview

1 - Hexagon head collared

bolts

❑ M8x90
❑ 23 Nm

2 - Hexagon head collared

bolts

❑ M8x50
❑ 23 Nm

3 - Transport bracket
4 - Tensioning element for poly

V-belt
5 - Compact bracket

❑ For alternator and air

conditioner compressor

❑ Tightening sequence

⇒ page 146

6 - Hexagon head collared

bolts

❑ M10x45
❑ 52 Nm

7 - Protective cap
8 - Hexagon head collared nut

❑ M8

9 - Cross-head screw

❑ M5x21
❑ 4.5 Nm

10 - Hexagon nut, flat

❑ M8

11 - Plain washer

❑ M5

12 - Phillips screws

❑ M4x19
❑ 2 Nm

13 - Cross-head screw

❑ M4x13
❑ 2 Nm

14 - Voltage regulator

❑ Removing and installing voltage regulator 

⇒ page 142

15 - Alternator

❑ Removing and installing alternator 

⇒ page 109

16 - Poly V-belt

❑ Checking 

⇒ page 98

 .

Jetta 2005 ➤ , Bora 2006 ➤

108


Content   ..  25  26  27  28   ..