Toyota Tundra. Manual - part 242
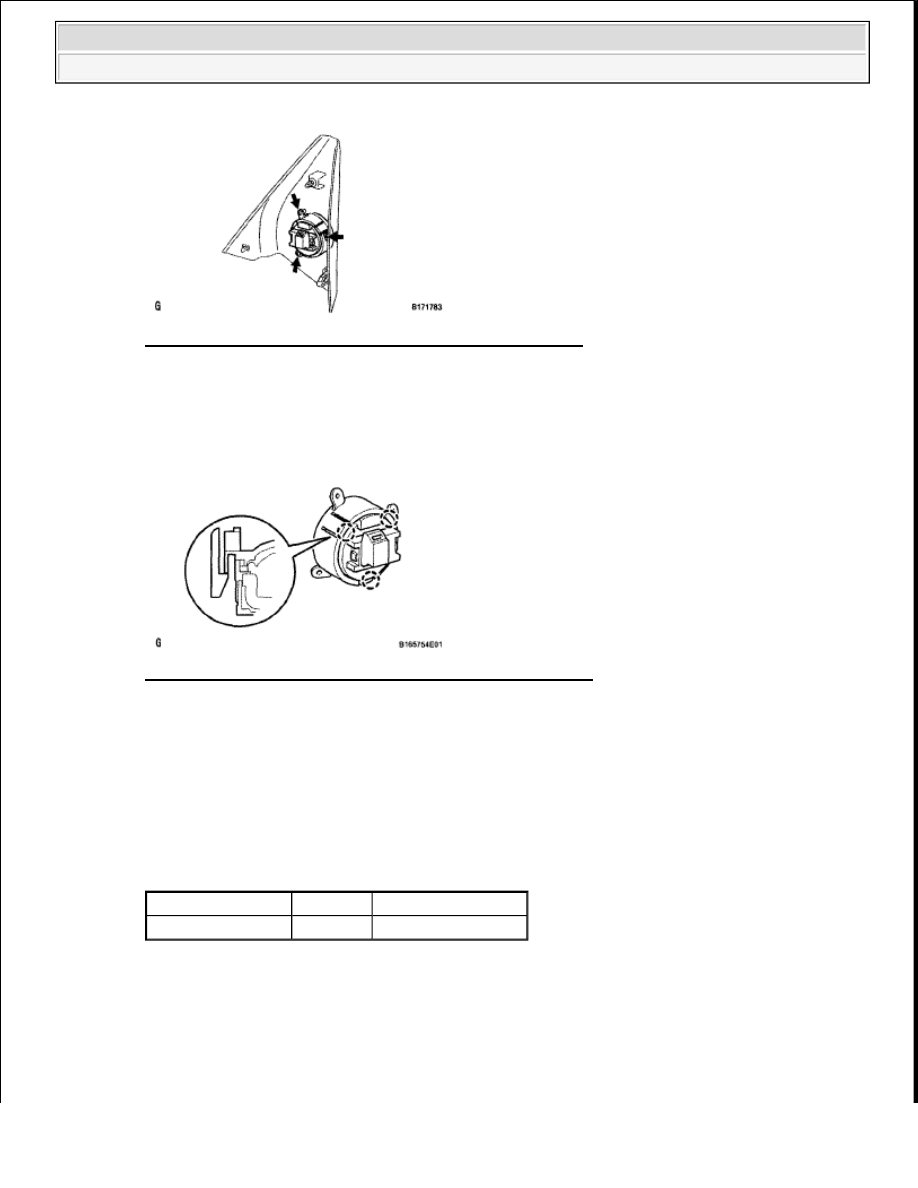
Fig. 336: Locating Front No. 3 Speaker Assembly Screws
Courtesy of TOYOTA MOTOR SALES, U.S.A., INC.
b. Detach the 3 claws and remove the speaker from the bracket.
Fig. 337: Identifying Front No. 3 Speaker Assembly Claws
Courtesy of TOYOTA MOTOR SALES, U.S.A., INC.
INSPECTION
1. INSPECT FRONT NO. 1 SPEAKER ASSEMBLY (for Standard)
a. Measure the resistance according to the value(s) in the table below.
Standard resistance
TESTER CONNECTION SPECIFIED CONDITION
If the result is not as specified, replace the speaker assembly.
NOTE:
Do not touch the cone part of the speaker.
Tester Connection Condition Specified Condition
1 -2
Always
3.2 to 4.8 ohms
2009 Toyota Tundra
2009 ACCESSORIES AND EQUIPMENT Audio/Visual - Tundra