Toyota Tundra. Manual - part 2220


  Index      Toyota     Toyota Tundra (2007-2010 year) - Service and Repair Manual


Search            copyright infringement  


Content   ..  2218  2219  2220  2221   ..


Toyota Tundra. Manual - part 2220
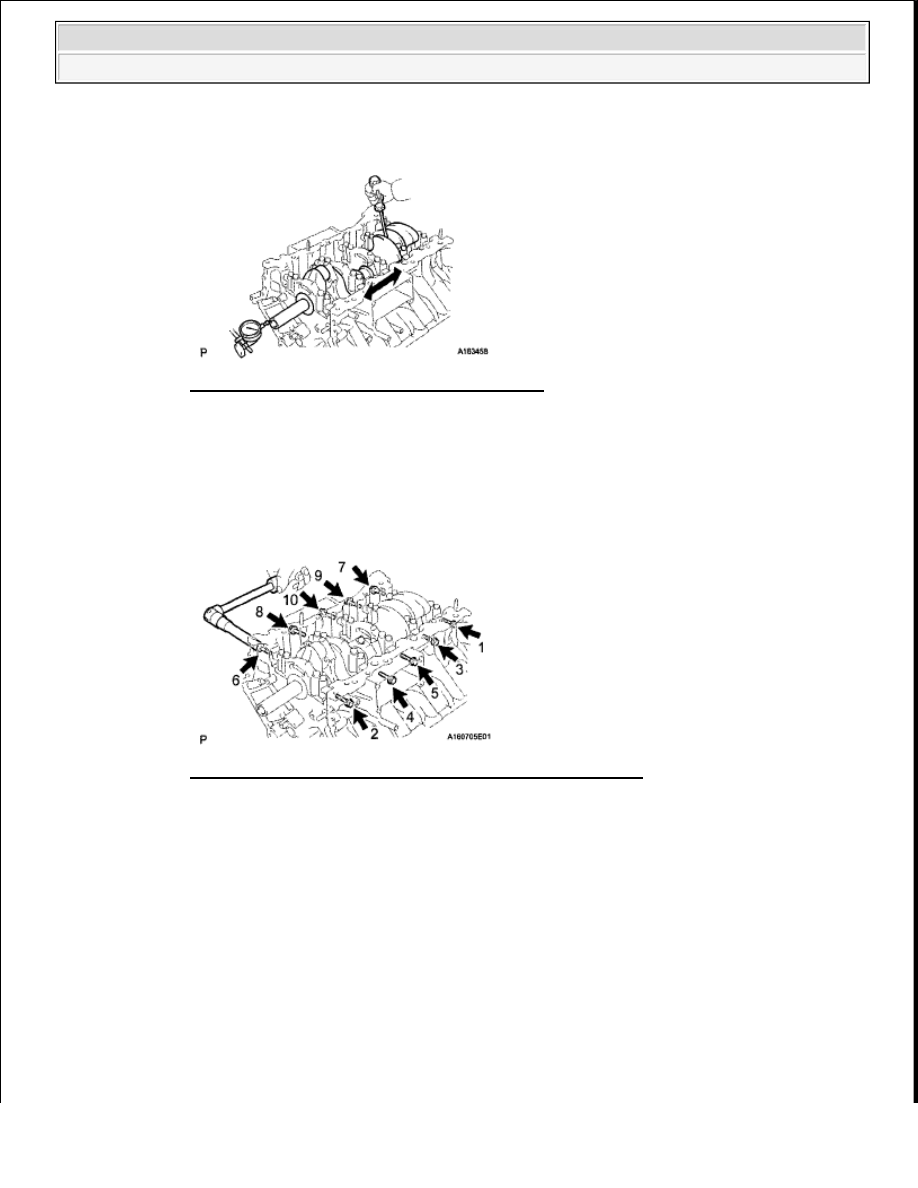


Torque: 40 N*m (408 kgf*cm, 30 ft.*lbf)  

Fig. 154: Installing Connecting Rod Cap Bolts 
Courtesy of TOYOTA MOTOR SALES, U.S.A., INC. 

h. Step 2: 

1. Mark the front side of each connecting rod cap bolt with paint.  

2. Tighten the cap bolts another 90° as shown in the illustration in the order in step 1.  

3. Check that the painted marks are now at a 90° angle to the front. 

Fig. 155: Identifying Connecting Rod Cap Bolt Paint Mark 
Courtesy of TOYOTA MOTOR SALES, U.S.A., INC. 

i. Check that the crankshaft turns smoothly.  

FRONT CRANKSHAFT OIL SEAL 

COMPONENTS 


2009 Toyota Tundra 

2009 ENGINE Engine Mechanical (3UR-FBE) - Tundra


Fig. 156: Identifying Front Crankshaft Oil Seal With Torque Specifications (1 Of 2) 
Courtesy of TOYOTA MOTOR SALES, U.S.A., INC. 

Fig. 157: Identifying Front Crankshaft Oil Seal With Torque Specifications (2 Of 2) 
Courtesy of TOYOTA MOTOR SALES, U.S.A., INC. 

REMOVAL 

1. REMOVE V-BANK COVER SUB-ASSEMBLY (See REMOVAL )  

2. REMOVE NO. 1 ENGINE UNDER COVER (See REPLACEMENT )  

3. DRAIN ENGINE COOLANT (See COOLANT )  

4. REMOVE INLET RADIATOR HOSE  

5. REMOVE FAN AND GENERATOR V BELT (See REMOVAL )  

6. REMOVE FAN SHROUD (See REMOVAL )  


2009 Toyota Tundra 

2009 ENGINE Engine Mechanical (3UR-FBE) - Tundra


7. DISCONNECT FRONT STABILIZER BAR 

a. Remove the 4 bolts, 2 stabilizer brackets and 2 stabilizer bushes. Then disconnect the stabilizer bar. 

Fig. 158: Locating Front Stabilizer Bar Bolts 
Courtesy of TOYOTA MOTOR SALES, U.S.A., INC. 

8. REMOVE OIL PRESSURE SENDER GAUGE ASSEMBLY (See REMOVAL )  

9. REMOVE OIL FILTER BRACKET SUB-ASSEMBLY (w/ o Oil Cooler) (See REMOVAL )  

10. DISCONNECT NO. 2 WATER BY-PASS PIPE SUB-ASSEMBLY (w/ Oil Cooler) 

a. Remove the 3 bolts and disconnect the 2 water bypass hoses from the oil cooler. 

Fig. 159: Locating No. 2 Water By-Pass Pipe Sub-Assembly Bolts 
Courtesy of TOYOTA MOTOR SALES, U.S.A., INC. 

11. REMOVE NO. 1 OIL COOLER BRACKET (w/ Oil Cooler) (See REMOVAL )  

12. REMOVE OIL FILTER BRACKET SUB-ASSEMBLY (w/ Oil Cooler) (See REMOVAL )  

13. REMOVE CRANKSHAFT PULLEY (See REMOVAL )  

14. REMOVE CRANKSHAFT TIMING GEAR KEY 

a. Remove the crankshaft timing gear key from the crankshaft. 


2009 Toyota Tundra 

2009 ENGINE Engine Mechanical (3UR-FBE) - Tundra


Fig. 160: Identifying Crankshaft Timing Gear Key 
Courtesy of TOYOTA MOTOR SALES, U.S.A., INC. 

15. REMOVE FRONT CRANKSHAFT OIL SEAL 

a. Using a screwdriver, pry out the oil seal. 

HINT: 

Tape the screwdriver tip before use. 

Fig. 161: Removing Front Crankshaft Oil Seal 

NOTE:

Do not damage the surface of the oil seal press fit hole and 
crankshaft.


2009 Toyota Tundra 

2009 ENGINE Engine Mechanical (3UR-FBE) - Tundra


Content   ..  2218  2219  2220  2221   ..