Subaru XV Crosstrek (2016 year). Instruction - part 32
engine has cooled down comple-
tely. Doing so may result in a
burn or other injury. Note that the
oil filter becomes very hot when
the engine is running and re-
mains hot for some time after
the engine has stopped.
& When checking or servicing
in the engine compartment
while the engine is running
WARNING
A running engine can be dangerous.
Keep your fingers, hands, clothing,
hair and tools away from the cooling
fan, drive belt and any other moving
engine parts. Removing rings,
watches and ties is advisable.
Engine hood
CAUTION
. When you open the engine hood,
do not stand the wiper blades up.
Furthermore, while the hood is
open, do not operate the wind-
shield wipers. Doing so could
result in damage to the engine
hood and wiper blades.
. Be extremely careful not to catch
fingers or other objects when
closing the engine hood.
. Do not push the hood forcibly to
close it. It could deform the
metal.
. Be extremely careful opening the
engine hood when the wind is
strong. The engine hood could
close suddenly, possibly causing
injuries from slamming.
. Do not install accessories other
than genuine SUBARU parts to
the engine hood. If the engine
hood becomes too heavy, the
stay may not be able to support
holding it open.
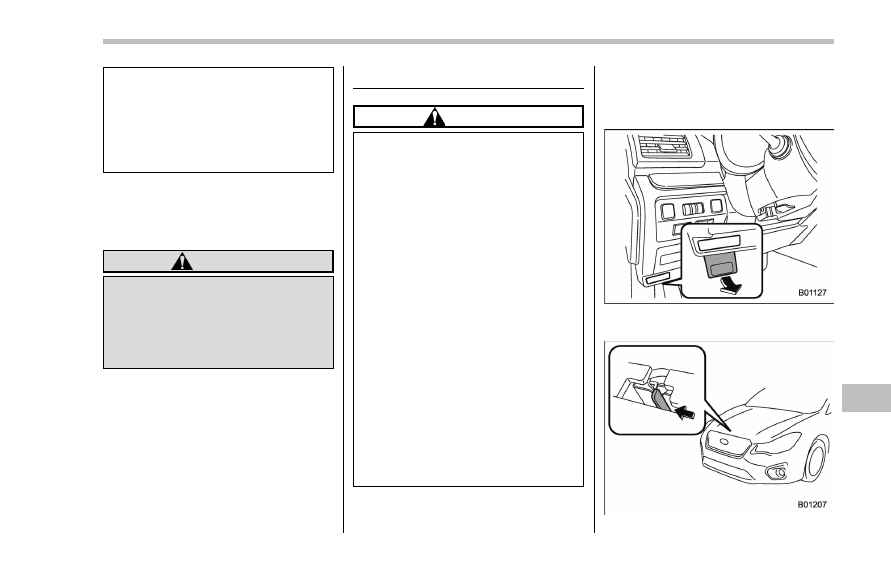
To open the hood:
1. If the wiper blades are lifted off the
windshield, return them to their original
position.
2. Pull the hood release knob under the
instrument panel.
Maintenance and service/Engine hood
– CONTINUED –
11-5