Subaru Outback (2019 year). Instruction - part 20
(320,1)
北米Model "A2550BE-A" EDITED: 2018/ 5/ 9
flashing of the Vehicle Dynamics Control
operation indicator light.
NOTE
.
The Vehicle Dynamics Control sys-
tem may be considered normal when
the following conditions occur.
– Slight twitching of the brake
pedal is felt.
– The vehicle or steering wheel
shakes to a small degree.
– An operating noise from the en-
gine compartment is heard briefly
when starting the engine and when
driving off after starting the engine.
– The brake pedal seems to jolt
when driving off after starting the
engine.
.
In the following circumstances, the
vehicle may be less stable than it feels
to the driver. The Vehicle Dynamics
Control System may therefore operate.
Such operation does not indicate a
system malfunction.
– on gravel-covered or rutted roads
– on unfinished roads
– when the vehicle is towing a
trailer (Outback)
– when the vehicle is fitted with
snow tires or winter tires
.
Activation of the Vehicle Dynamics
Control system will cause operation of
the steering wheel to feel slightly
different compared to that for normal
conditions.
.
It is always important to reduce
speed when approaching a corner,
even if the vehicle is equipped with
Vehicle Dynamics Control.
.
Always turn off the engine before
replacing a tire as failure to do so may
render the Vehicle Dynamics Control
system unable to operate correctly.
&
Vehicle Dynamics Control
system monitor
Refer to “Vehicle Dynamics Control warn-
ing light/Vehicle Dynamics Control opera-
tion indicator light” F3-23 and “Vehicle
Dynamics Control OFF indicator light” F3-
24.
&
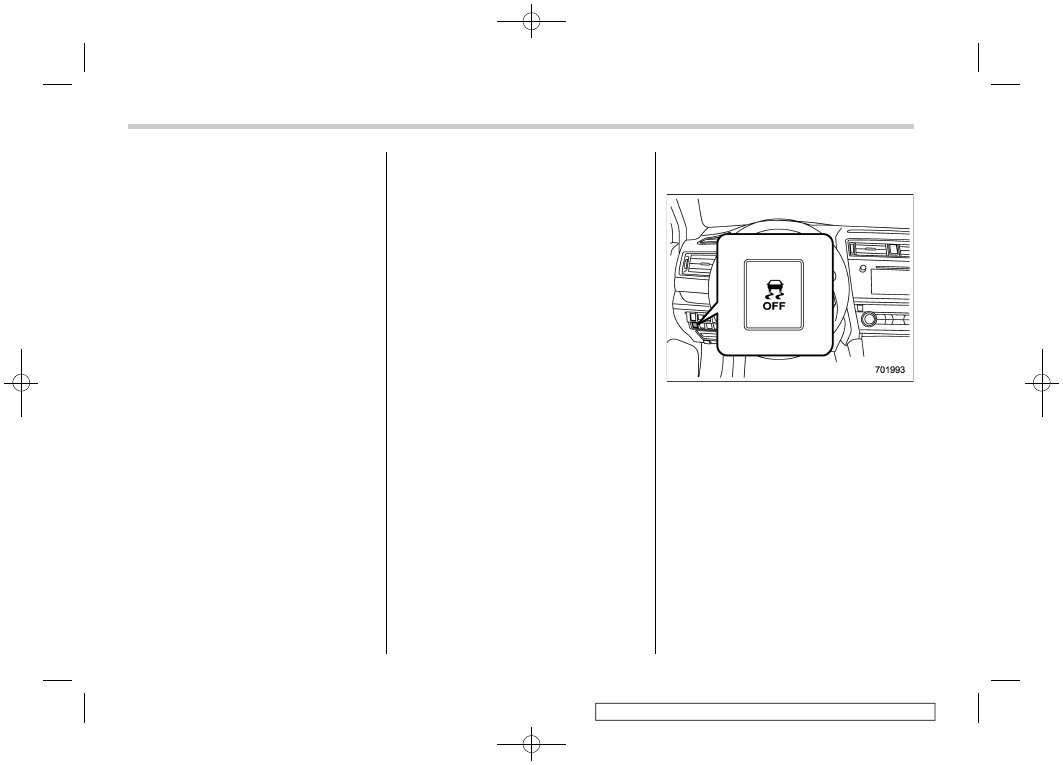
Vehicle Dynamics Control
OFF switch
Pressing the Vehicle Dynamics Control
OFF switch deactivates the Vehicle Dy-
namics Control system.
Creating an adequate driving wheel slip by
deactivating the Vehicle Dynamics Control
system temporarily may help to escape
from the following situations. Use the
Vehicle Dynamics Control OFF switch as
necessary.
.
a standing start on a steeply sloping
road with a snowy, gravel-covered, or
otherwise slippery surface
.
extrication of the vehicle when its
wheels are stuck in mud or deep snow
When the switch is pressed during engine
Starting and operating/Vehicle Dynamics Control system
7-34