Subaru Legacy (2005 year). Manual - part 741
DI-71
DIFFERENTIALS
Rear Differential (VA-type)
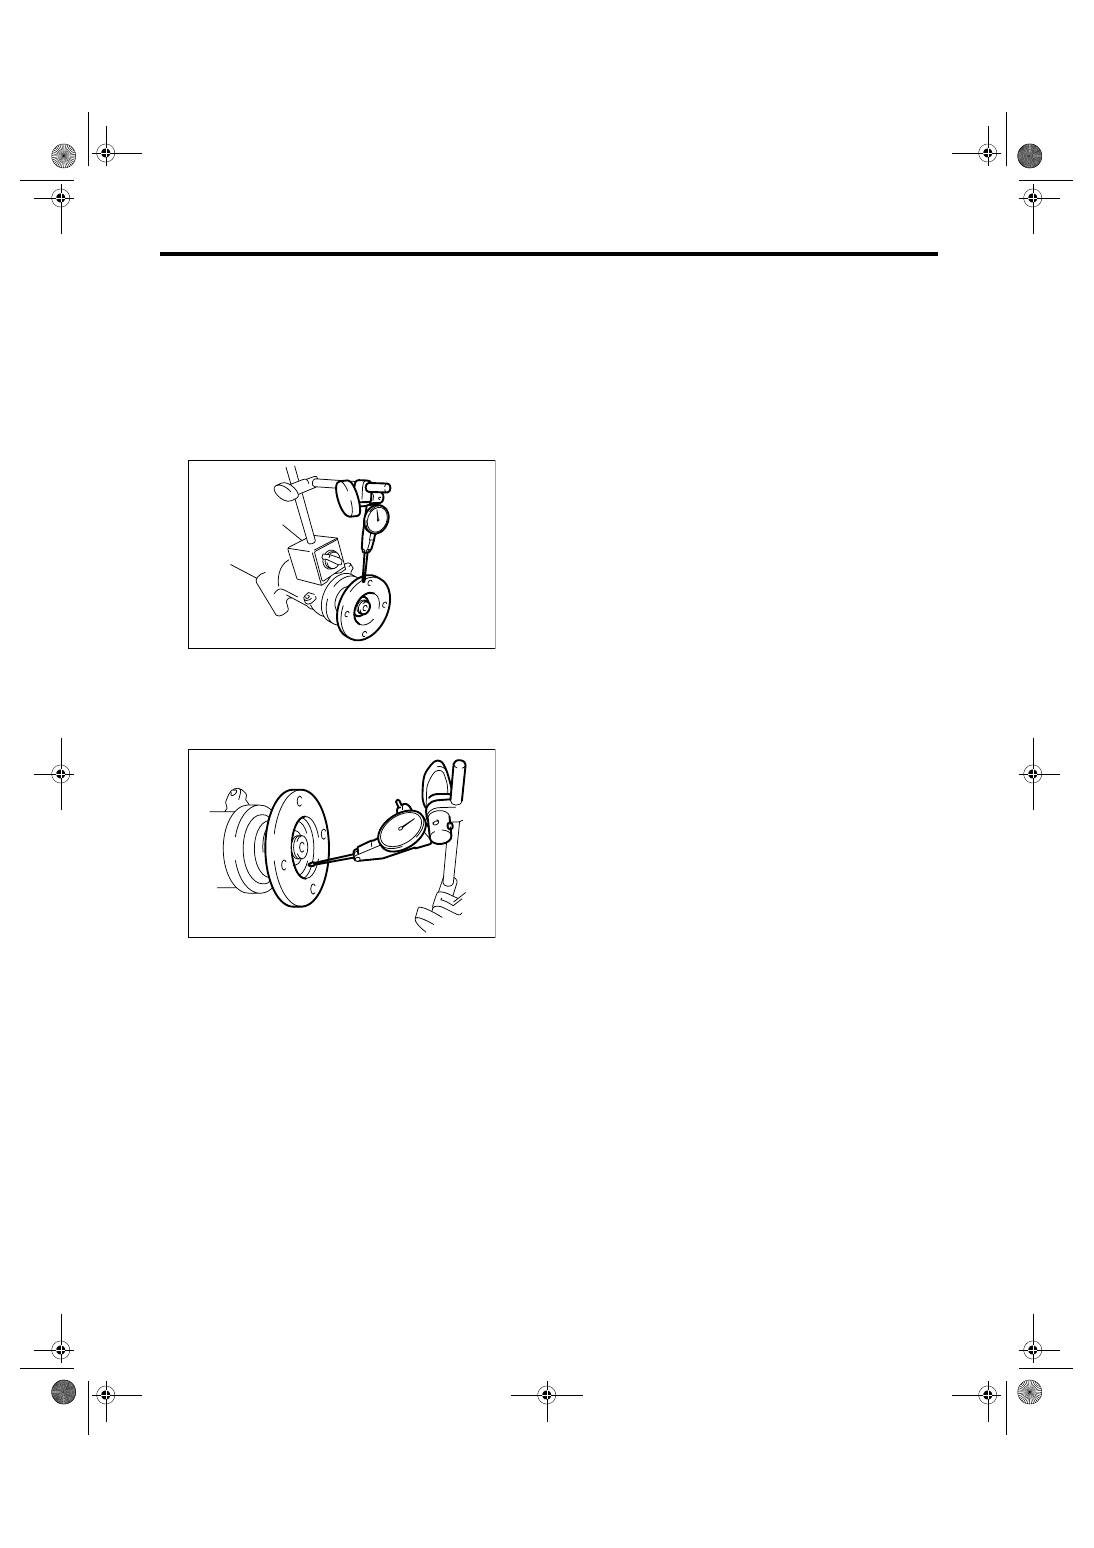
4. COMPANION FLANGE
1) If rust or dirt is attached to the companion flange,
remove them.
2) Set a dial gauge at a companion flange surface
(mating surface of propeller shaft and companion
flange), and then measure the companion flange
runout.
Limit of runout:
0.08 mm (0.003 in)
3) Set the gauge inside of the companion flange,
and measure the runout.
Limit of runout:
0.08 mm (0.003 in)
4) If either runout exceeds the limit, move the
phase of companion flange and drive pinion 90
°
each, and find the point that the runout is within the
limit.
5) If the runout exceeds the limit after changing the
phase, replace the companion flange and recheck
the runout.
6) If the runout exceeds the limit after replacing the
companion flange, the drive pinion may be assem-
bled incorrectly or bearing is faulty.
F: ADJUSTMENT
1. SIDE GEAR BACKLASH
Adjust the side gear backlash. (VA1-type)
<Ref. to DI-55, ASSEMBLY, Rear Differential (VA-
type).>
2. HYPOID DRIVEN GEAR BACKLASH
Adjust hypoid driven gear backlash.
<Ref. to DI-55, ASSEMBLY, Rear Differential (VA-
type).>
3. TOOTH CONTACT BETWEEN HYPOID
DRIVEN GEAR AND DRIVE PINION
Adjust the tooth contact between hypoid driven
gear and drive pinion gear.
<Ref. to DI-55, ASSEMBLY, Rear Differential (VA-
type).>
DI-00360
DI-00361