Subaru Legacy (2005 year). Manual - part 525
4AT-81
AUTOMATIC TRANSMISSION
Torque Converter Clutch Assembly
28.Torque Converter Clutch As-
sembly
A: REMOVAL
1) Remove the transmission assembly from vehi-
cle. <Ref. to 4AT-39, REMOVAL, Automatic Trans-
mission Assembly.>
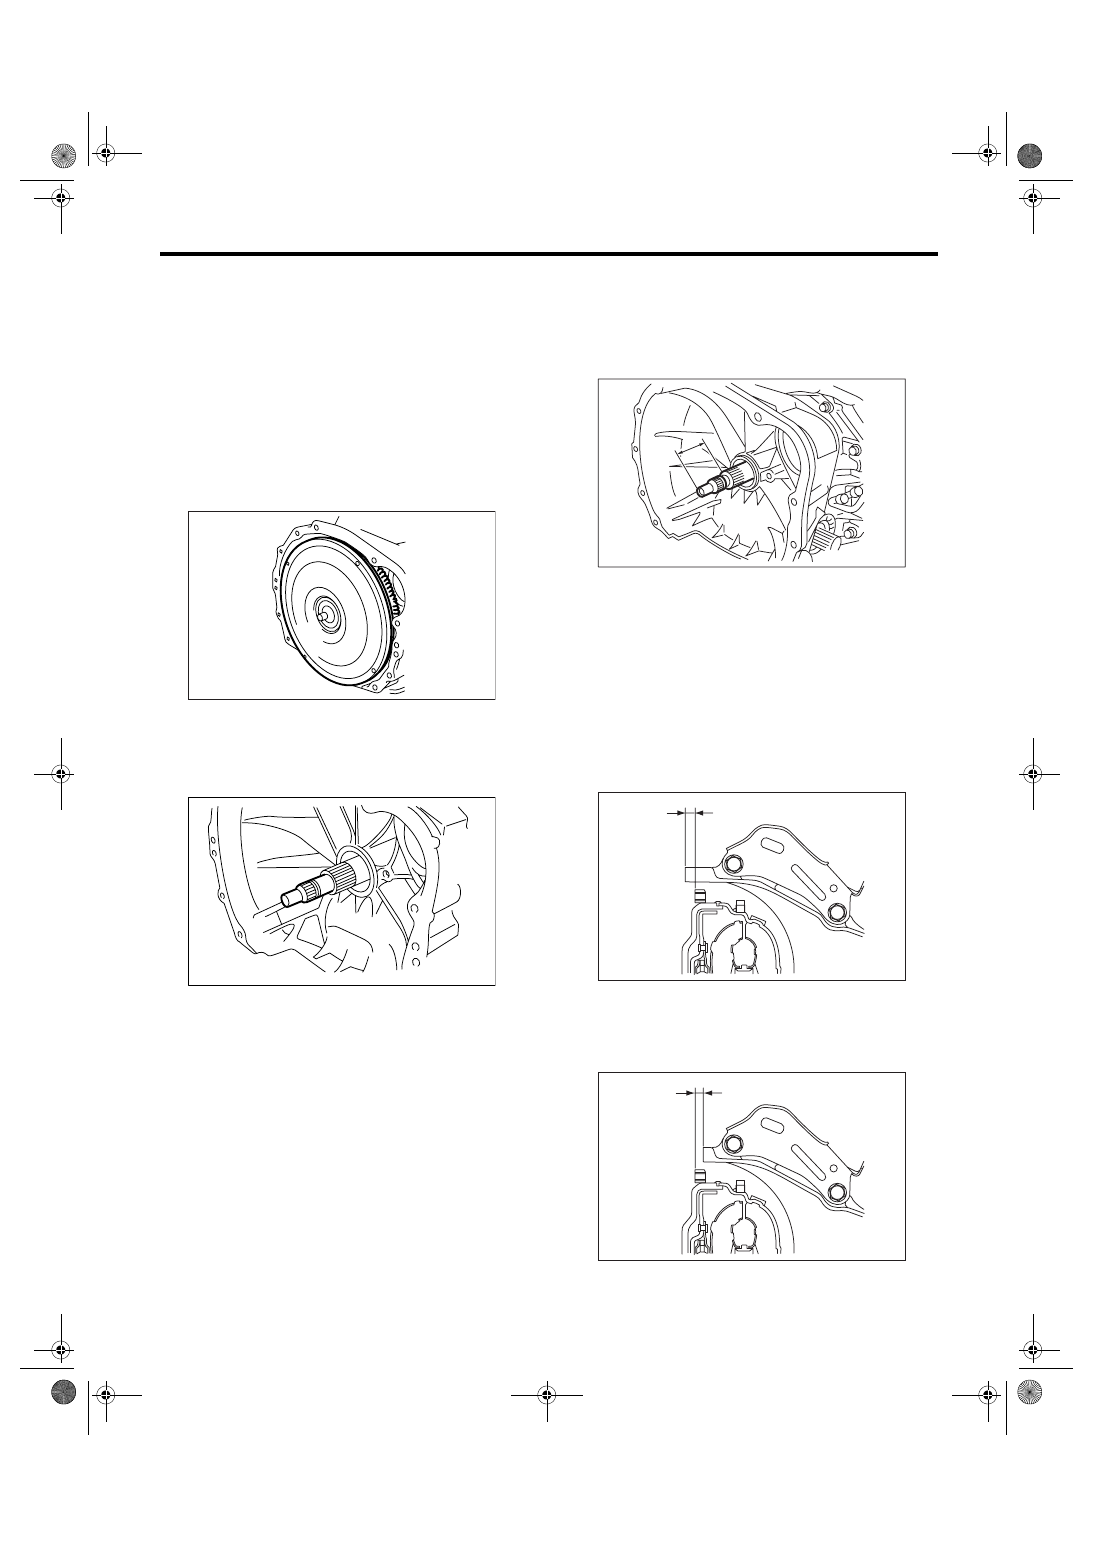
2) Pull out the torque converter clutch and oil pump
shaft horizontally.
NOTE:
Be sure not to scratch the inside of bushing in oil
pump shaft.
3) Remove the input shaft.
NOTE:
When removing the torque converter clutch assem-
bly, the input shaft is also removed.
4) Remove the oil pump shaft from the torque con-
verter clutch as necessary.
B: INSTALLATION
1) Install the shaft to the converter case when oil
pump shaft is removed.
2) Install the oil pump shaft to torque converter
clutch, and then make sure that the clip is secured
on groove.
3) Apply ATF to O-ring, insert the input shaft while
rotating it lightly by hand, and then check the pro-
trusion.
Normal protrusion A:
50 — 55 mm (1.97 — 2.17 in)
4) With holding the torque converter clutch assem-
bly by hand, carefully install it to torque converter
case. Take care not to damage the bushing. Do not
contact the oil pump shaft bush with starter shaft
part of oil pump cover inappropriately.
5) Lightly rotating the shaft by hands to engage the
spline securely, and then check it is within the di-
mension A.
Dimension A:
2.0 L model
1.1 — 1.3 mm (0.043 — 0.051 in)
2.5 L model
2.7 — 2.9 mm (0.106 — 0.114 in)
AT-00113
AT-00114
(A) Dimension A
(A) Dimension A
AT-00291
A
AT-01352
(A)
AT-00311
(A)