Skoda Rapid (2019 year). Manual - part 9
Show menu
›
Route guidance is disabled - From the navigation main menu, the function
surface → .
›
Route guidance is enabled - From the main menu navigation, tap on the
function surface → Tap Enter destination
›
Then tap the function surface of one of the menu items for the destination
search
A
,
C
or
D
Function surfaces
Input line
Depending on the search mode, the following symbols are displayed
- Display the map as well as the list of the destinations listed in the navi-
gation database
- Display the map as well as the list of online destinations
- Select the destination search/destination entry
List of last destinations (if no character is entered) / List of visited destina-
tions
Keypad
Status of online services
Find destination
▶
Enter the POI name or the POI category (POI) and, if required, the place and
street name or house number/postal code.
A list of the destinations found is displayed in area
D
.
▶
Select the desired destination and the destination details will be displayed.
▶
or: Tap the
B
function surface.
A map with the following symbols and a list of the destinations found is dis-
played.
Destinations found in the navigation data
- .
Destinations found online
- .
▶
Select the desired destination and the destination details will be displayed.
A
B
C
D
E
F
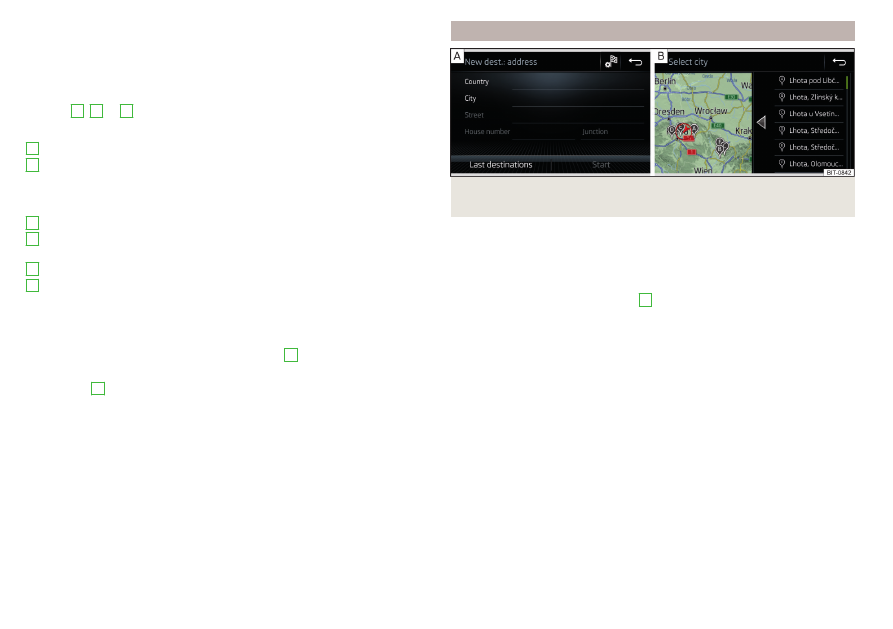
Enter destination using the address
Fig. 160 Enter destination using the address: Main menu / List of visited
destinations
Show menu
›
Route guidance is disabled - From the navigation main menu, the function
surface .
›
Route guidance is enabled - From the main menu navigation, tap on the
function surface → Tap Enter destination
›
Then tap the function surface →
B
Enter dest.
›
Enter the destination address and then confirm
- .
›
Tap the function surface to see the destination details.
Relevant names (e.g. place/street names) are offered in the entry line during
entry, depending on the context. The location of the proposed destination can
be displayed by tapping the function surface Map.
Depending on the number of places visited, a map with a list of visited places
can be displayed automatically
- .
The map with the list of visited locations can be accessed manually by tapping
the function surface .
140
Infotainment